Ontario is one of the most rewarding rockhounding destinations in Canada. The province has two very different geological worlds. The Precambrian Shield in central and northern Ontario is more than 2.5 billion years old in places. It holds pegmatite minerals, volcanic rocks, and deposits that produce sodalite, apatite, amethyst, and agates. The south is covered by younger sedimentary rocks that are rich in fossils. For a wider Canadian perspective, see best places to find gemstones in Canada.
The Bancroft region is often called the mineral capital of Canada. Thunder Bay is known for deep purple amethyst, and the Lake Superior shoreline produces banded agates. Southern Ontario limestone and shale contain corals, brachiopods, and trilobites. Each region has different access rules, tools, and collecting styles. A solid mineral collecting field guide will help you understand how to collect responsibly and identify what you find.
Ontario is huge, so planning a trip without a clear target can waste time. You need to know which region you are visiting, what minerals occur there, and how to get permission. Some areas are Crown land where personal collecting is often allowed. Other sites are private property or active mining claims. The rules are not the same everywhere. A little research before you leave can save you from legal trouble and a wasted drive.
This guide breaks Ontario rockhounding into seven steps. You will learn the legal basics, the right gear, the top mineral regions, and how to find fossils. You will also learn how to clean and identify your finds. Always check land ownership and collecting rules before removing material. The goal is to collect safely, legally, and with enough knowledge to recognize a good specimen when you see it.
What You’ll Need
- Estwing rock hammer or geologic pick
- Safety glasses
- Cold chisel and small pry bar
- 10x jeweler’s loupe
- Work gloves
- Bucket or padded backpack
- Spray bottle
- Field guide to Ontario minerals and fossils
- Offline maps or GPS
- First aid kit
How Do You Rockhound in Ontario?
- Learn Ontario’s rockhounding geology and legal landscape.
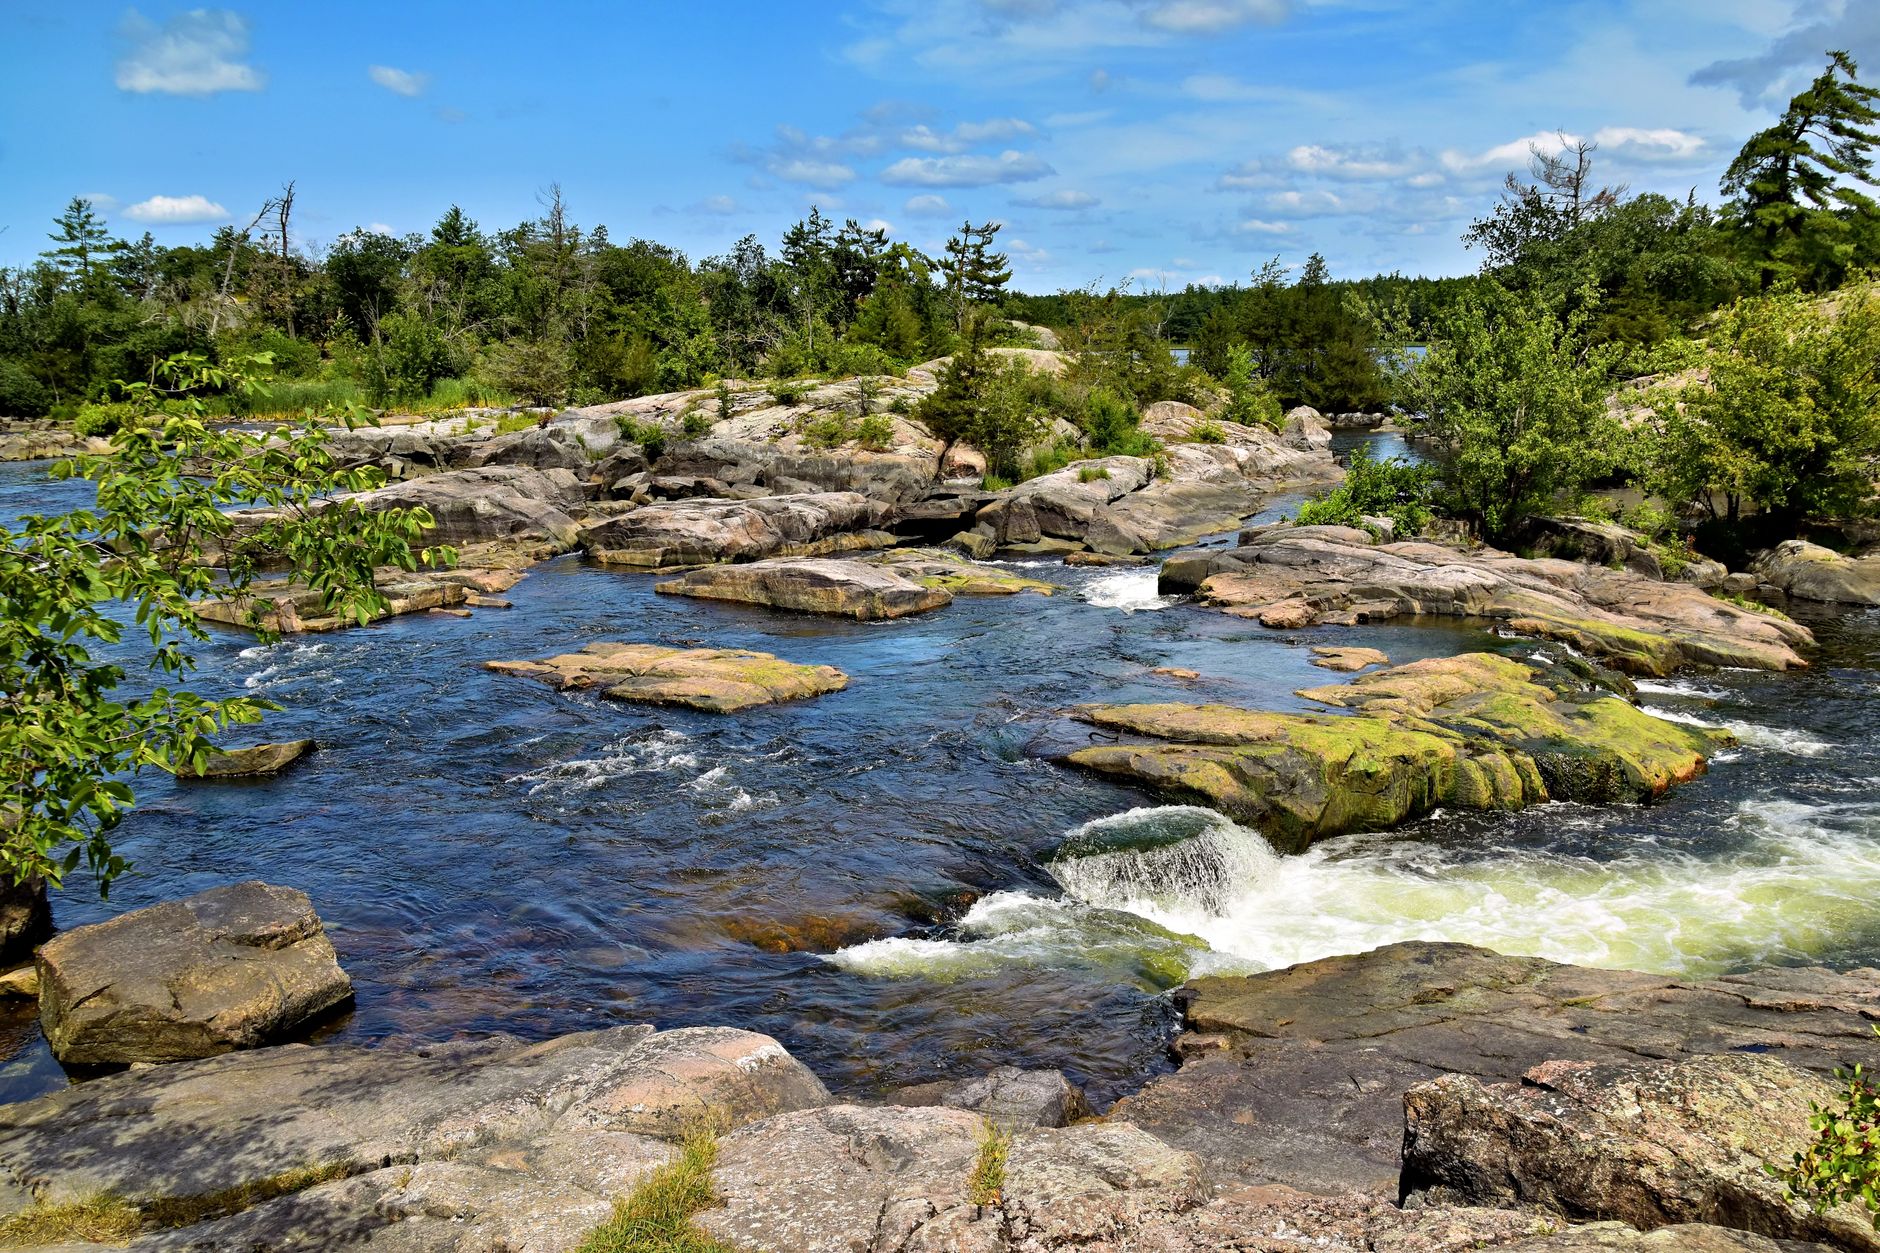
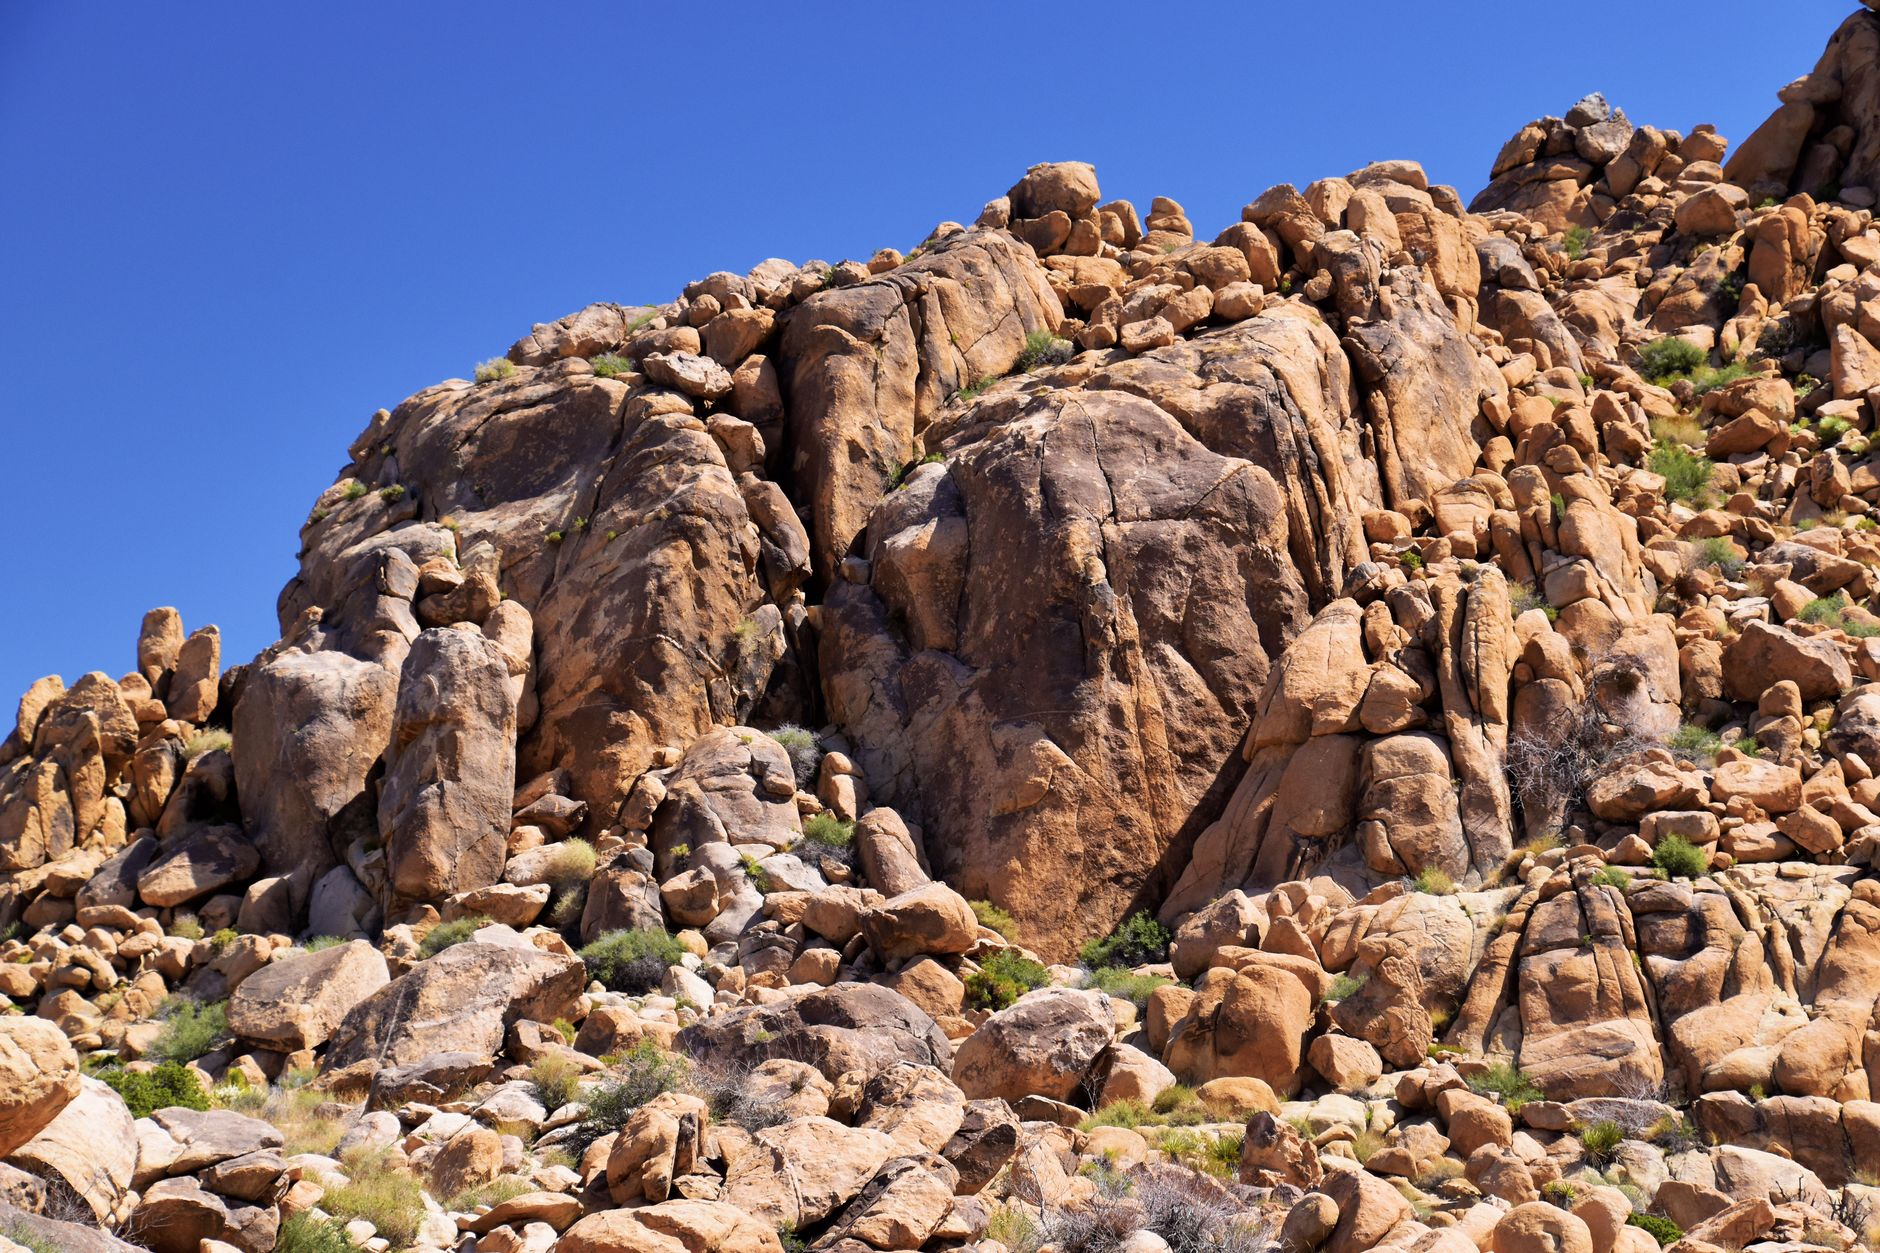
Ontario covers more than one billion acres, but the best collecting is in two main geological regions. The Precambrian Shield in central and northern Ontario is over 2.5 billion years old in places. It hosts pegmatite minerals, including feldspar, mica, apatite, and rare earth minerals. The south sits on younger Paleozoic limestone, dolostone, and shale, which hold fossils. Knowing this split helps you match a site to its likely minerals.
Start with Mindat.org to browse Ontario locality records. The database lists hundreds of minerals and fossil-bearing formations. Check the specific page for a town, mine, or roadcut before you drive. That saves time and helps you recognize what is actually local. Mindat also shows photos so you can compare crystal habits and colors.
Legal access matters more than any map. Crown land covers large parts of northern Ontario, and personal collecting is often allowed, but you must not disturb a registered mining claim. Provincial parks, conservation reserves, and national parks are generally closed to rock and fossil collecting. Always check with the local Ministry of Northern Development, Mines, Natural Resources and Forestry district office before you collect.
Private land requires written or verbal permission from the landowner. Many classic Bancroft sites are on private property or active claims. A good habit is to join a local mineral club. Clubs often have arranged field trips and can get access to closed sites. See mineral collecting field guide for more on permissions and field manners.
- Gather the right gear for Ontario terrain.
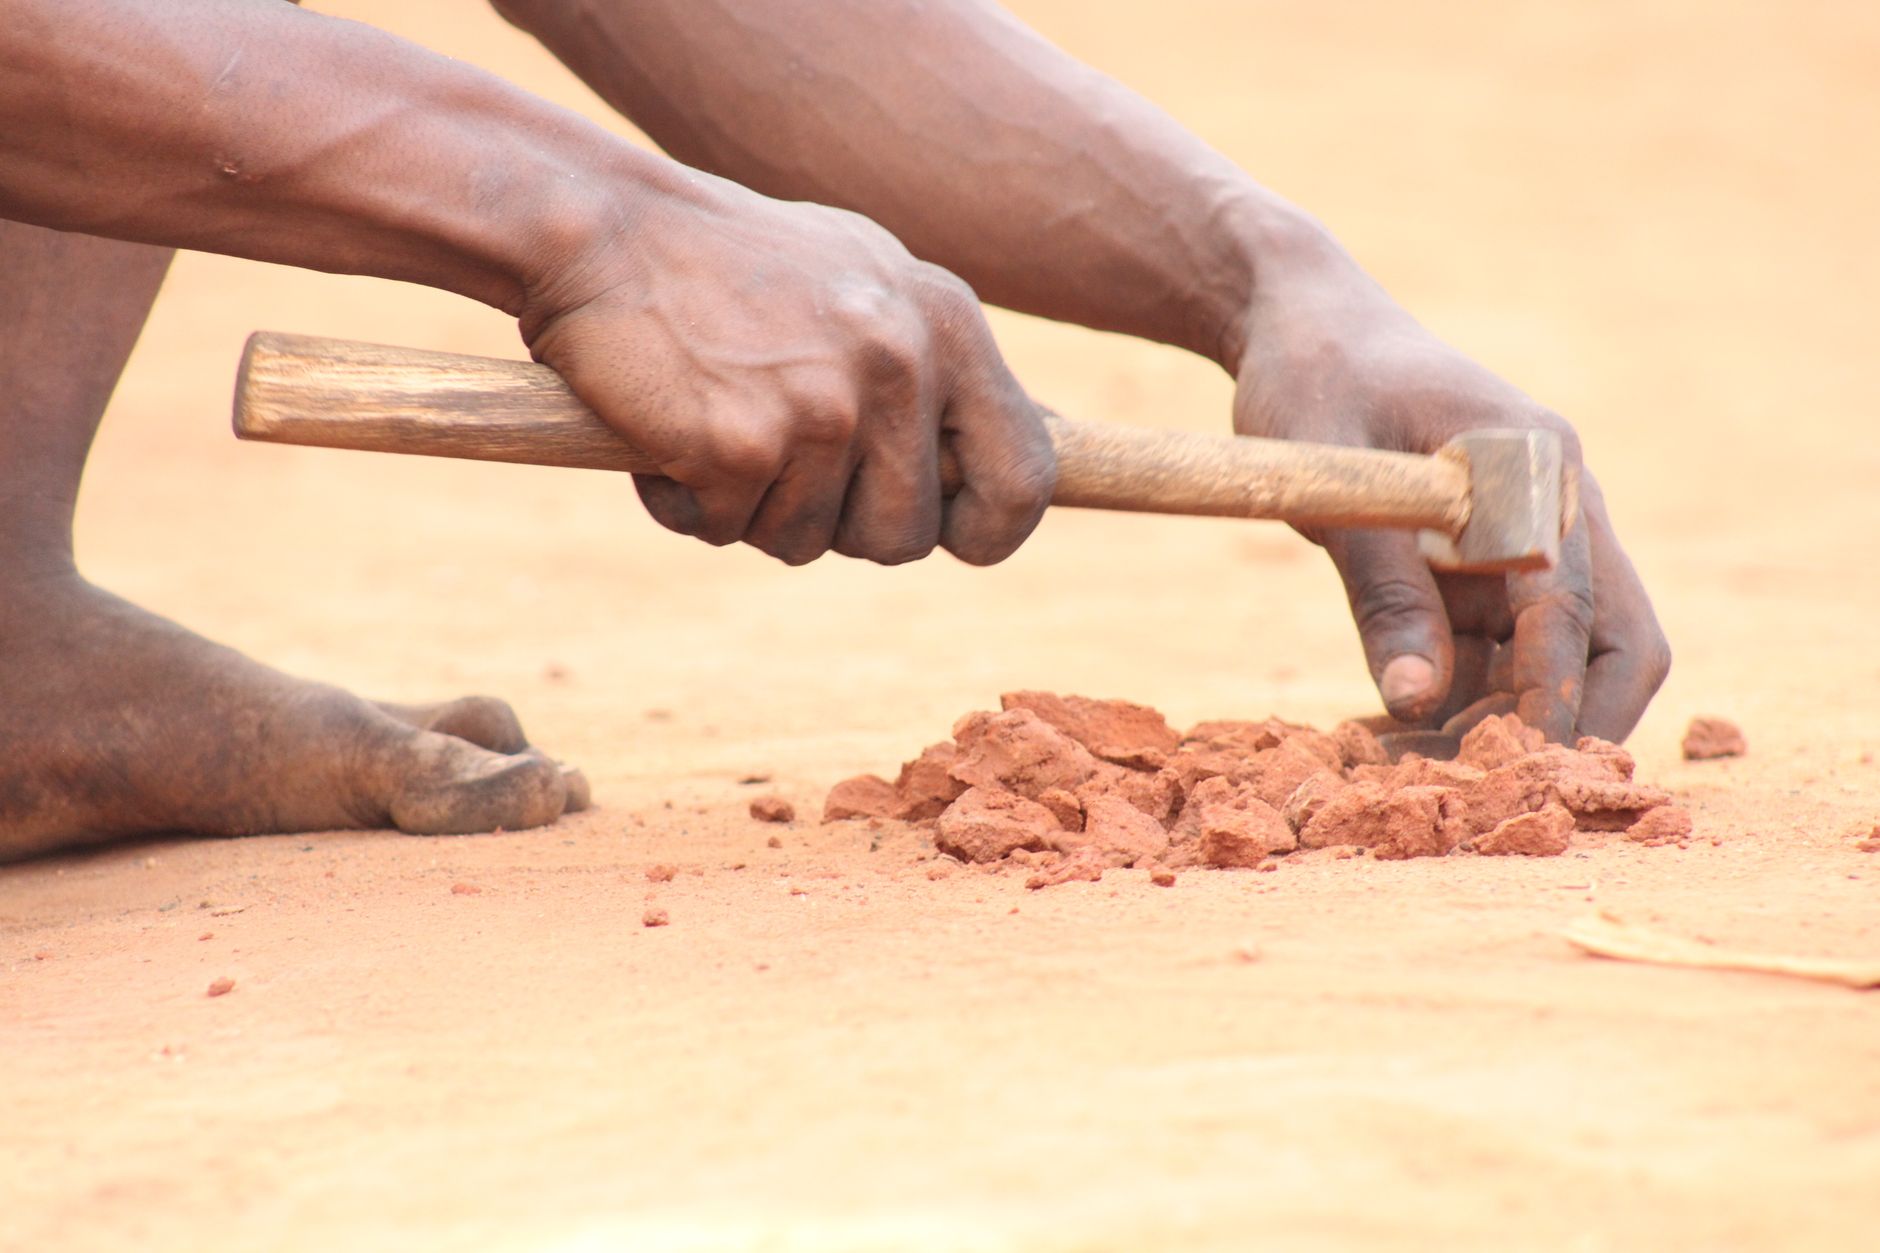
Start with a reliable rock hammer. A 22-ounce Estwing rock hammer is common because it lasts for years. Use the pick end for prying and the flat end for breaking small specimens. Check the estwing rock hammer on Amazon. Do not use a carpenter hammer, because hardened steel can splinter on hard rock. Safety glasses protect your eyes from flying chips. See best rockhounding gear guide for a complete checklist.
Add a 10x jeweler’s loupe. Many Ontario finds, like apatite and zircon, are small. A loupe helps you check crystal faces, cleavage, and color zoning. Check a 10x jeweler’s loupe on Amazon. A spray bottle with water also helps wash dust off a surface. Bring a chisel and pointed rock pick for softer sedimentary rocks. For hammer options, see best rock hammers 2026 and for loupes see best magnifying loupes for rockhounds.
A small hardness kit helps you identify minerals in the field. Glass, a steel knife blade, a copper penny, and a fingernail are simple reference tools. Quartz scratches glass, calcite does not. Keep the kit in a small pouch so it does not get lost in a backpack. A hand lens and hardness kit together answer many identification questions before you take a rock home.
Ontario weather changes fast. Bring gloves, high-top boots, rain gear, and bug protection from spring through fall. A backpack with a bucket insert keeps specimens separate. Keep a small first aid kit and tell someone where you plan to go. Cell service is poor on much of the Canadian Shield, so download offline maps before you leave.
- Target the Bancroft region for classic Ontario minerals.
Bancroft is called the mineral capital of Canada. The area is famous for sodalite, a blue mineral with white veining. Sodalite has a Mohs hardness of about 5.5 to 6, so it is soft enough to scratch with a knife blade. It often appears in pegmatite with feldspar and mica. Local rock shops and the annual Bancroft Rockhound Gemboree can help beginners. Use how to identify rocks and minerals in the field to learn key pegmatite clues.
Fluorapatite is another key Bancroft find. Apatite has a hardness of 5 on the Mohs scale. It occurs as green, blue, or brown hexagonal crystals. The classic source area stretches from Bancroft toward Wilberforce. Many old mine dumps and roadcuts expose pegmatite. Collecting at the CN Rock Dump near Bancroft has been popular, but the land status can change, so check current access before you go.
The best way to learn the Bancroft area is to join a field trip through a club like the Central Canadian Federation of Mineralogical Societies. They know which properties are open and which are off limits. A local guide can show you the difference between plain granite and mineral-rich pegmatite. This region also produces feldspar, hornblende, titanite, and occasional rare earth minerals.
Bring a bucket and wrap delicate crystals in newspaper. Sodalite and apatite can be chipped easily. Compare your finds with Mindat photos before calling a rare species. Many beginners misidentify dark mica as something more exotic. Label the location right away, because it adds value and scientific usefulness to any specimen.
- Hunt Lake Superior agates along northern beaches.
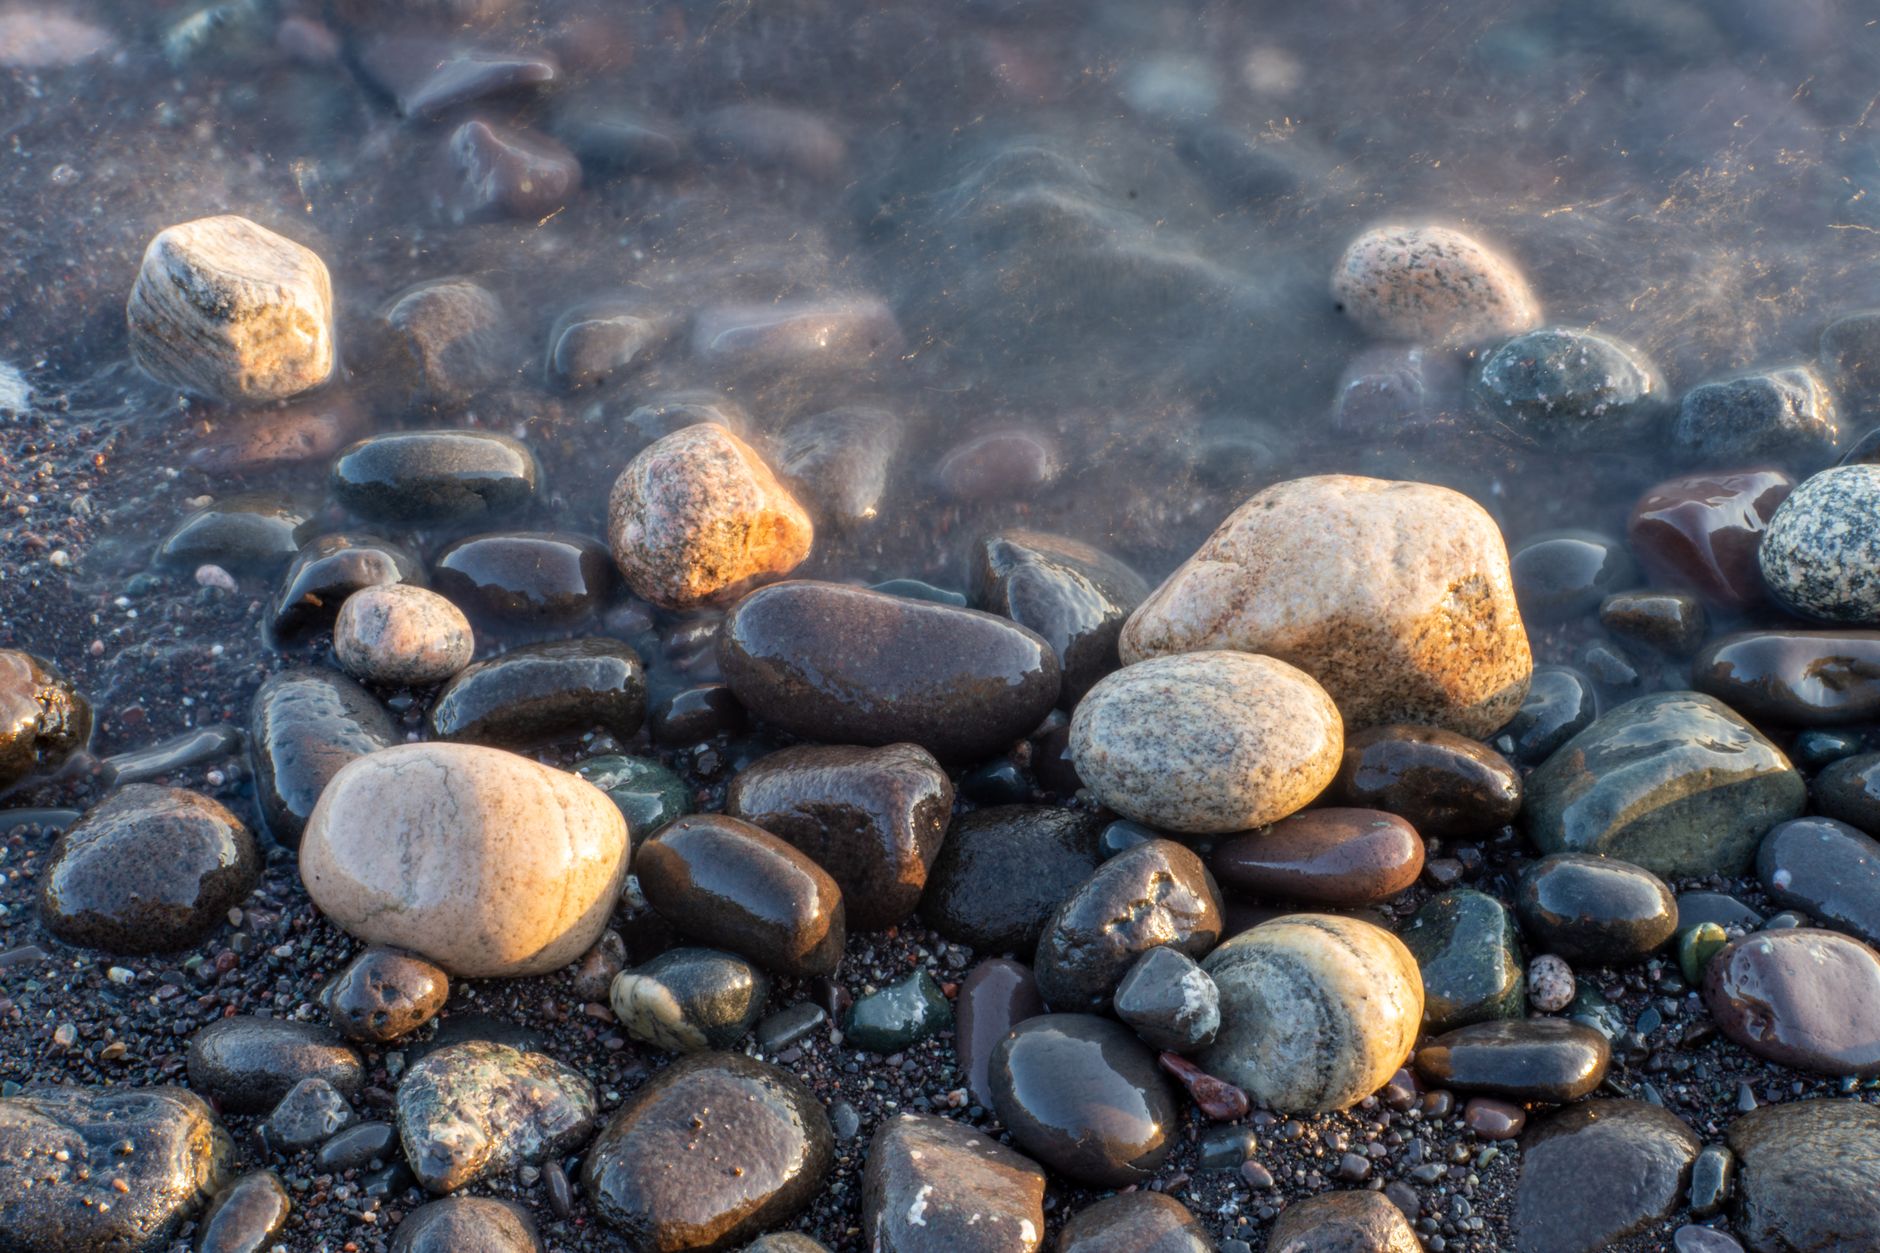
Lake Superior agates are among the most collectible stones in Ontario. They are microcrystalline quartz with a Mohs hardness of about 7. That means they resist scratching and hold a bright polish. Their red, orange, and white banding comes from iron oxide and other impurities. Look along beaches from Sault Ste. Marie to Thunder Bay. Use how to identify agates to separate real banding from jasper, chert, or quartzite.
The best time to hunt is after a storm or during low water in late summer and fall. Waves push fresh gravel up onto the beach. Walk slowly and scan the wet pebble line. Agates often look waxy or translucent when wet. A spray bottle helps reveal banding that is invisible when dry. Start at a public beach where collecting is allowed and walk the high-water mark.
Many beach stones are good candidates for tumbling. If you want to polish them later, see best rocks to tumble. Avoid collecting in provincial parks and conservation areas. Some beaches are protected or fall under local rules. Lake Superior agates are prized by lapidary artists because the banding forms in gas pockets in ancient basalt flows.
Not every translucent stone is an agate. Some are chalcedony or carnelian. Carry your loupe to look for tiny concentric bands. The more even the bands, the better the cutting or tumbling stone. A headlamp and a bucket help on overcast days. Sort your finds on site so you do not carry home too much plain quartz.
- Search Thunder Bay amethyst sites.
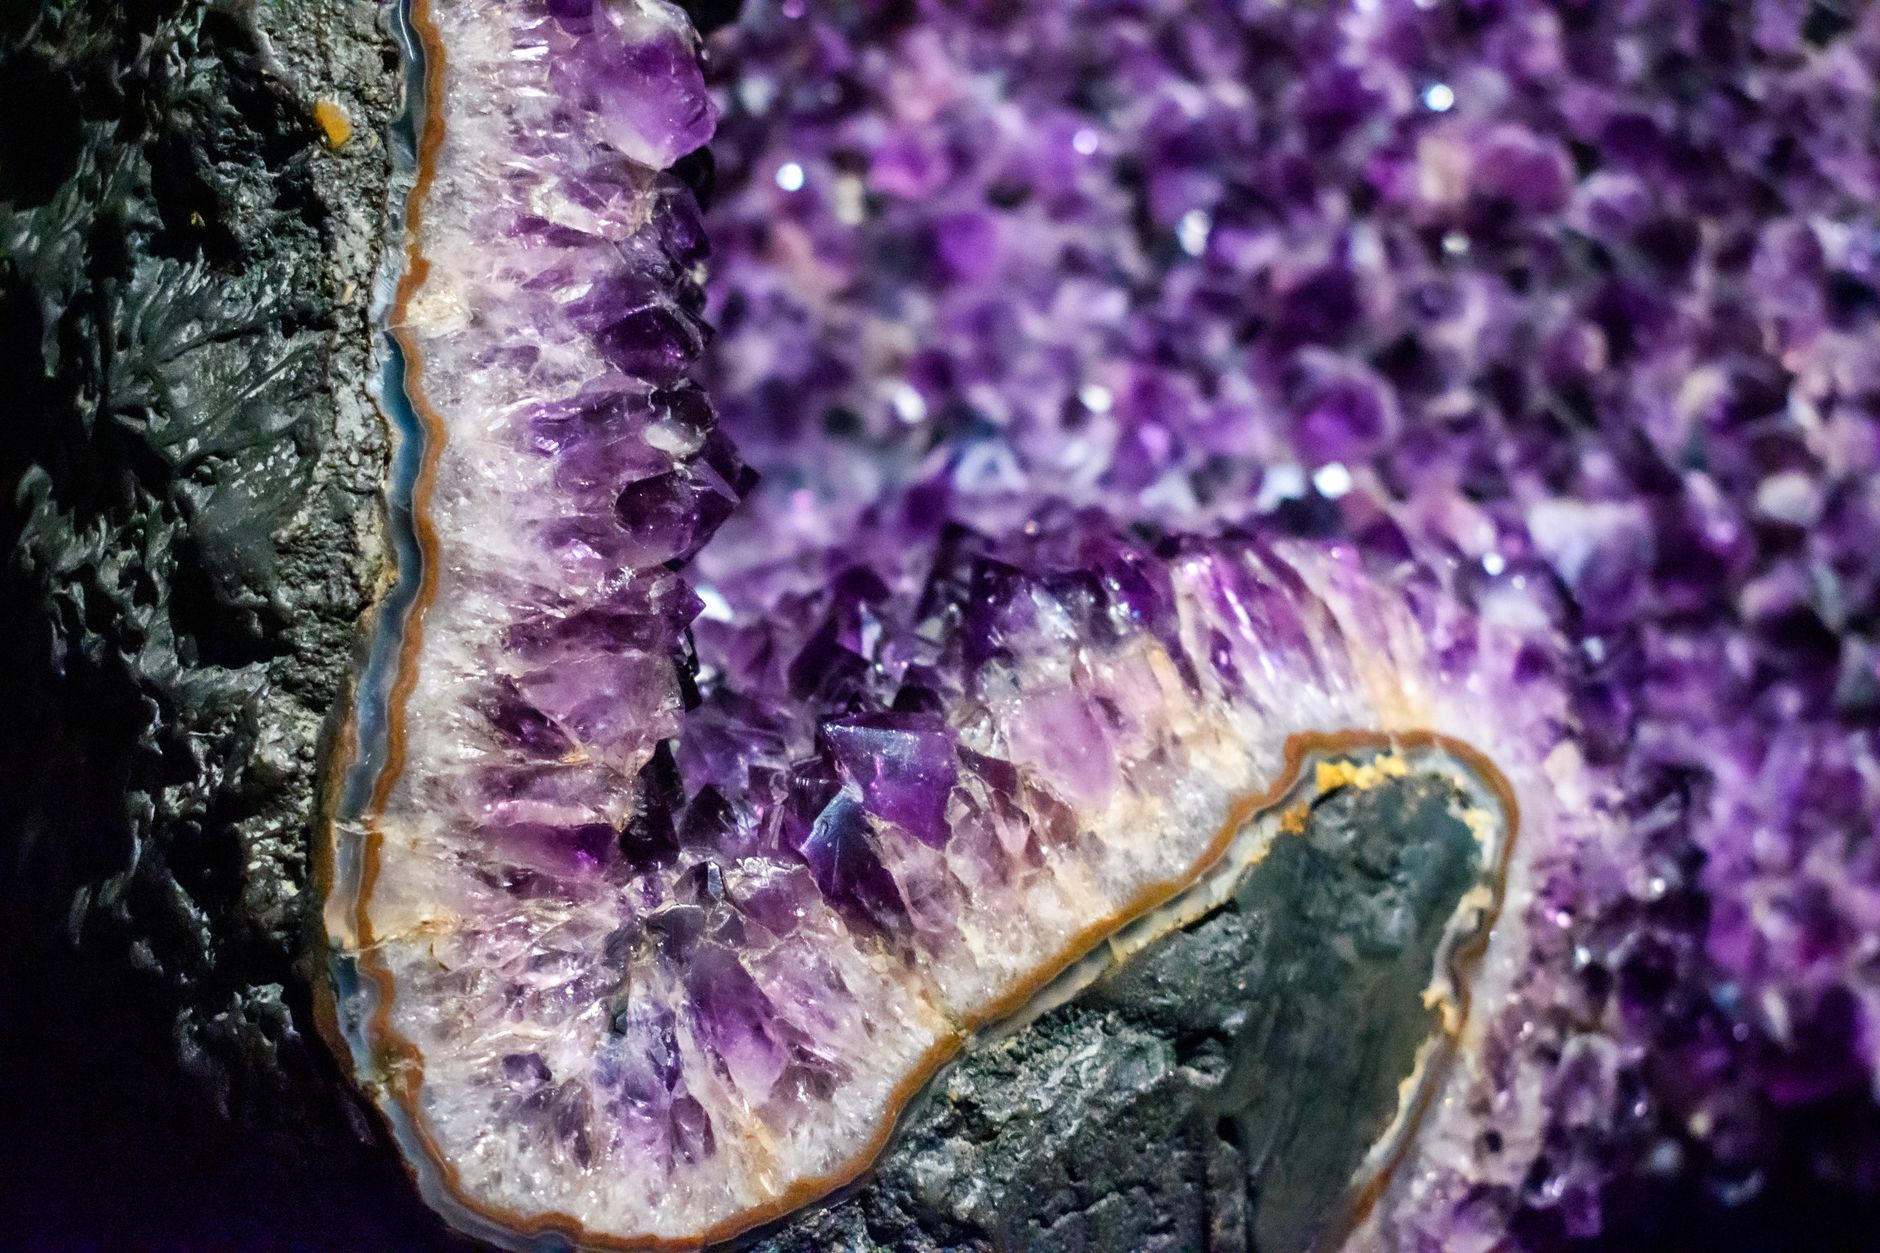
Thunder Bay produces some of the finest amethyst in North America. The amethyst crystals form in pockets in ancient volcanic rocks. Iron gives the crystals their purple color. Amethyst is a variety of quartz with a hardness of 7. Many sites are within a two-hour drive of Thunder Bay. Some are fee digs, while others require a guide. Check the gemstone identification guide to learn the key features of amethyst and related quartz.
The Thunder Bay area has several commercial mines that allow public collecting for a fee. Purple Haze Amethyst Mine and Blue Points Amethyst Mine are known examples, but always call ahead. At a fee site you usually get a bucket and can pick through dump material or dig in designated areas. The staff can help identify what you find. Fee sites are the easiest legal way to find good amethyst without worrying about claim boundaries.
If you find amethyst, check the color, crystal shape, and matrix. Amethyst crystals are six-sided with pointed terminations. They can be pale and smoky or deep purple. Some are attached to red hematite matrix, which is classic for Thunder Bay. A 10x loupe helps you see tiny growth patterns and inclusions. Wet the specimen to bring out the purple color before you decide to keep it.
Do not enter old mine adits or climb unstable pit walls. Many old amethyst workings are dangerous. Roadcuts along Highway 11 and 17 sometimes expose amethyst veins, but parking is unsafe. Use pullouts only. A bucket and garden trowel work at fee sites. Wrap good crystals in cloth before putting them in a backpack. Label the site and date as soon as you return to your vehicle.
- Find fossils in southern Ontario’s sedimentary rocks.
Southern Ontario offers excellent fossil collecting in Ordovician, Silurian, and Devonian rocks. These rocks are mostly limestone, dolostone, and shale. Common fossils include brachiopods, corals, crinoids, trilobites, and gastropods. The rocks are exposed along lake shores, riverbanks, roadcuts, and quarries. Access is the main challenge. Use where to find fossils near me to learn site research and legal habits.
Some public parks and conservation areas allow surface collecting, but many do not. Never use a hammer in a provincial park or on protected land. Old quarry sites may be dangerous and often require permission. Check with the landowner or local conservation authority before you walk in. A polite request can open up a site that is closed to the public.
The best places to look are loose slabs and rubble, not solid bedrock. Search for shapes that look like shells, fans, or rings. Use a small chisel to split soft shale, but only where collecting is allowed. A spray bottle reveals details in dry rock. Take photos before you remove a fossil, because some formations have property or heritage rules. Some quarries are active and off limits, so never hop a fence.
Fossils can be fragile. Wrap them in newspaper or bubble wrap. A field guide to Ontario fossils helps identify common species. Counties near Georgian Bay, Lake Erie, and the Ottawa Valley have classic exposures. Keep records of the formation if you can find it on a geological map. That makes your fossil much more valuable to study and trade.
- Clean, identify, and preserve your finds.
Once home, clean your finds carefully. Some minerals dissolve in water, but quartz, feldspar, and most Ontario rocks can handle a rinse. Use a soft brush and dish soap. Do not use acid on unknown minerals. For more detail, see how to clean rocks and minerals. Let specimens dry on a rack, not in a pile, so you do not trap grit or moisture.
Identify your specimens using physical tests. The Mohs hardness scale guide helps you test scratch resistance. A steel knife blade is about 5.5, a copper penny 3.5, and a fingernail 2.5. Observe streak by rubbing the mineral on unglazed porcelain. Compare color, luster, and crystal shape with a field guide or GIA educational pages at GIA. Hardness and streak are two of the most useful field tests for a beginner.
Label every specimen with location, date, and collector name. That information gives a rock scientific and sentimental value. Use small paper slips or write on the box. Store soft minerals separately from hard ones to avoid scratches. Delicate crystals need padded boxes. A cardboard box with newspaper works for rough stones, but a divided container is better for fragile points.
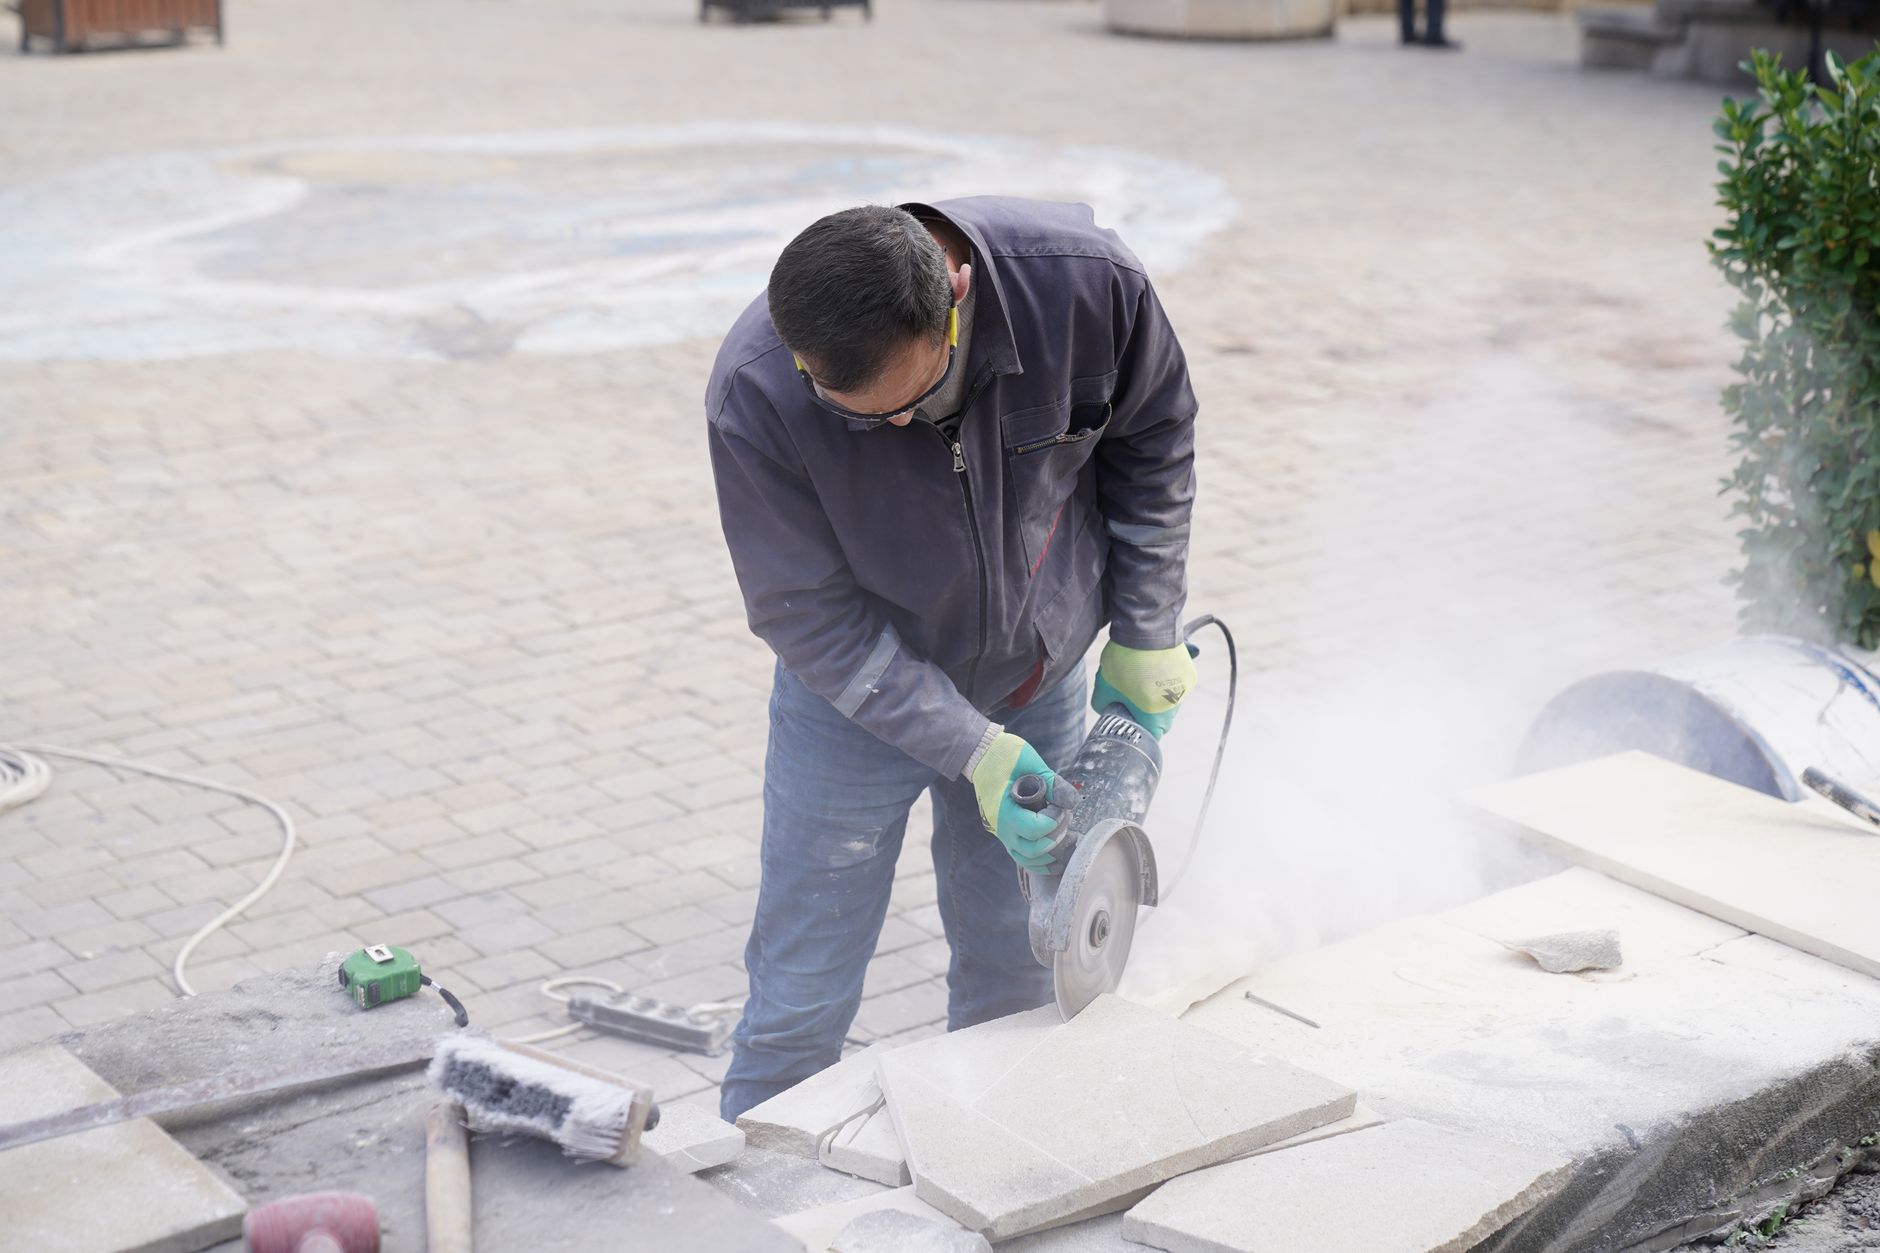
If you plan to cut or polish stones, learn the basics before you start. A tile saw can trim agates and other hard materials. See how to cut rocks with a tile saw for beginner steps. Tumbling is another way to bring out color and banding. Start with a small batch and the right grit. The more you document your finds, the quicker you will learn Ontario geology.
Red Flags & Warnings
- 🚨 Never collect in provincial parks, national parks, or conservation reserves unless you have written permission. Surface collecting is often banned.
- 🚨 Roadcuts are dangerous. Watch for traffic, falling rock, and unstable slopes. Park only in safe pullouts and stay off active road surfaces.
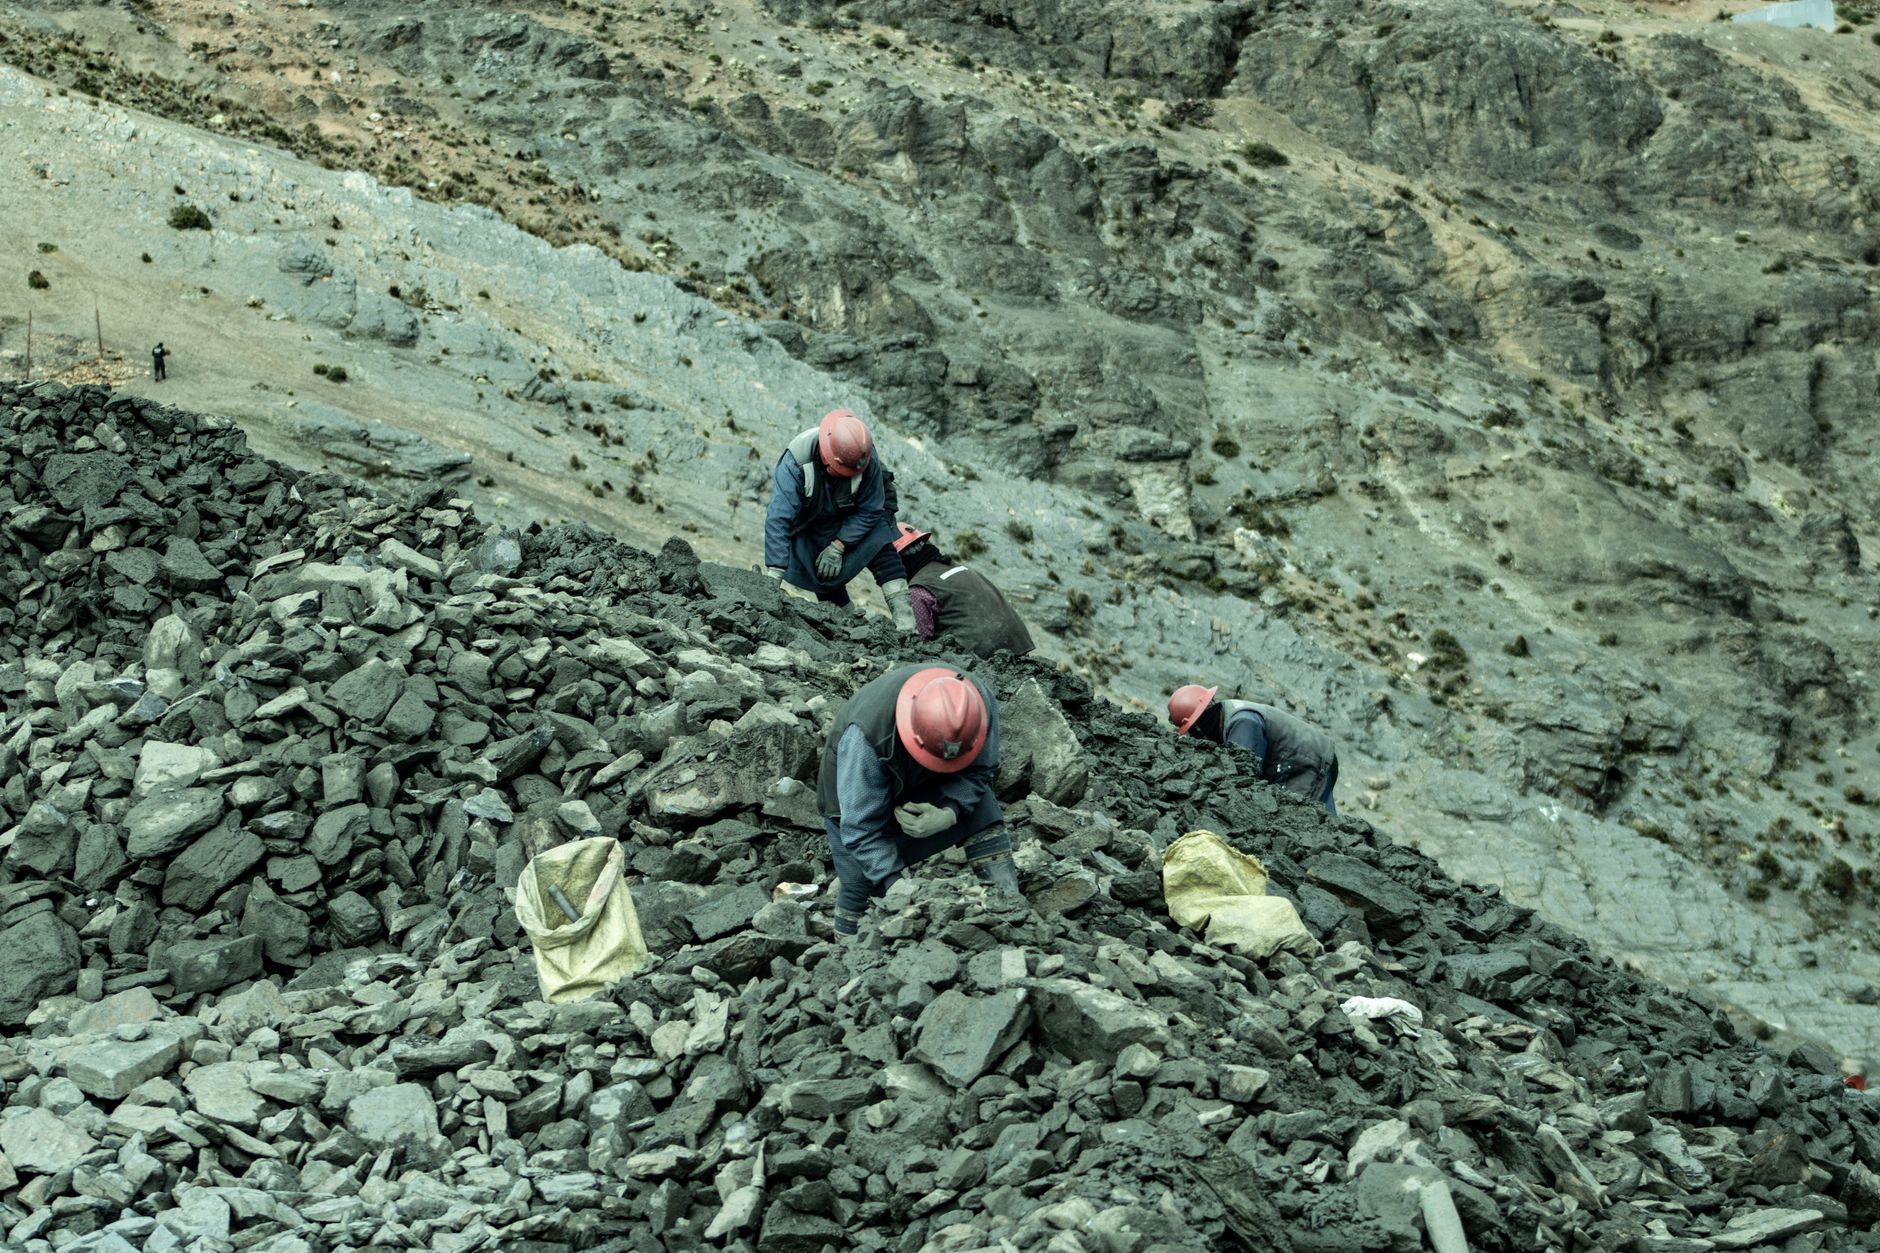
- 🚨 Do not enter old mine openings or climb quarry walls. Abandoned workings can have bad air, loose rock, and hidden shafts.
- 🚨 Get landowner permission before collecting on private property. Many Bancroft sites are private claims or active mineral rights.
- 🚨 Check for active mining claims before collecting on Crown land. Claim staking maps and local ministry offices can help avoid trespass.
- 🚨 Do not collect vertebrate fossils or artifacts. Some fossils and archaeological material are protected by Ontario heritage laws.
Frequently Asked Questions
Do I need a permit to rockhound in Ontario?
Personal surface collecting on Crown land is often allowed, but a permit may be required for commercial or large-scale collecting. Provincial parks and conservation reserves are usually closed without written permission. Check with the local Ministry of Northern Development, Mines, Natural Resources and Forestry office first.
What are the best gems to find in Ontario?
The top targets are amethyst near Thunder Bay, sodalite and apatite near Bancroft, and Lake Superior agates along the north shore. Garnet, zircon, and feldspar also occur in parts of the Canadian Shield.
Where can I find fossils in Ontario?
Southern Ontario limestone, dolostone, and shale exposures contain brachiopods, corals, crinoids, and trilobites. Look along lake shores, river cuts, and old quarry rubble. Always confirm land access and collection rules first.
What basic gear should I bring?
Bring a rock hammer, safety glasses, chisel, 10x loupe, gloves, bucket, water bottle, and a field guide. A GPS or phone with offline maps helps because cell service is poor on much of the Shield.
Are there fee digs or guided sites for rockhounding in Ontario?
Yes. The Bancroft area has seasonal events and local field trips. Thunder Bay amethyst mines often allow collecting for a fee. Some former mine dumps also open to visitors, but always call ahead.
How can I tell if I found a Lake Superior agate?
Look for waxy translucent bands in red, orange, white, or brown. The stone should be hard, about 7 on the Mohs scale, and may have small pits on the surface. Wet the stone to see the banding more clearly.
What Should You Remember?
- Bancroft region is the top Ontario destination for sodalite, apatite, and other pegmatite minerals.
- Lake Superior beaches after storms expose agates with red, orange, and white banding.
- Thunder Bay amethyst forms in ancient volcanic rocks and can be collected at fee digs.
- Southern Ontario fossils occur in limestone and shale, but many sites are private or protected.
- Check land status before removing material. Crown land, private land, and claims have different rules.
- Basic gear includes a rock hammer, safety glasses, loupe, gloves, and a field guide.
- Identify before you collect with hardness, streak, and locality data from Mindat or GIA.
This article is for general information only. Rockhounding and collecting carry land-access, safety, and legal obligations , always verify claim status, land ownership, and collecting rules before removing material, and get landowner or land-agency permission where required. Field collecting involves physical hazards; use proper safety gear and never enter mines or unstable terrain.