Fossil hunting feels like a treasure hunt with a time machine. You can find shark teeth, trilobites, petrified wood, and ancient leaves within a few hours of most towns. The right approach starts with knowing where public collecting is legal and which rock layers produce fossils in your state. Check this state-by-state fossil guide to see which regions have the strongest public access and the best beginner fossil density. Do not assume every creek or roadcut is open to collecting. A little map work and land-status research can keep you on the right side of the law.
A good fossil search blends geology, land records, and local history. Government databases from the Bureau of Land Management and mineral locality records from Mindat.org can point you to known fossil-bearing formations. Still, the best site is the one you can legally reach. Always confirm ownership before you drive to a roadcut or a creek bed. A few minutes of online research before you leave home saves hours of driving and reduces the chance of a trespassing problem.
Some states are famous for certain fossils: Florida for shark teeth, Wyoming for fish, and Arizona for petrified wood. The catch is that fossil types and rules change at every state line. You need a flexible field kit, a simple identification method, and a habit of documenting what you find. The examples in this guide use real sites and known formations, but you still must verify current rules for the exact parcel you plan to visit.
This guide walks you through the entire process from locating a legal fossil site to cleaning and displaying your finds. The steps work for beginners and for rockhounds who want to move past random creek walks. Use them as a repeatable system, not just a one-time checklist. When you finish, you will have a safe, legal, and effective fossil hunting plan for any state in the country.
What You’ll Need
- rock hammer
- safety goggles
- 10x hand lens
- field notebook
- phone with GPS
- soft brush
- sturdy backpack
- water and sun protection
How Do You Find Fossils Near Me?
- Pinpoint legal fossil-bearing land near you.
Start your search with online locality databases. Mindat.org allows you to filter mineral and fossil localities by state, county, and mineral species. The Bureau of Land Management provides maps of public land where casual collecting may be allowed. Use both sources together so you do not waste time on private property. Mindat gives you specific locality data, while BLM shows land boundaries and collecting rules. Write down GPS coordinates for at least three candidate sites before you leave home.
Next, narrow your list to sites that are actually accessible. Roadcuts along rural highways can expose fresh rock with fossils, but you must park safely and avoid private fences. National forest and BLM land often allow small-scale fossil collecting for personal use. This does not include commercial digging or removing large quantities. Check the mineral collecting field guide to understand what counts as reasonable personal use before you fill a bucket.
Call or email the local field office if you are unsure about a specific roadcut or creek. Many states publish free geological maps that mark fossil-bearing units. State geological surveys often list public collecting areas on their websites. Spending thirty minutes on land status can save you a trespassing ticket and a closed collecting site for everyone else.
- Learn your state’s fossil-bearing formations and fossil types.
Each state has a few geological units that produce most of its fossils. Wyoming’s Green River Formation, part of which is protected at Fossil Butte National Monument, preserves Eocene fish in limestone layers. Florida’s Peace River produces megalodon teeth that can reach 7 inches in slant height. Texas has the Waco Pit and the Ladonia Fossil Park for Cretaceous marine fossils. Learning your state’s top units tells you what to look for and what a complete specimen looks like. Check the Wyoming fossil guide for state-specific Green River locations.
Fossils are not spread evenly across every rock. Invertebrate shells, corals, and crinoids tend to occur in limestone and shale. Shark teeth often wash into gravel beds and river bars. Petrified wood appears in volcanic and floodplain deposits. If you are in the Midwest, look for brachiopods and horn corals in roadcuts. In the Southwest, look for petrified wood and leaf impressions. The local rock type is your best first clue.
Fossil clubs and local museums often publish legal collecting site lists. Their field trip reports can show you exactly which layer to follow. You can also use a geological map to trace fossil-bearing formations across state land. Once you know the formation name, search for that name plus fossil in a library database. This step makes your field search far more targeted than a random walk.
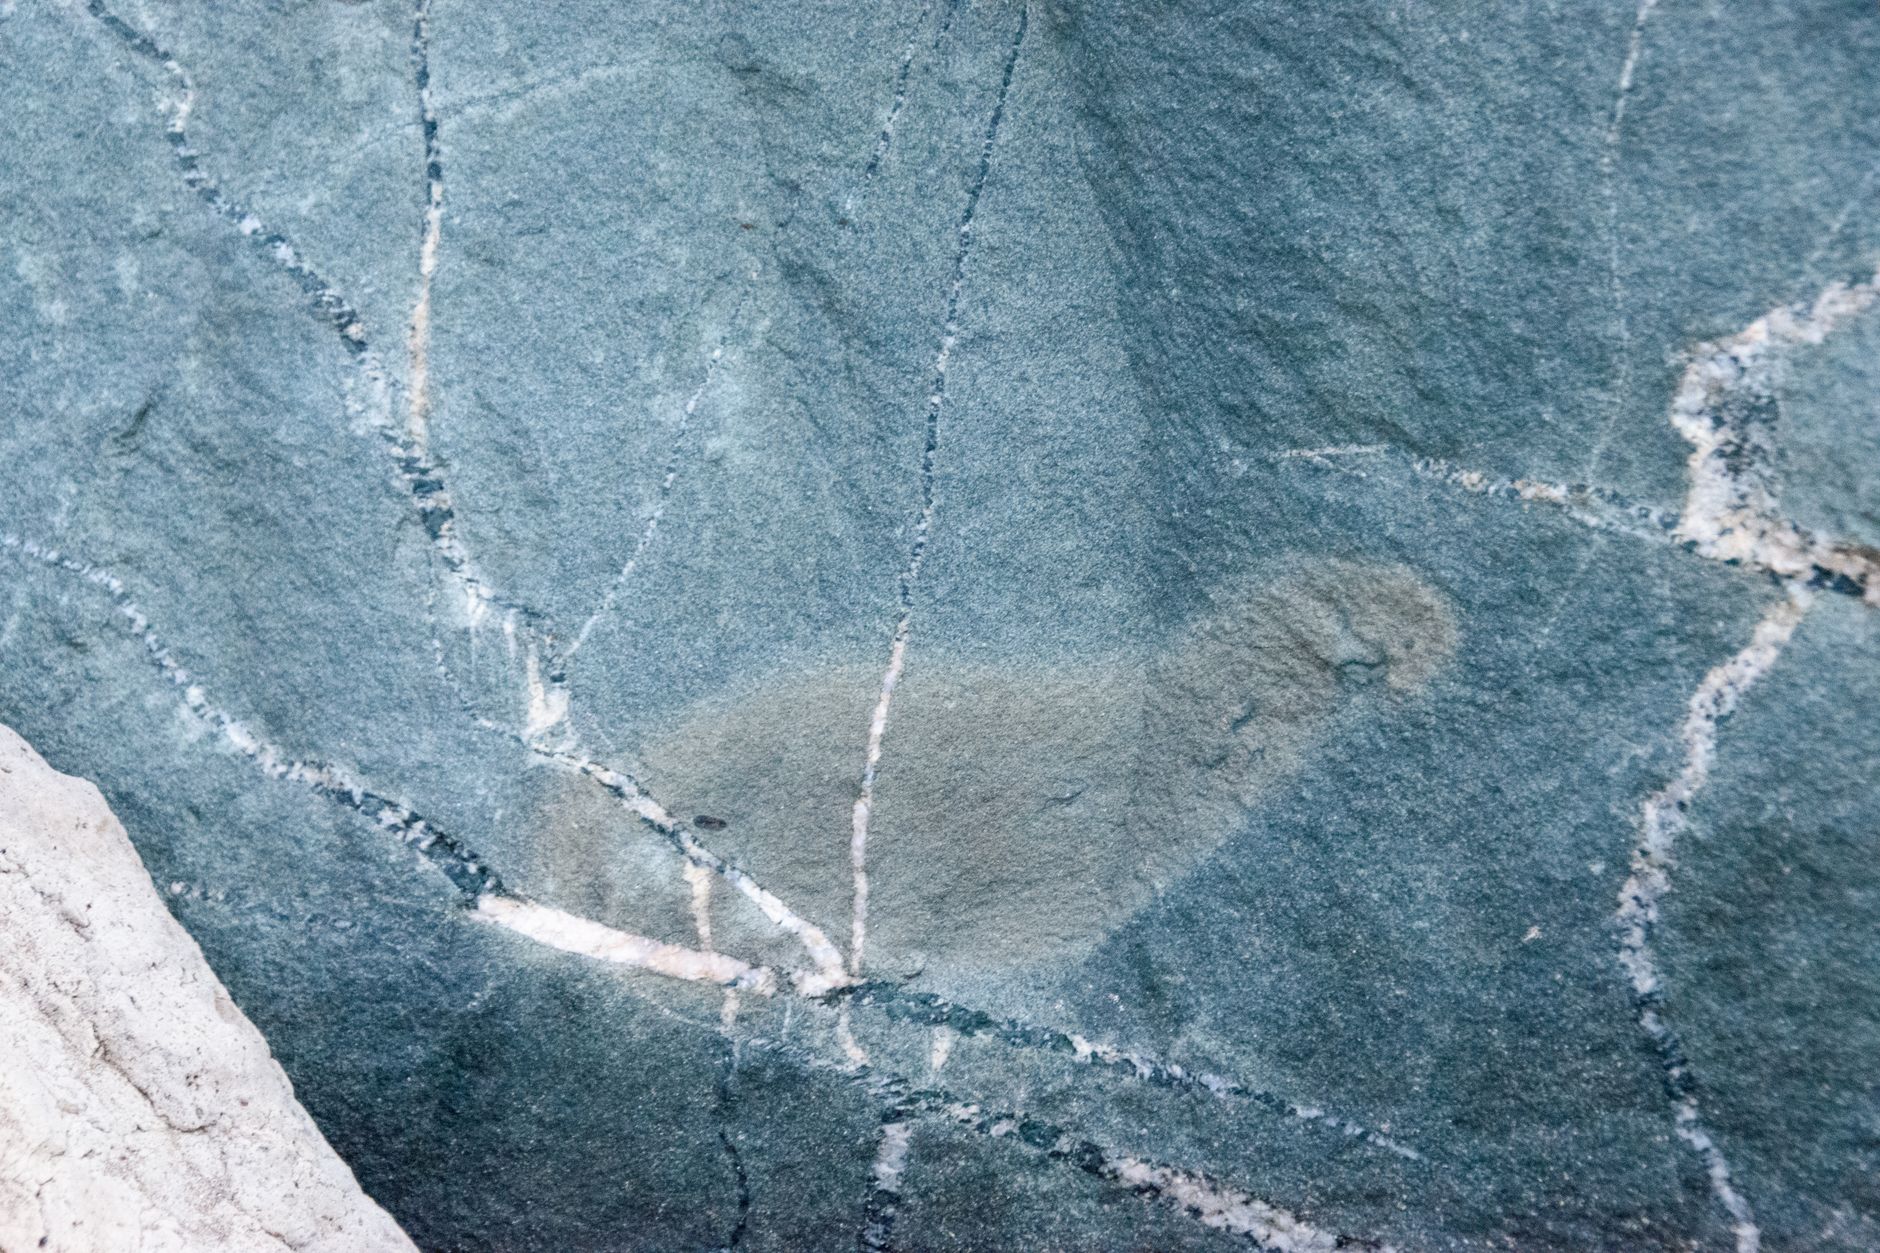
- Check land ownership and collecting rules before you swing a hammer.
Fossil collecting laws depend on land status, not just state lines. On BLM land you can usually collect reasonable amounts of invertebrate fossils and petrified wood for personal use. On national forest land, small-scale collecting may also be allowed, but rules vary by district. On state land, some states allow it and others require a permit. Always check the agency website for the exact parcel you plan to visit.
The biggest legal divide is between invertebrate and vertebrate fossils. Invertebrate fossils like shells, corals, and trilobites are often casual collecting on federal land. Vertebrate fossils like dinosaur bone, mammal teeth, and fish skeletons are protected. Removing vertebrate fossils from federal land without a permit is illegal under the Paleontological Resources Preservation Act. If you find a large bone, photograph it, record the location, and report it to the local BLM or forest office.
Private landowners can grant permission, but you must ask first. A verbal yes is nice, but a written note with your name and date is better. Some quarries and ranches allow fee digging, which can be a reliable way to collect without legal worry. Never assume a creek bed is public just because it has water. In many states the stream bank and bottom can still be private property.
- Assemble a beginner fossil hunting kit for safety and efficiency.
You do not need a truck full of gear, but you do need basic hand tools. A rock hammer with a flat head and a chisel tip lets you split soft shale and trim limestone. Safety goggles protect your eyes from flying chips. Many beginners skip goggles, and that is a mistake. Check the rock hammer on Amazon and check safety goggles on Amazon before your first trip.
Add a hand lens or magnifying loupe with 10x magnification. Fossil details like tooth serrations, suture lines, and tiny shell texture are hard to see with the naked eye. A small field notebook and a phone GPS let you record exact locations. These records turn a loose fossil into a scientifically useful specimen. See the rockhounding gear guide for more field-tested basics.
Pack water, sunscreen, and sturdy shoes. Fossil sites are often dry, exposed, and full of sharp rock. A backpack with compartments keeps your tools away from your lunch. A few zip-top bags and newspaper will protect delicate fossils until you get home. This simple kit works for roadcuts, quarries, and river gravel bars.
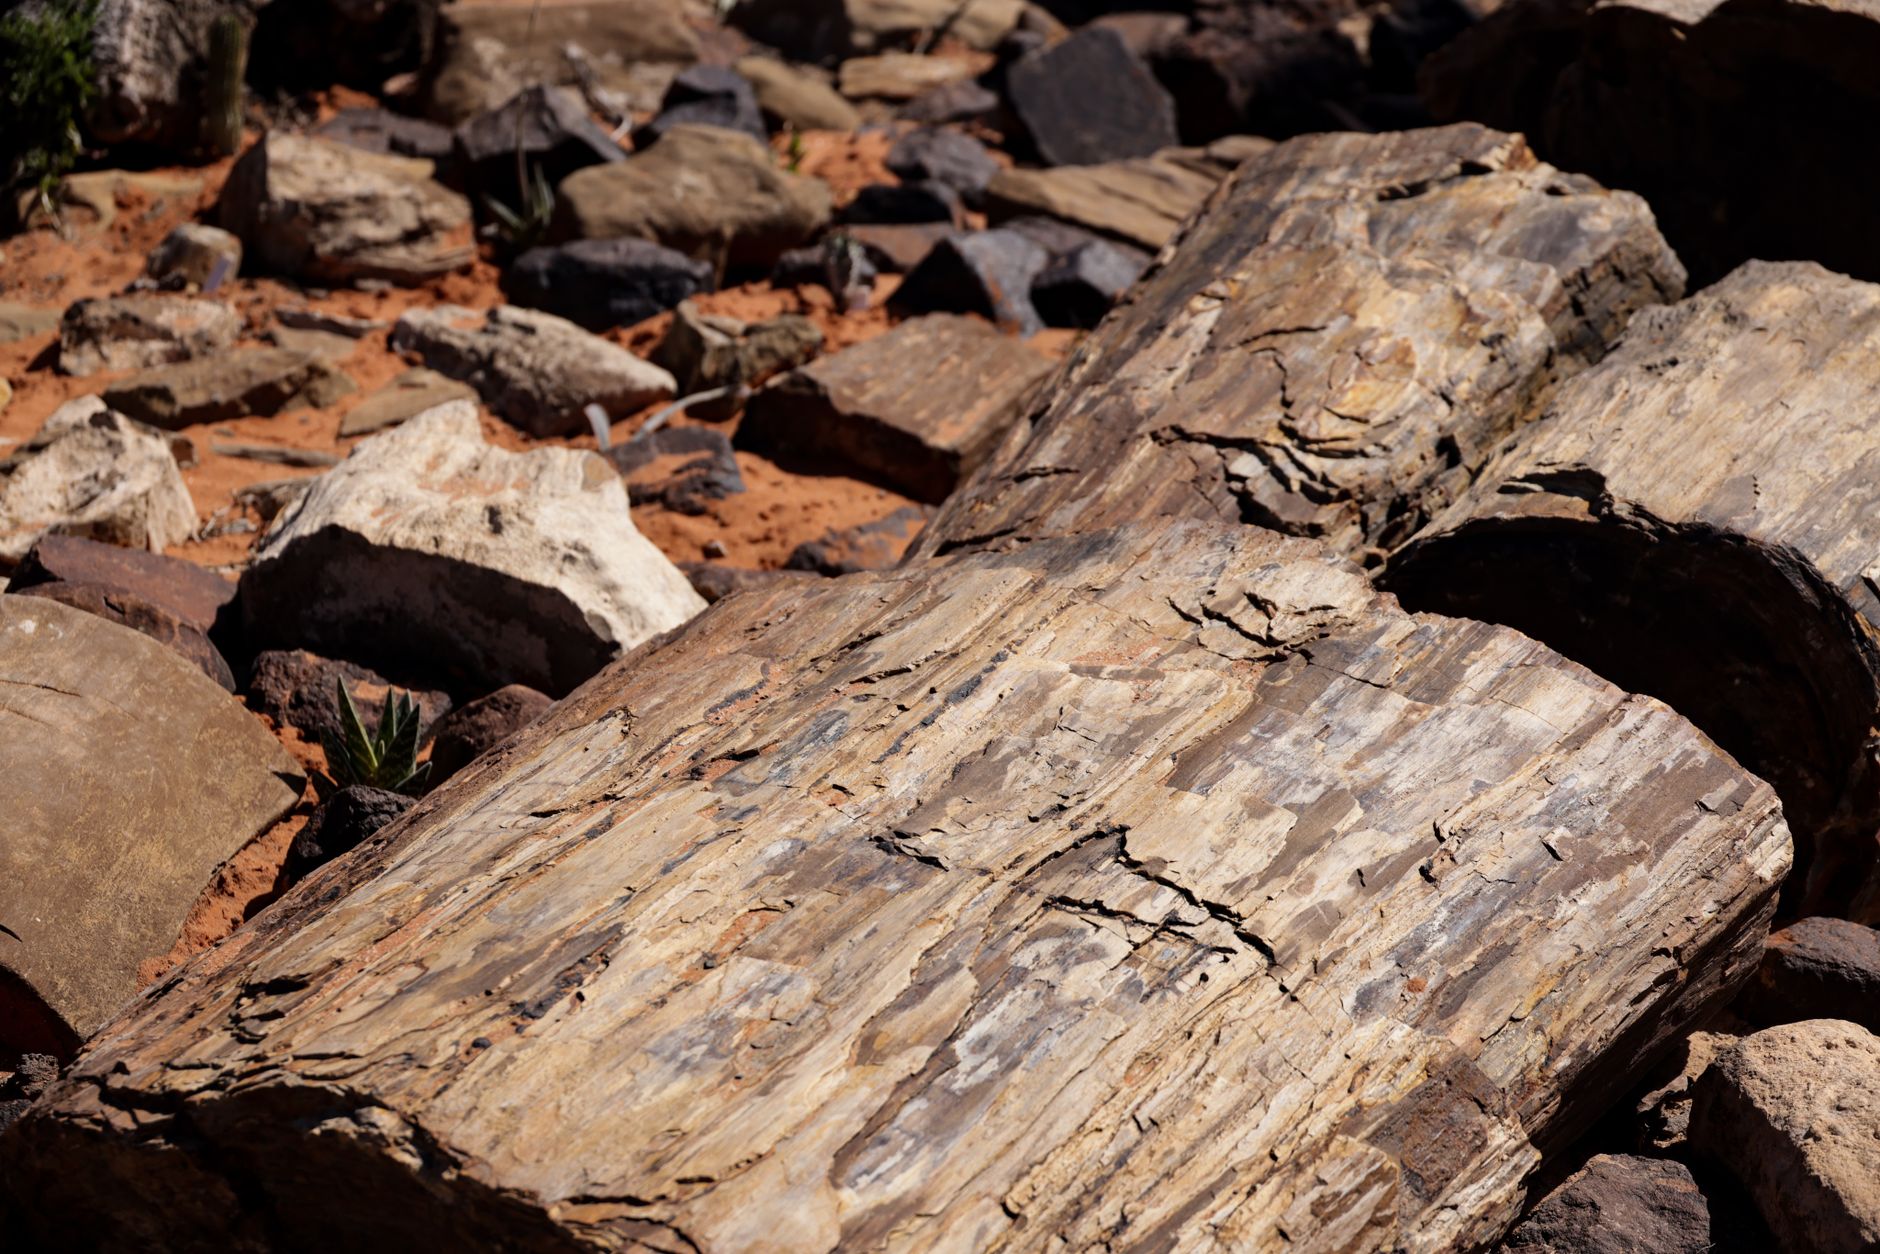
- Read the geology and spot fossil-bearing rock types.
Most fossils are found in sedimentary rocks, especially limestone, shale, and sandstone. These rocks form from mud, sand, and shell debris in ancient oceans, lakes, and rivers. Igneous and metamorphic rocks rarely contain fossils because heat and pressure destroy organic remains. If you are looking at granite or basalt, move to another outcrop. The Mohs hardness scale guide helps you test minerals in the field and separate fossil material from ordinary rock.
Fossilized shark teeth often feel glossy and have a hardness near 5 on the Mohs scale. Fossilized coral in Florida can be much harder, around 7, because the original calcite is replaced by silica. These differences matter when you are cleaning and testing unknown material. A pocket knife with a hardness around 5.5 will scratch gypsum but not quartz. Use simple scratch tests to confirm whether you found a tooth, a mineral, or just a shaped rock.
Look for color and texture changes along a rock layer. Shell fragments may appear as rough white or gray shapes in gray limestone. Bone can look like spongy brown or black material with internal pores. Petrified wood keeps grain lines and bark textures but feels like stone. Tapping a rock with your hammer can reveal hidden fossils that split along bedding planes. Work slowly and examine every split surface.
- Photograph, document, and identify fossils in the field.
Take clear photos before you remove a fossil from its context. Place a coin, lens cap, or ruler next to the specimen for scale. Record the GPS coordinates and a short note about the rock layer. This habit helps you later identify the fossil and also satisfies scientific best practices. You do not need a formal geology degree to build good field notes. A phone photo with a scale object and a location pin is enough for most beginner collections.
A 10x or 20x hand lens reveals small features like enamel texture, growth lines, or crystal fillings. Many beginners misidentify mineral stains and concretions as fossils. A careful look through a 10x hand lens can reveal whether you have a shell impression or just a weathered rock. Wet the surface with a little water to make details stand out.
Do not chip out a large specimen if you are unsure what it is. Mark the spot, take photos, and ask a local club or online forum before removing it. Some fossils are scientifically important and should stay in place. If you find a rare vertebrate fossil on public land, report it instead of collecting it. This protects both you and the resource.
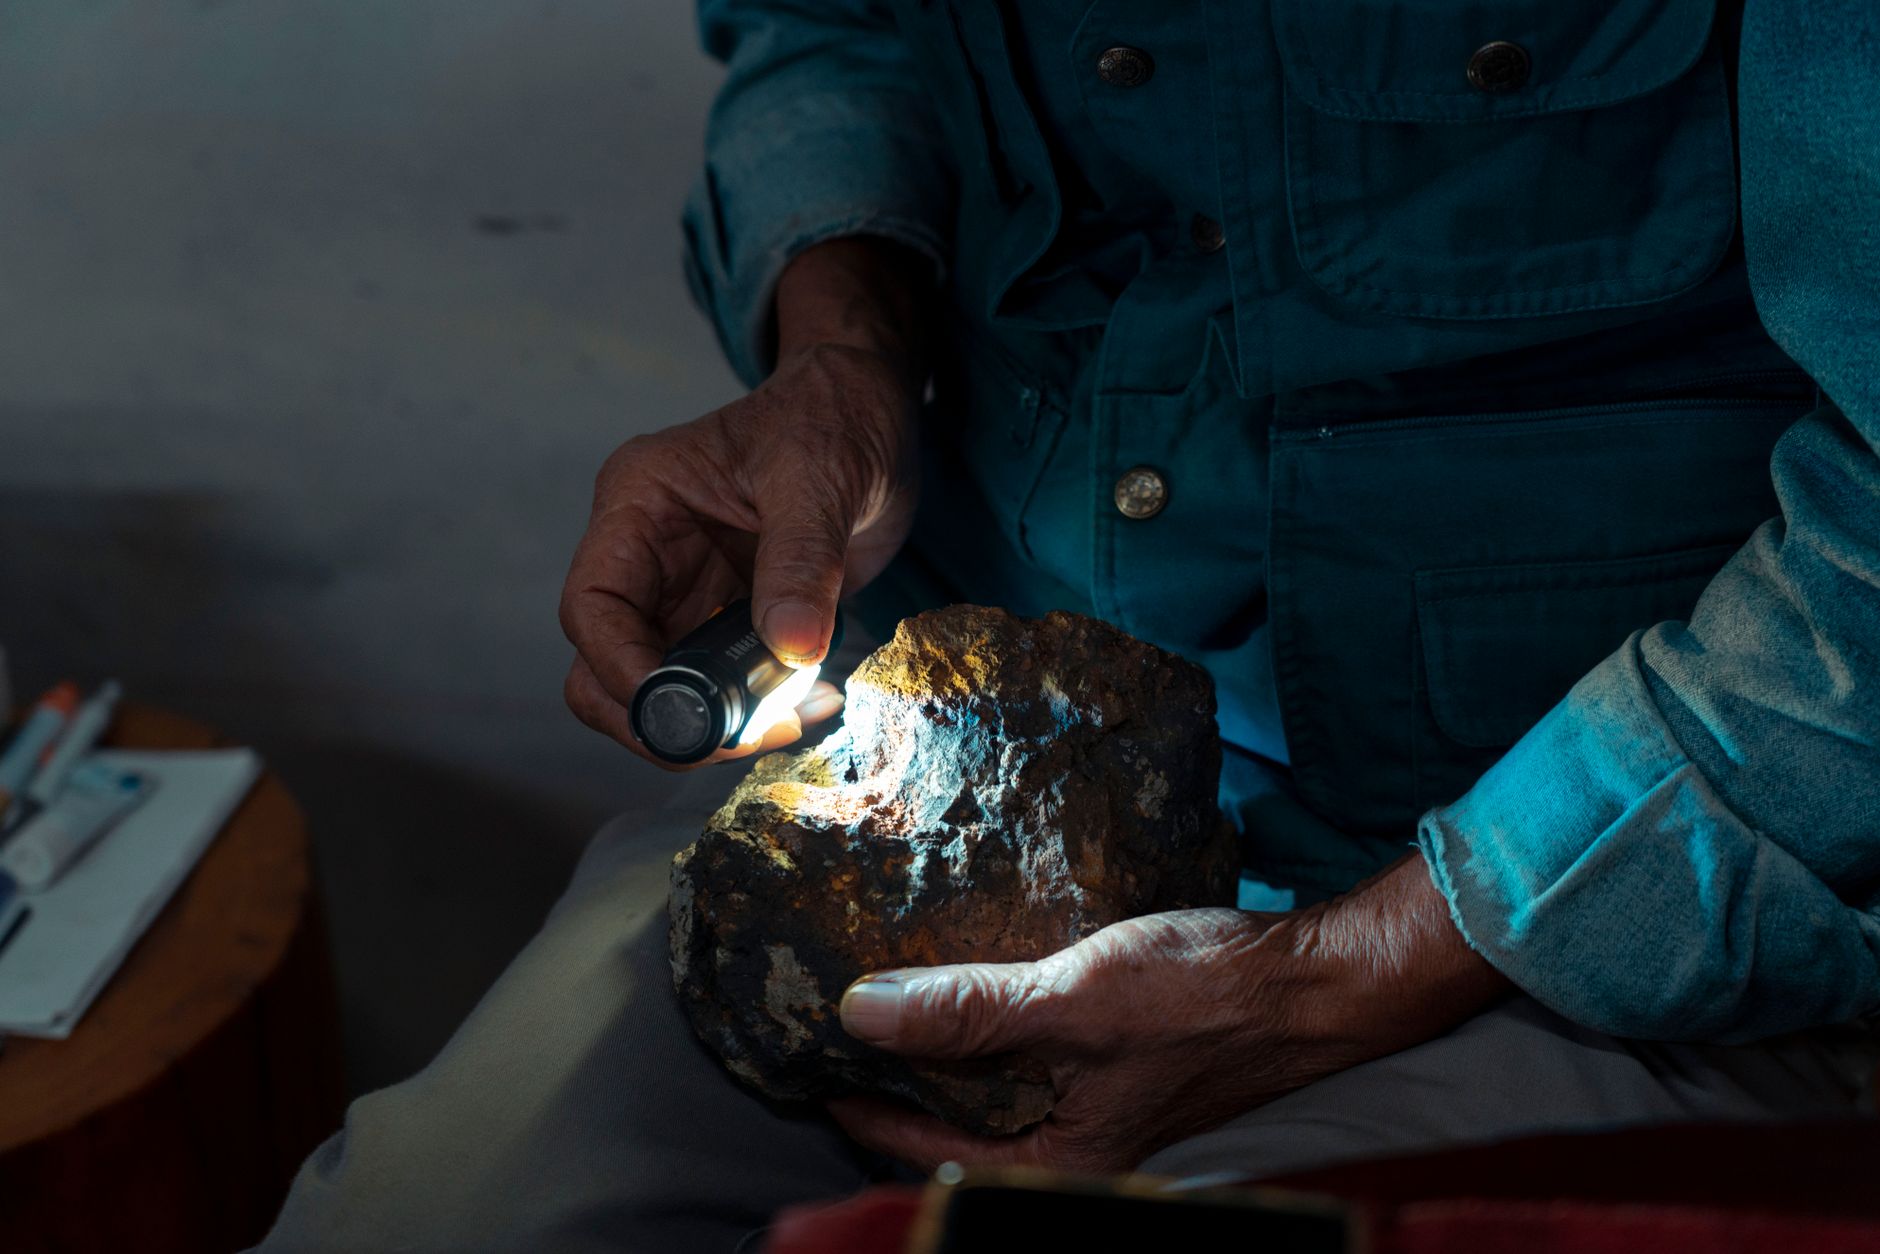
- Clean, preserve, and display your fossil finds.
Most fresh fossils need only gentle cleaning. Use a soft brush and water to remove loose dirt. Do not use harsh acids or wire brushes until you know the fossil’s hardness and stability. Some shale fossils crumble when wet, so start with a dry brush and a toothpick. The rock cleaning guide covers safe methods for different materials.
Stabilize fragile specimens with a consolidant only if necessary. Many fossils are fine without any treatment, but crumbly bone or pyrite-rich fossils may need support. Store fossils in padded boxes or wrap them in acid-free tissue. Label each specimen with the location, date, formation, and collector name. That label is what gives the fossil lasting value.
Display fossils away from direct sunlight and high humidity. Sunlight can fade some minerals and dry out matrix rock. A simple shelf with small stands works well for most personal collections. Avoid cramming heavy specimens on an unstable shelf. Treat your fossil collection like a small museum archive, and it will stay intact for decades.
Red Flags & Warnings
- 🚨 Never collect in national parks, national monuments, or protected state preserves. These areas prohibit removing rocks and fossils, and fines can be severe.
- 🚨 Do not remove vertebrate fossils from federal land without a permit. Bones, teeth, and fish fossils fall under the Paleontological Resources Preservation Act.
- 🚨 Always ask permission on private land. A creek bed may look public, but stream bottoms and banks are often privately owned.
- 🚨 Avoid undercutting cliffs or digging into overhangs. Rockfalls can bury a collector in seconds.
- 🚨 Watch for rattlesnakes, scorpions, and sharp tools in desert and badland sites. A heavy glove on your non-hammer hand prevents cuts and bites.
Frequently Asked Questions
Where can I find fossils near me legally?
Start with Bureau of Land Management maps and Mindat.org locality records for your state. Focus on public roadcuts, BLM land, national forests, and fee-dig sites. Always confirm current rules with the local field office before collecting.
What is the best state for beginner fossil hunting?
Florida is a strong beginner state because shark teeth and small fossils are abundant in river gravels and many sites are legal to collect. Wyoming, Texas, and South Dakota also offer famous public fossil sites with clear rules. Start close to home, then plan travel around known formations.
Do I need a permit to collect fossils on public land?
On most BLM and national forest land, casual collection of invertebrate fossils and petrified wood for personal use does not need a permit, but limits apply. Vertebrate fossils always need a permit on federal land. State land rules vary, so check the state geological survey website.
How do I tell a fossil from a plain rock?
Look for regular shapes, shell texture, bone pores, or repeated patterns like segments and teeth. Use a hand lens to see fine surface texture. A hardness test helps too. Fossils like shark teeth have a Mohs hardness near 5, while many silicified corals are near 7.
Can I sell fossils I find?
You may sell invertebrate fossils collected legally on private land or some state lands. Selling vertebrate fossils from federal land is illegal without authorization. Even on private land, significant vertebrate fossils may have state restrictions, so check state paleontological laws.
What tools should a beginner buy first?
Start with a rock hammer, safety goggles, and a 10x hand lens. A field notebook and GPS complete the core kit. Avoid buying heavy lapidary equipment until you have collected enough to know what you enjoy.
What Should You Remember?
- Check land status first. Federal, state, and private land rules differ far more than most beginners expect.
- Focus on sedimentary rocks. Limestone, shale, and sandstone produce the vast majority of surface fossils.
- Bring a small field kit. A rock hammer, safety goggles, hand lens, and notebook cover most beginner needs.
- Learn your state’s famous fossil units. Florida, Wyoming, Texas, and Utah offer strong legal starting points.
- Document every find with GPS and photos. Provenance is what makes a fossil useful for study or trade.
- Stabilize fragile fossils before cleaning. A dry brush and consolidant beat a hard scrub on soft matrix.
- Join a local rockhounding club. Field trip access and local knowledge accelerate your learning curve.
This article is for general information only. Rockhounding and collecting carry land-access, safety, and legal obligations , always verify claim status, land ownership, and collecting rules before removing material, and get landowner or land-agency permission where required. Field collecting involves physical hazards; use proper safety gear and never enter mines or unstable terrain.