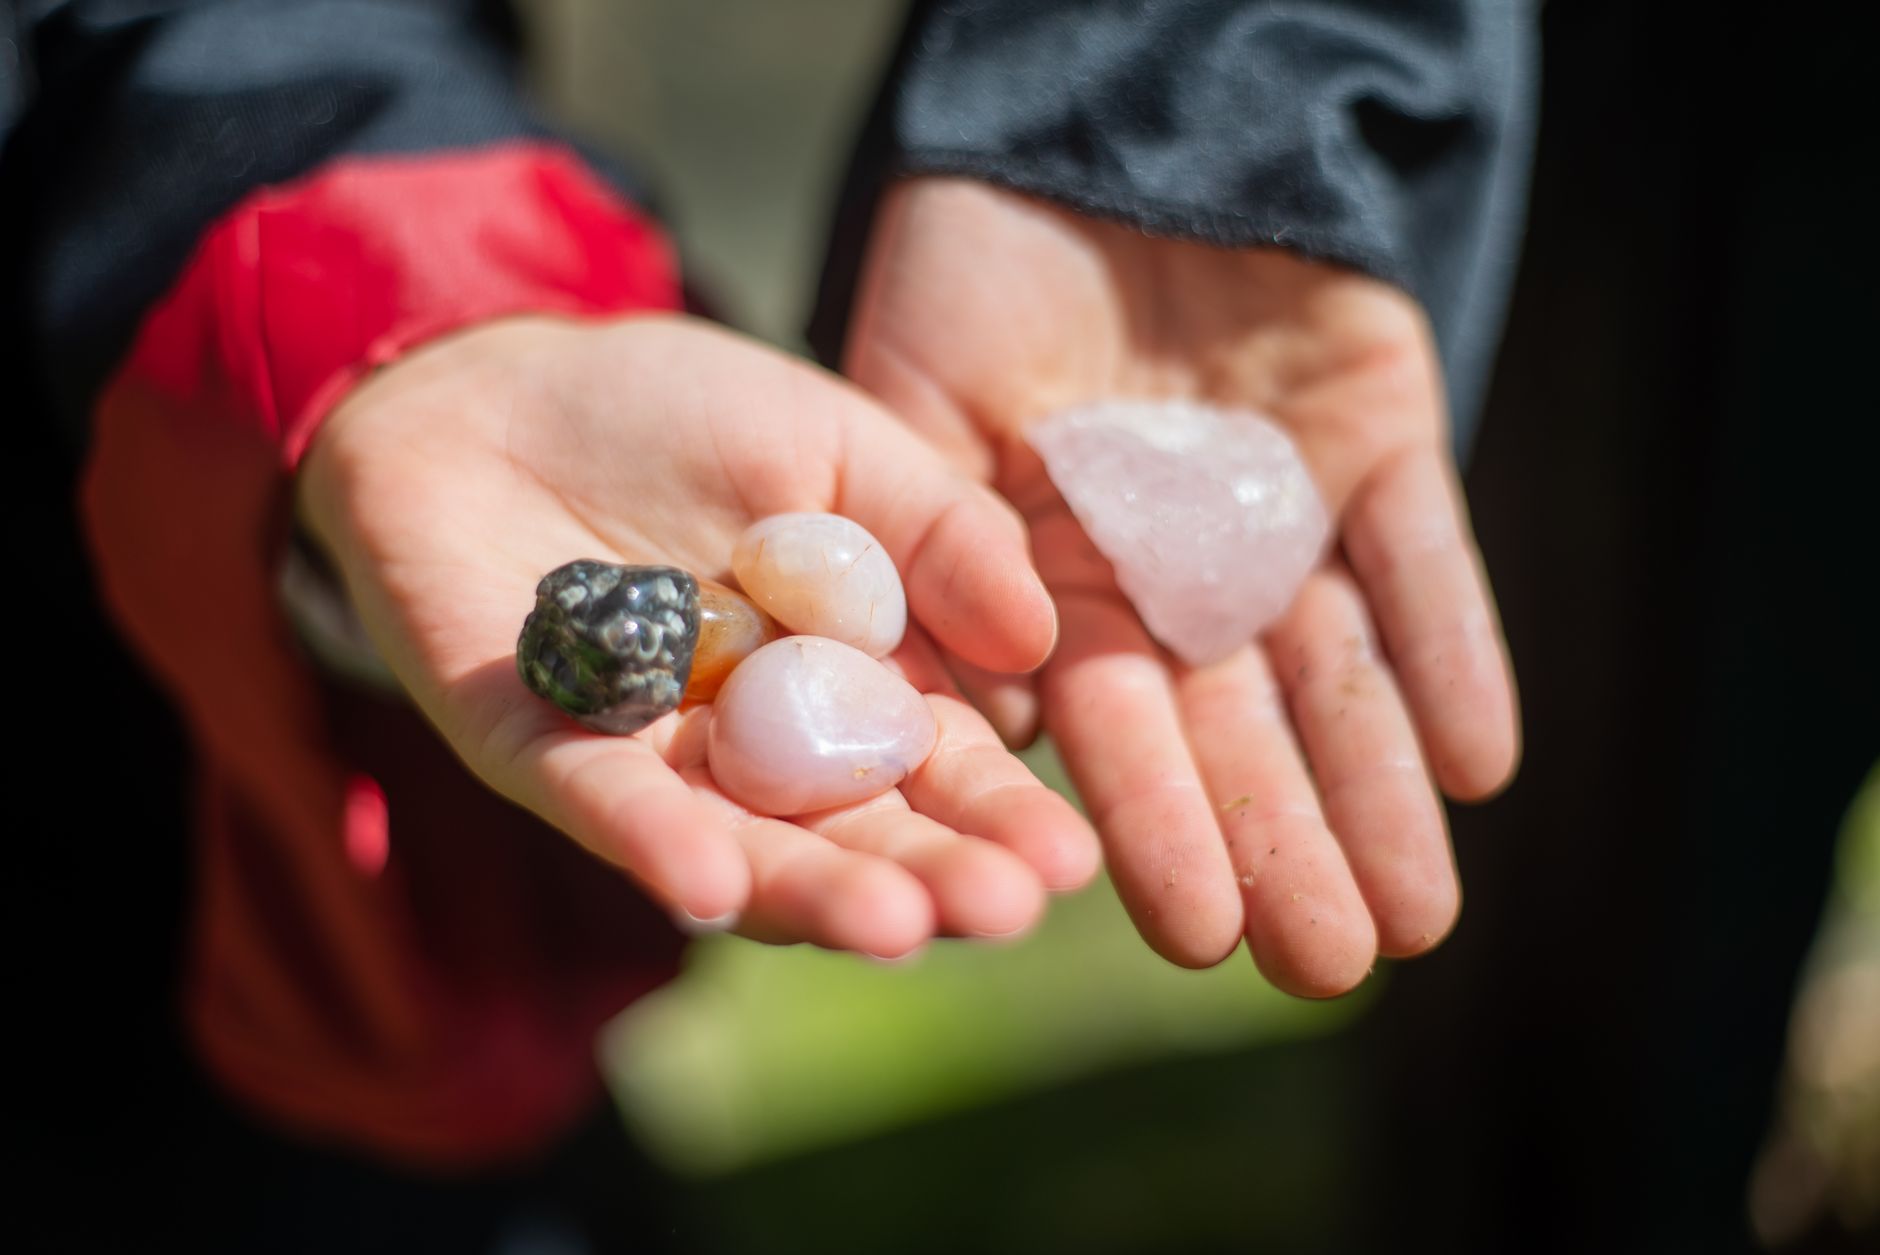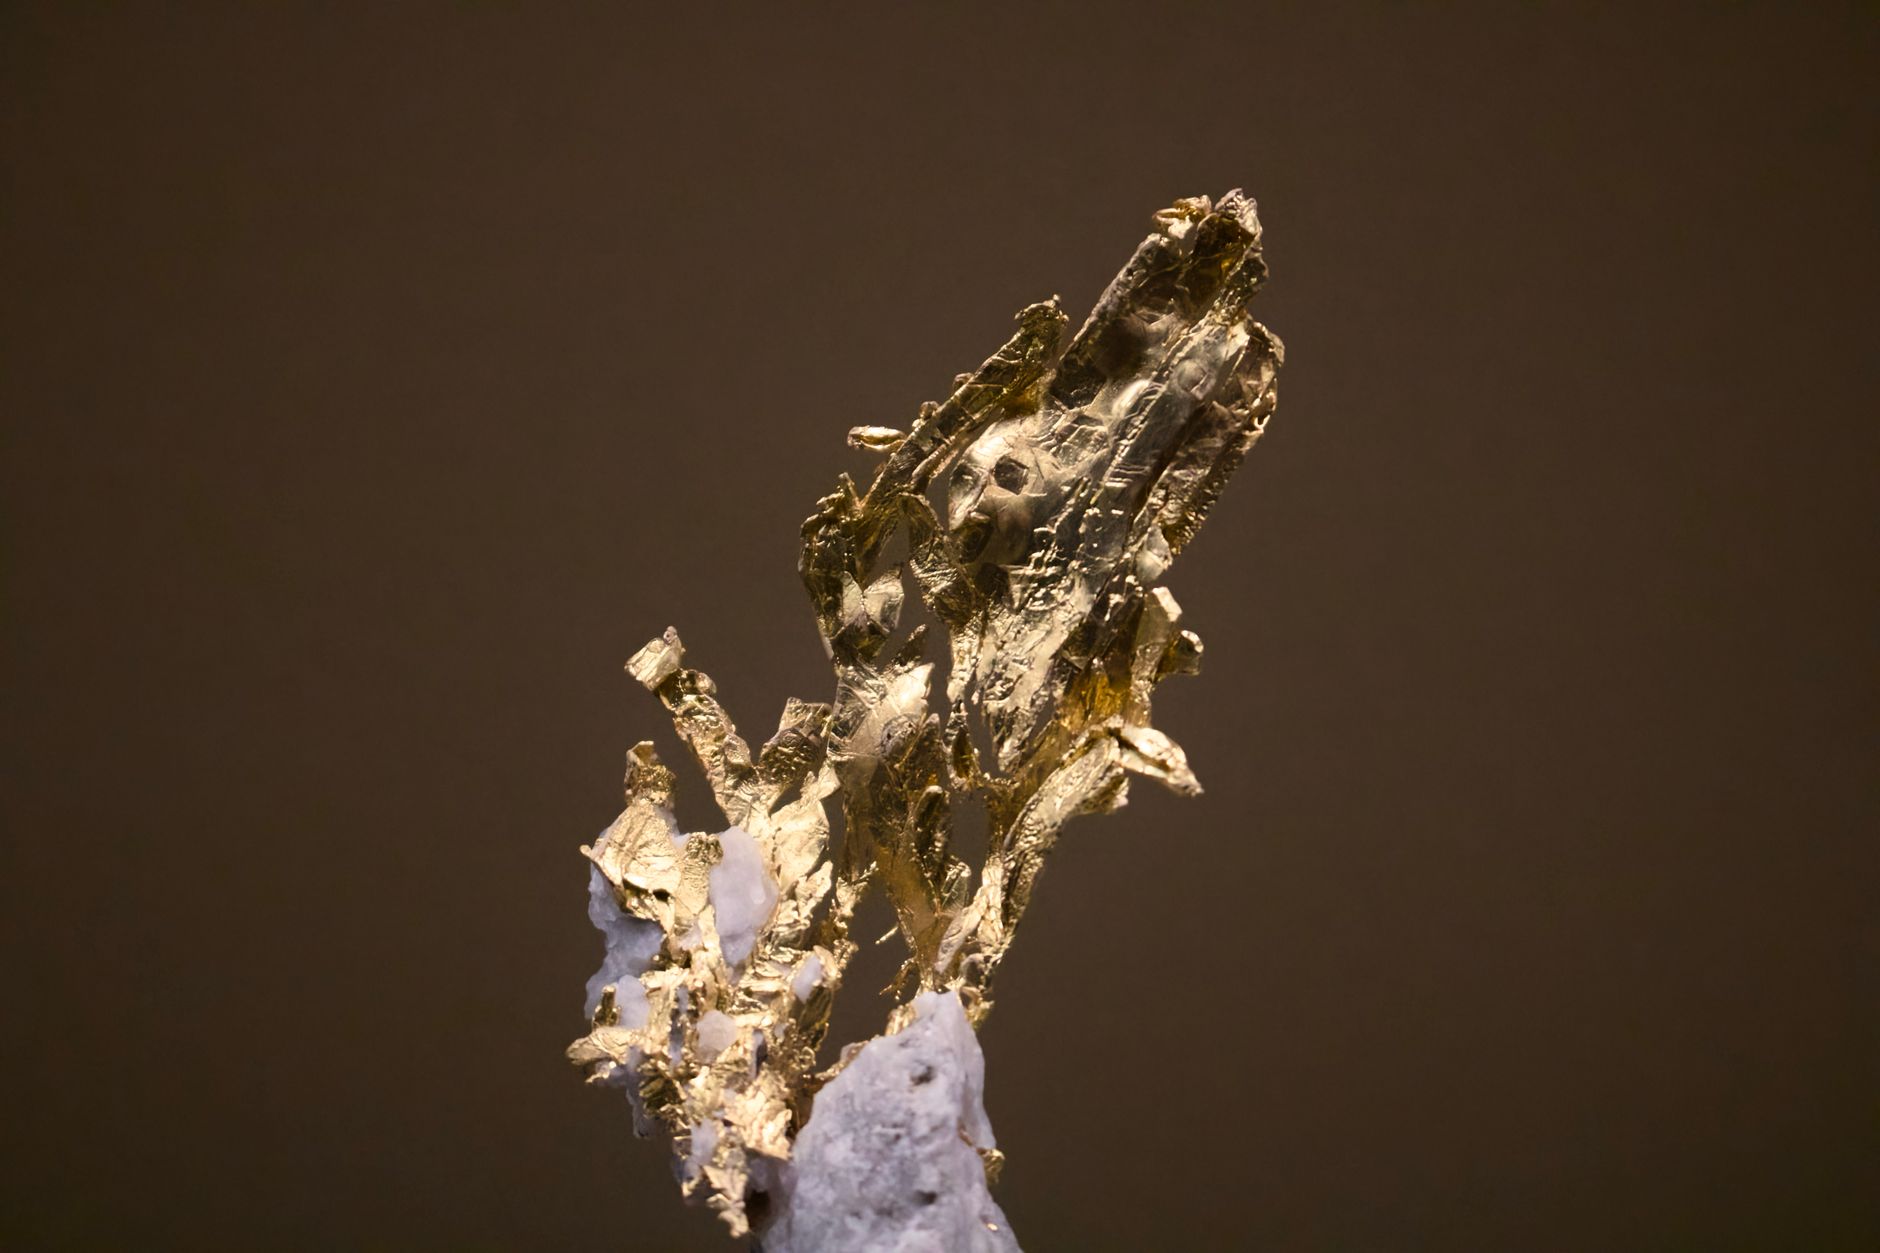
Finding a brassy yellow chunk in a stream or hillside is exciting. Your mind jumps to gold. Most of the time, the shiny mineral is pyrite, also called fool’s gold. Pyrite can look very convincing at first glance, especially when it is wet or mixed with quartz. Learning how to identify fool’s gold vs real gold saves you time and prevents false excitement. The good news is that you do not need a lab or expensive equipment to separate them. A few simple field tests can give you a reliable answer.
Real gold and pyrite are different minerals with different physical properties. Gold is a native element with the chemical symbol Au. Pyrite is an iron sulfide with the formula FeS2. They form in different ways and break differently. If you are new to prospecting, start with the basics in how to pan for gold. Then learn how physical properties shape identifications in the gemstone identification guide. These resources will help you build a strong foundation.
The most reliable tests use streak, hardness, weight, and crystal shape. The GIA notes that color alone is not a safe identifier for minerals. The Mindat mineral database lists pyrite with a hardness of 6 to 6.5 and a specific gravity of about 5. Gold has a hardness of 2.5 to 3 and a specific gravity of about 19.3. Those two data points separate most specimens before you even break a sweat.
Before you collect any specimen, know the rules. Public land may have restrictions. Private land always requires permission. Some areas allow casual rockhounding, but mining claims are off limits without the owner’s consent. Review a mineral collecting field guide before you remove material. Many rockhounding areas require you to leave minerals in place unless you have permission or a valid claim. Check with the Bureau of Land Management or local land manager when in doubt. A small kit makes the tests below easy and safe.
What You’ll Need
- unglazed porcelain streak plate
- 10x or 20x jeweler’s loupe
- digital pocket scale
- strong neodymium magnet
- steel pin or probe
- safety glasses and gloves
How Do You Identify Fool’s Gold vs Real Gold?
- Do the streak test on unglazed porcelain
The streak test is the fastest and most reliable field test for separating pyrite from gold. Rub the mineral across the back of a white, unglazed porcelain tile or a special streak plate. The color left behind is the mineral’s streak. Pyrite leaves a greenish black or brownish black streak. Real gold leaves a golden yellow streak. Do not use a glazed surface. The glaze will not grind the mineral and can ruin the test.
Why does this work? The streak color comes from the powdered mineral, not the surface color. Many shiny minerals have dull or dark powders. That is exactly the case with pyrite. Pyrite shows a greenish black streak, even though the crystal face looks brassy yellow. Gold, on the other hand, is the same yellow color whether it is solid or powdered. This test is quick and works on tiny specimens as long as you can make a mark.
Press hard enough to powder the mineral. If the rock is harder than the plate, it will not leave a streak. Pyrite is softer than porcelain, so it grinds. Gold is even softer, so it leaves an obvious yellow mark. If the specimen is very small, you can scratch it with a pin and smear the powder on the plate. Wipe the plate clean between tests so old powder does not confuse you.
- Test hardness with a knife or copper penny
Hardness is a classic mineral identification tool. Gold has a Mohs hardness of 2.5 to 3. That means a copper penny, which is about 3.5, can scratch gold. Pyrite has a hardness of 6 to 6.5. It will not be scratched by a penny, a knife blade, or a steel file. Pyrite will scratch glass, but gold will not. If you need a refresher, read the Mohs hardness scale guide.
Use a clean copper penny or the tip of a pocket knife. Press the edge into an inconspicuous spot on the specimen. If the metal bites into the mineral and leaves a groove, you likely have gold or another soft yellow mineral. If the tool slides off without scratching, the mineral is too hard to be gold. Pyrite’s hardness is the main reason it holds a sharp, brassy luster after tumbling and handling.
Be careful. Do not scratch a specimen you want to keep pristine. You can also reverse the test. Try to scratch a piece of glass with the mineral. Pyrite will cut the glass. Gold will not. Chalcopyrite, another fool’s gold lookalike, has a hardness of 3.5 to 4, so it sits between gold and pyrite. The streak test from step one will help with that.
- Compare weight and density by hand
Gold is exceptionally dense. Its specific gravity is about 19.3. Pyrite is much lighter, with a specific gravity of about 5. A piece of gold feels heavy for its size. A piece of pyrite feels relatively light. Pick up the specimen and roll it in your palm. The difference is noticeable once you have held both materials.
For a more precise check, use a digital pocket scale. Weigh the dry specimen in grams. Then weigh it again suspended in water. The weight loss in water equals the volume of water displaced. Divide the dry weight by the weight loss to get the specific gravity. A digital pocket scale that reads to 0.01 grams works well. Gold gives a value near 19.3. Pyrite gives a value near 5.
This test does not destroy the specimen. It is the most mathematical proof you can get at camp or at home. Keep in mind that other minerals can be heavy too. Galena is heavy but gray and cubic. If your yellow mineral is heavy and soft, gold is likely. If it is light and hard, pyrite is likely. For more field techniques, see how to identify rocks and minerals in the field.
- Inspect crystal shape and fracture with a loupe
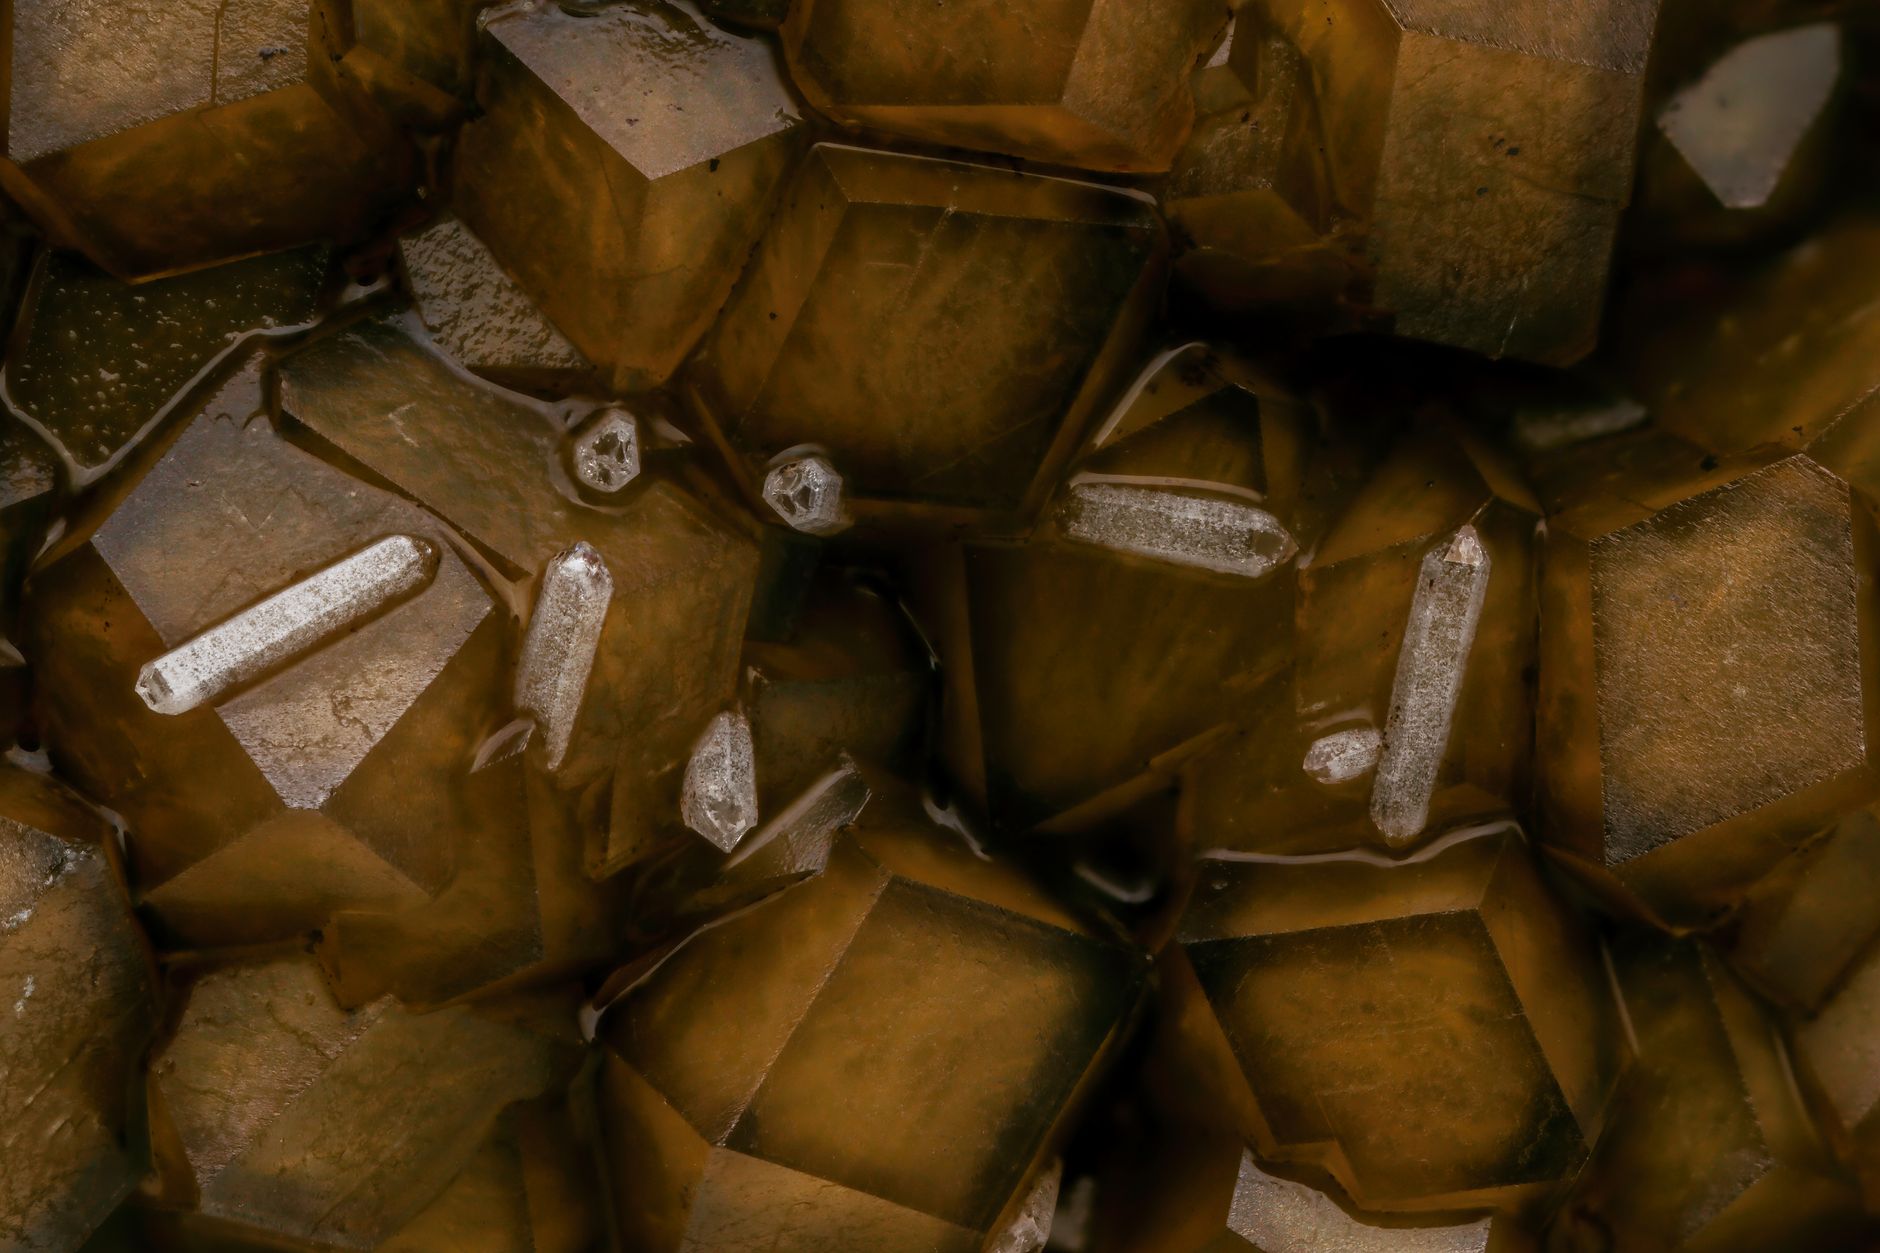
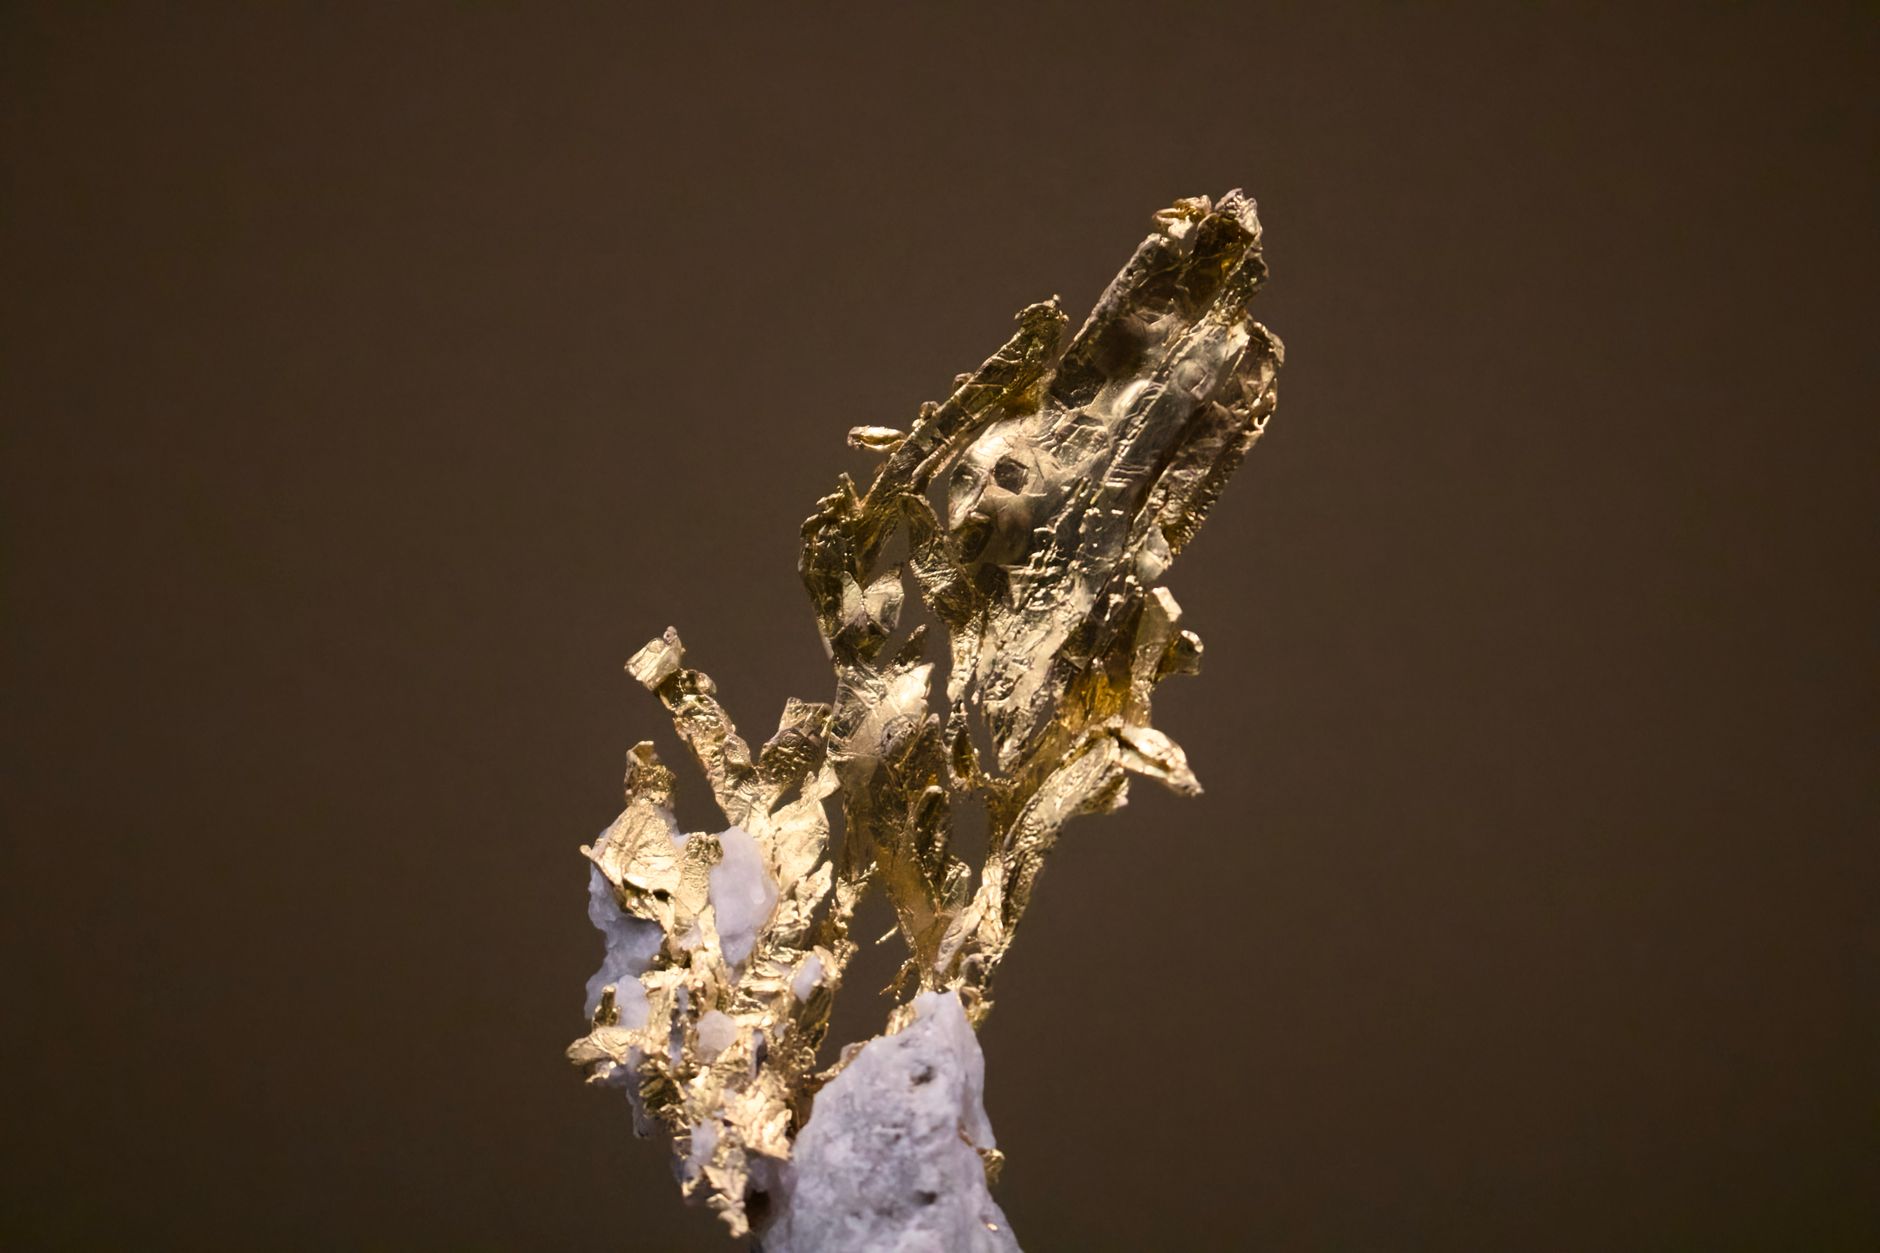
Crystal habit is a big clue. Pyrite typically forms in cubes, pyritohedrons, or octahedrons. Many pyrite specimens show sharp, flat faces and straight edges. Gold does not form visible cubes like that. It occurs as nuggets, flakes, wires, or irregular masses. Use a 10x jeweler’s loupe to examine the surface closely.
Look at the broken edges. Pyrite is brittle and breaks with a conchoidal or uneven fracture. Gold is malleable. It bends and flattens under pressure rather than shattering. If the specimen has many sharp, geometric faces, it is probably pyrite. If it looks rounded or hammered, it may be gold. A quality magnifying loupe helps you see these tiny details.
Also check the surrounding rock. Pyrite often grows in quartz veins, shale, or limestone. It can form large, brassy crystal clusters. Gold often occurs in quartz veins too, but it looks irregular and not geometric. The two can occur together, which confuses new collectors. When in doubt, run through the streak and hardness tests described in the first two steps.
- Check color, tarnish, and reflected light
Color is the least reliable test on its own, but it still helps. Pyrite is a pale, brassy yellow. It often has a greenish or silvery tint. Gold is a rich, warm yellow. In bright sunlight, pyrite can flash and glitter. Gold has a softer, deeper shine that does not change as much with the angle of light. The GIA emphasizes that color must be combined with other tests because both minerals can vary.
Pyrite tarnishes. When exposed to air and moisture, pyrite can develop a dull brown, purple, or iridescent film. This is sometimes called peacock ore, though that name usually refers to bornite. Gold does not tarnish. It stays bright and yellow even after years in a stream. If your specimen has a rusty or rainbow coating, suspect pyrite or chalcopyrite.
Chalcopyrite is another common lookalike. It is softer than pyrite but harder than gold, and it tarnishes to blue and purple. Bornite also shows iridescent colors. Step one’s streak test will separate these. Chalcopyrite gives a greenish black streak. Gold gives yellow. Pyrite gives a slightly greener black. Do not stop at color. Use it as a clue, then test. A simple kit from the best rockhounding gear guide includes the streak plate and pin you need.
- Test malleability with a pin or small blade
Gold is one of the most malleable metals on Earth. You can press a steel pin into a gold nugget and create a dent. You can bend a thin gold flake without breaking it. Pyrite is brittle. If you press a pin into pyrite, it may crumble or crack. A hardness test already shows part of this, but malleability tells you about the metal’s behavior under stress.
Use a sharp pin or the tip of a pocket knife. Apply gentle pressure in an out-of-the-way spot. On gold, the pin leaves a small dimple or cuts a thin curl. On pyrite, the point may cause a tiny chip. Do not strike pyrite with a heavy hammer unless you have eye protection. Pyrite can shatter into sharp fragments.
The old bite test is popular but not recommended in the field. Many rocks carry bacteria, arsenic, or other harmful compounds. Some pyrite contains arsenic. Never put unknown minerals in your mouth. Use a steel pin or a brass probe instead. A small field kit with a pin, loupe, and streak plate makes these tests easy.
- Use a magnet to rule out magnetic lookalikes
A strong magnet is useful for identifying other iron minerals. Magnetite is strongly magnetic and black. Pyrrhotite is weakly magnetic and can have a bronze color. Neither pyrite nor gold is usually magnetic. If your specimen jumps to a magnet, it is not gold. If it shows a weak pull, you may have pyrrhotite or an iron-rich rock, not pyrite or gold.
Use a neodymium magnet or a good prospecting magnet. Hold it near the specimen without touching it if the rock is fragile. Some pyrite specimens can show very weak attraction because of included pyrrhotite, but this is rare. Gold never responds to a magnet. Do not rely on this test alone, but it quickly removes certain iron oxide lookalikes.
Magnetite and hematite sometimes weather to a metallic yellow or brown. They confuse beginners in streams and old mine dumps. A magnet solves the magnetite question. Hematite is not magnetic but has a red-brown streak. Gold has a yellow streak. The streak test remains your best friend.
- Confirm with acid or a specific gravity kit at home
If you still cannot decide, a home acid test can help. Gold is resistant to most acids, including nitric acid. Pyrite reacts with nitric acid and may produce a rotten egg smell from sulfur. Chalcopyrite also fizzes. However, acid testing is risky. Wear gloves, safety glasses, and work outside or in a ventilated area. Clean up spills immediately.
The specific gravity test described in step three is safer and more precise. For even better results, use a small glass beaker, a thin wire harness, and a digital scale. Pure gold gives a value near 19.3. Pyrite gives a value near 5.0. If your value falls between 6 and 15, you may have an alloy, a mixed specimen, or a different mineral. Record your numbers.
Some specimens contain both gold and pyrite. In these cases, you may see yellow gold smears next to brassy pyrite cubes. A gold pan can separate the heavy gold from pyrite and sand. Review how to pan for gold if you are working in a gold-bearing stream. Always verify land ownership and collecting rules before you dig or remove material.
Red Flags & Warnings
- 🚨 Never rely on color alone. Pyrite, chalcopyrite, and gold all look brassy in the field. Always run a streak test before making any claim.
- 🚨 Do not put unknown minerals in your mouth. The old bite test can expose you to arsenic, bacteria, or other harmful substances. Use a steel pin or hardness tools instead.
- 🚨 Acid tests can cause burns and release toxic fumes. Use nitric acid only with proper gloves, goggles, and ventilation. If you are not trained, skip acid and use specific gravity.
- 🚨 Confirm land ownership and collecting rules before removing any specimen. Public land may have restrictions, and active mining claims are private property. Check with the BLM or local land manager.
- 🚨 Pyrite can contain arsenic and can produce acid mine drainage when crushed. Handle it carefully and wash your hands after handling specimens.
- 🚨 A magnet test only rules out magnetite and pyrrhotite. It does not confirm gold. Use streak and hardness for a positive ID.
Frequently Asked Questions
How can I tell fool's gold from real gold quickly?
Rub the mineral on an unglazed porcelain streak plate. Pyrite leaves a greenish black streak. Gold leaves a golden yellow streak. That test takes seconds and is reliable for most specimens.
Is pyrite worth anything?
Pyrite is not gold but it can be a great collector mineral. Sharp cubic pyrite crystals have value to collectors. Some pyrite also contains trace gold or is associated with gold deposits.
Does pyrite ever contain real gold?
Yes, some pyrite contains microscopic or visible gold inclusions. This is called auriferous pyrite. The gold can be recovered by crushing and processing, but most pyrite does not contain enough gold to be economic.
Where can I find fool's gold?
Pyrite is very common. It occurs in sedimentary rocks, hydrothermal veins, coal beds, and metamorphic rocks. You can find it in many states, including Colorado, Nevada, and California. Always check local access rules.
Can I use vinegar to test gold?
Vinegar is a weak acid and will not dissolve gold. It may slowly react with some surface coatings. It is not a reliable test for pyrite. Use the streak test and hardness test instead.
What is the formula for fool's gold?
Fool’s gold is usually pyrite, an iron sulfide with the chemical formula FeS2. Chalcopyrite, with the formula CuFeS2, is another common lookalike. Both have a metallic luster and brassy color.
What Should You Remember?
- Streak test: Pyrite leaves a greenish black streak; gold leaves yellow.
- Hardness: Gold is 2.5 to 3, pyrite is 6 to 6.5.
- Specific gravity: Gold is about 19.3, pyrite is about 5.
- Crystal habit: Pyrite forms cubes or pyritohedrons, gold forms nuggets or flakes.
- Malleability: Gold dents and bends, pyrite chips and shatters.
- Never bite unknown minerals: Use a steel pin or hardness tools instead.
This article is for general information only. Rockhounding and collecting carry land-access, safety, and legal obligations , always verify claim status, land ownership, and collecting rules before removing material, and get landowner or land-agency permission where required. Field collecting involves physical hazards; use proper safety gear and never enter mines or unstable terrain.