Gold panning is one of the oldest and most satisfying ways to find real treasure. Unlike hard rock mining, it needs no heavy equipment. You only need a pan, water, and patience. The basics stay the same for any beginner. This guide walks through each step in detail. It also covers the gear that matters and the mistakes to avoid.
Gold is dense. Its specific gravity is about 19.3, which means gold is roughly 19 times heavier than an equal volume of water. Most stream gravel has a specific gravity between 2.5 and 3.0. That difference is why panning works. The USGS notes that placer gold deposits form where stream velocity drops and heavy minerals settle out. You can learn to read those spots with practice.
Before you grab a pan, remember that public land rules vary. The Bureau of Land Management manages many gold panning areas in the western states. Some creeks are open to casual panning, but many have active mining claims. Always verify land ownership and collecting rules before removing material. This is not just red tape. It protects you and the hobby. Check best-beginner-rockhounding-sites for friendlier places to start.
This guide covers the whole process from choosing a pan to reading a creek and cleaning your gold. It includes the small tricks that beginners miss. You will also learn how to test your yellow flecks with a simple streak test. Gold is soft at 2.5 to 3 on the Mohs hardness scale. Pyrite is much harder at 6 to 6.5. That single fact can save you from a fool’s gold letdown. Let’s get started.
What You’ll Need
- 14-inch plastic gold pan
- Classifier sieve (1/4 inch or 1/2 inch mesh)
- Snuffer bottle
- Glass vial with water
- Hand trowel or small shovel
- Work gloves
- Five-gallon bucket
- Small magnet (optional)
How Do You Pan for Gold?
- Choose the right gold pan and basic gear
A 14-inch plastic gold pan with riffles is the classic beginner choice. Plastic pans weigh less than steel. They also grip fine gold better through subtle friction. Steel pans need seasoning and can rust if not dried. Plastic pans have textured riffles that trap dense particles during the swirl. Start with a color that lets you spot gold easily. Dark blue or green pans show yellow flakes well. Check the 14-inch gold pan on Amazon.
You also need a few simple tools. A plastic classifier or sieve removes larger stones before you pan. A snuffer bottle sucks up tiny gold flakes from the pan. Small glass vials hold your gold underwater for safe keeping. A hand trowel helps you dig gravel from bedrock cracks. Work gloves protect your hands from cold water and sharp rocks. A five-gallon bucket carries your gear and stores concentrates. If you want a deeper gear list, read this best-rockhounding-gear-guide.
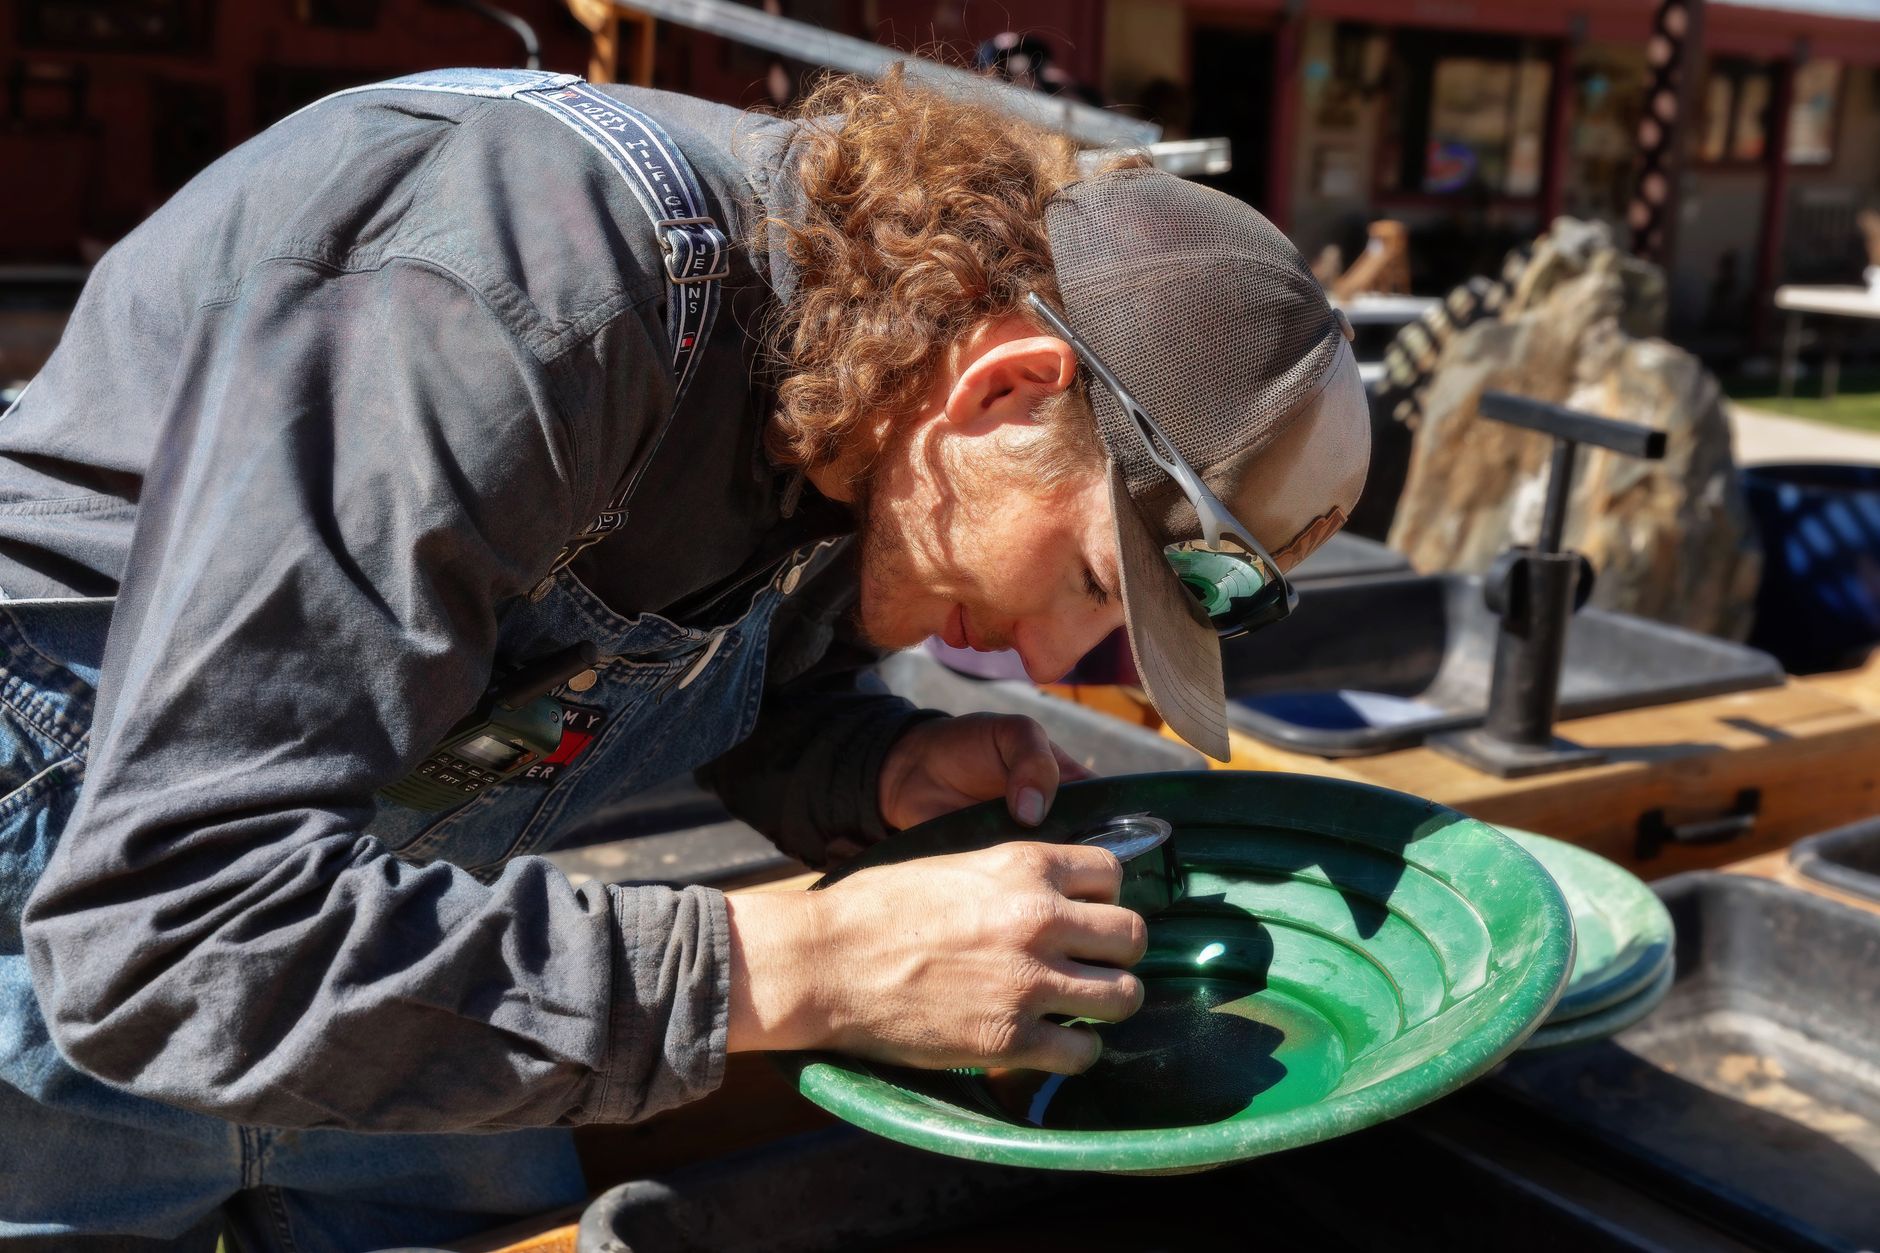
Do not buy an expensive metal detector or sluice box on day one. Those tools help later, but they will slow down learning. The panning motion itself is the skill that matters. Master a cheap pan first. Then you can decide if you want to upgrade to a sluice or highbanker. That said, one extra tool that helps beginners is a small magnifying loupe. You can inspect tiny flakes without spilling them. See best-magnifying-loupes-rockhounds for options.
- Read the creek and locate likely gold zones
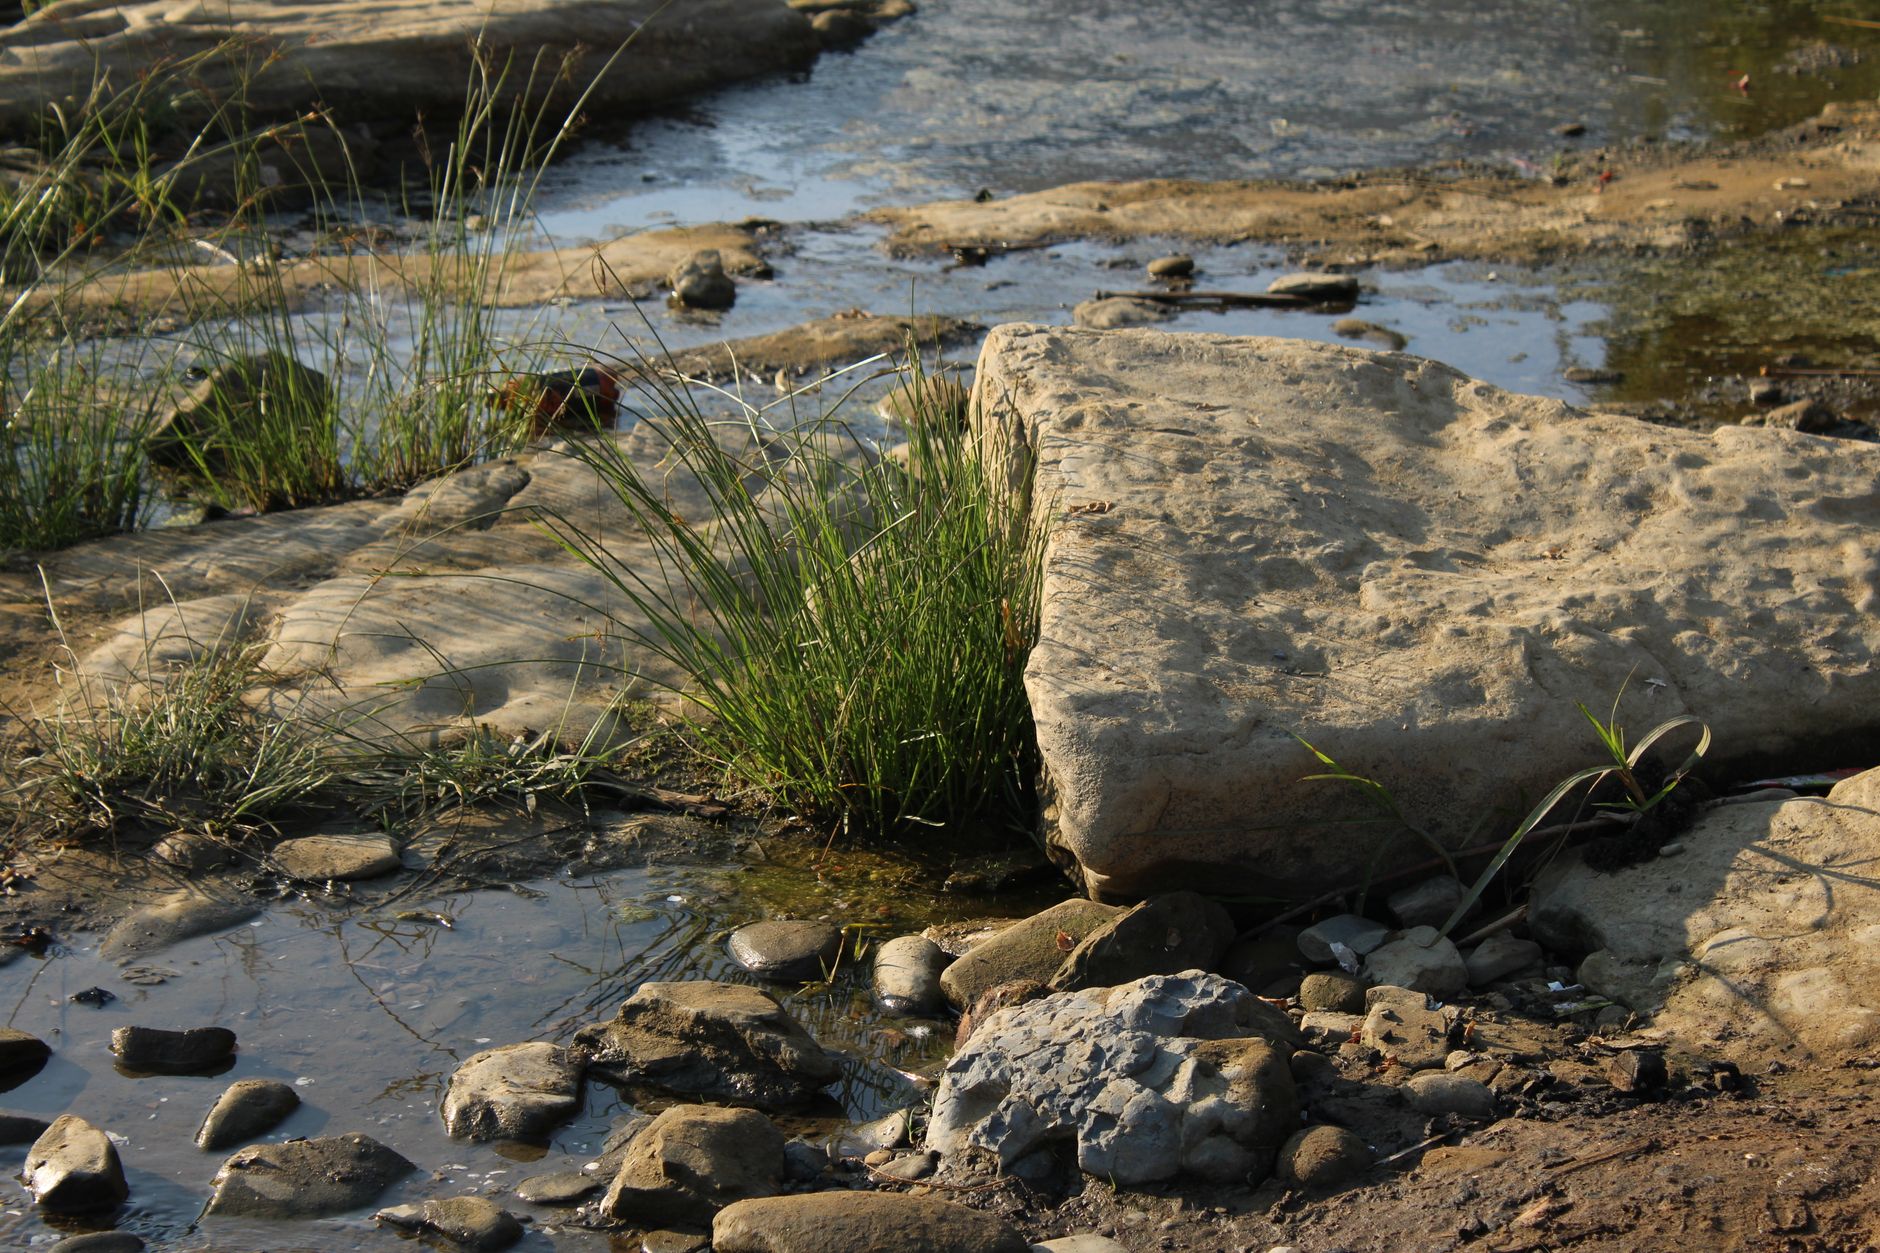
Gold moves only when water moves fast enough. In high water, gold particles wash down with gravel and sand. In lower flows, the water slows and drops the heaviest particles. The USGS explains that placer gold deposits form where stream velocity drops. Look for spots where the current changes speed. Inside bends of a creek are classic spots. The outside bank erodes, but the inside bank deposits material.
Bedrock is your best target. Gold works its way down through loose gravel until it hits solid rock. Cracks and low spots in bedrock act like natural riffles. They hold gold, black sand, and heavy minerals. A false bedrock layer, like a hard clay or cemented gravel layer, can also trap gold. Dig down until you hit something solid. Do not just scoop from surface gravel.
Large boulders and logs create low pressure zones behind them. Water slows there and drops heavy particles. The downstream side of a boulder is often a good test spot. Also check moss roots and grass clumps on bedrock. Fine flood gold catches in those root masses. If you are in a known gold district like the Mother Lode country, check rockhounding-in-california for regional context. But always verify the specific creek rules.
Moss and root masses hold fine flood gold. You can pull them apart in your pan. That said, do not destroy living riparian habitat. Take only a small sample and wash it back.
- Learn the basic panning motion
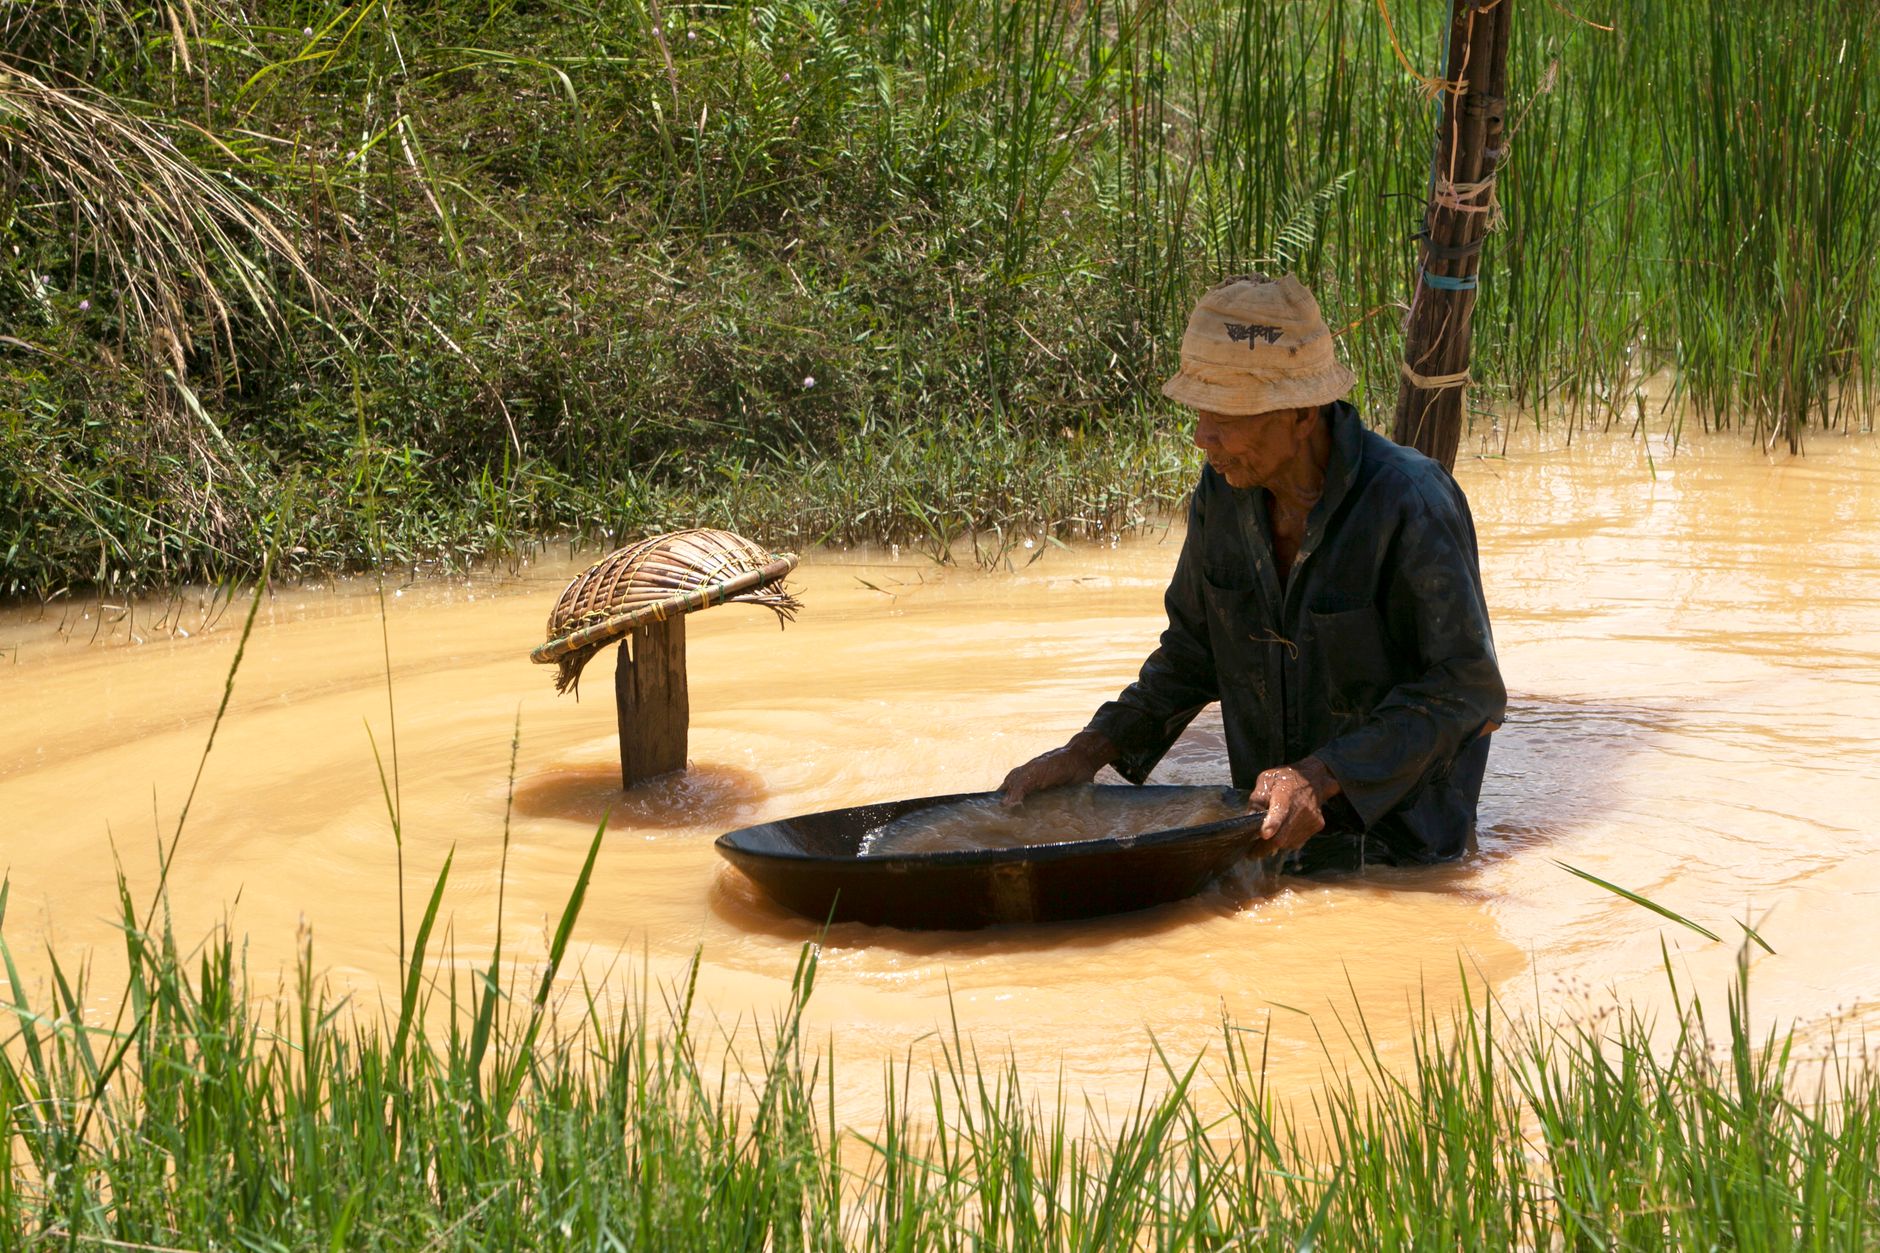
Fill your pan about three quarters full with classified material. Submerge the pan under water. Break up any clay or mud with your fingers. Remove large stones one by one. Rub each stone underwater so any attached sand falls back into the pan. Toss the clean stone aside. Work slowly. Rushed motions push gold out of the pan.
Now grip the pan with both hands. Shake it side to side while the pan is underwater. This lets denser particles sink to the bottom. Tilt the pan slightly away from you. Use a forward and backward swirling motion. The lighter sand and clay should wash over the lip. Keep the downstream corner low but not too low. Gold and black sand stay behind near the bottom riffle.
Tap the front edge of the pan lightly. This makes the remaining dense material move forward. If you see yellow flakes staying behind, you are doing it right. Continue the gentle swirl and wash until only heavy black sand and maybe gold remain. Do not use a vigorous shaking motion that spills dense material. If you are unsure about the yellow flecks, review how-to-identify-fools-gold before you get too excited.
- Classify material before you pan
Classifying means running your gravel through a screen or sieve. A simple plastic classifier with 1/4 inch or 1/2 inch mesh works well. Check the classifier sieve on Amazon. Shovel or scoop your pay dirt into the classifier. Set the classifier on top of a bucket or directly in your pan. Shake it while water runs through. Large river rocks stay on top. The fine material falls through.
Why bother? Large rocks take up space in the pan. They also create currents that can wash fine gold away. Removing them makes the panning motion more effective. You can also inspect the coarse rocks before discarding them. Occasionally a chunk of gold-bearing quartz will not pass through the screen. Tap those rocks and look for visible gold or rusty staining.
After classifying, you have a smaller volume of fine sand, clay, and heavy minerals. This is easier to pan down to concentrates. If you have extra buckets, fill one with classified pay dirt to pan later. That way you can spend less time digging and more time panning at the water’s edge. Some people use a small garden trowel to scrape cracks. That tool is fine as long as you are not on a sensitive site.
- Work the concentrates and remove black sand
After you pan off most of the light material, you are left with black sand and maybe gold. Black sand is mostly magnetite and hematite. Magnetite has a specific gravity around 5.2. Gold is about 19.3. That difference helps separation, but both are heavy compared to quartz sand. Use a gentle back and forth swirl with a little water. Keep the pan tilted just enough to let the black sand move forward.
A snuffer bottle is your best friend here. Fill the bottle with water and squeeze it near the gold flakes. The suction pulls small gold particles into the bottle. Then transfer the contents into a small vial of water. Check the snuffer bottle on Amazon. If you have a lot of black sand, use a small magnet wrapped in a plastic bag. The magnet attracts magnetite. But keep it away from the part of the pan holding gold because fine gold can hitch a ride with magnetic particles.
Do not try to remove every speck of black sand in the field. Save your concentrates in a vial or bucket. Bring them home for finer separation under better light. You can clean your gold with water and a drop of dish soap later. The how-to-clean-rocks-and-minerals guide covers safe cleaning methods for mineral finds. Just remember that gold is soft. Do not use abrasives on it.
- Test your yellow flecks before celebrating
Not all yellow flakes are gold. Pyrite is the classic impostor. It has a brassy yellow color and forms cubes or striated crystals. Gold is softer, more yellow, and deforms rather than shatters. You can test this in the field. Press the tip of a pocket knife or safety pin into the flake. Gold will dent. Pyrite will crumble or resist. But be gentle with tiny flakes. Better yet, use a streak test.
Rub the flake on a piece of unglazed porcelain, like the back of a ceramic tile. Gold leaves a golden yellow streak. Pyrite leaves a greenish black or brownish streak. This is one of the most reliable field tests. The Mohs hardness scale guide explains that gold is only 2.5 to 3 on the scale. Pyrite is 6 to 6.5. That hardness difference is why the streak and dent tests work.
Another clue is shape. Placer gold often appears as flattened flakes or rounded nuggets because it has traveled in a stream. Pyrite tends to form sharper crystals or broken pieces. Mica can look golden in the right light, but it floats and moves differently in the pan. If you need help separating the lookalikes, read how-to-identify-fools-gold. This skill will save you from carrying home a pan full of glittery rock dust.
- Sample multiple spots before settling in
Do not spend an hour panning one bad spot. Start with quick test pans. Dig down to the nearest hard layer in several locations. Fill a half pan of material from each spot. Pan each sample separately and note what you find. Look for a few tiny specks of gold or at least concentrated black sand. If a spot shows no heavy minerals after two test pans, move on.
The Bureau of Land Management notes that casual prospecting often works best where old stream channels cut through current bends. A small geological map can help you find those zones. If you are in a state with public gold panning areas, use that infrastructure. For example, many western states have designated panning sites. Check rockhounding-in-arizona for specific state-level guidance.
When you find a pay streak, mark it mentally or with a GPS. Work that area carefully. Gold tends to occur in pockets or lines. A series of good test pans tells you where to focus. But do not tunnel into banks or undermine trees. That creates safety hazards. Sample responsibly and fill holes as you go.
- Store, document, and clean up your dig site
Once you recover gold, transfer it into a small vial with water. The water prevents tiny flakes from blowing away or sticking to plastic. Label the vial with the creek name, date, and approximate location. This is good field practice for any mineral collector. A simple notebook entry works fine. If you want a structured method, see mineral-collecting-field-guide for ideas.
Refill any holes you dug. Smooth out the gravel bar. Pack out all trash including broken plastic and old wire. Many public lands have rules about surface disturbance. Leaving a site cleaner than you found it protects access for other rockhounds. Do not cut live vegetation. Do not move large boulders with a pry bar unless it is clearly legal and necessary. In most areas it is not.
At home, dry your pan and tools completely. Store your gold vial away from sunlight and heat. Later you can weigh your gold or display it in a small vial. Remember that gold panning is about patience and observation. The more creeks you read, the better you get. If you want to expand into other rockhounding activities, start with the best-beginner-rockhounding-sites list. That will give you safe, legal places to practice your new skills.
Red Flags & Warnings
- 🚨 Never assume a creek is open to panning. Active mining claims and private land can look public. Check BLM records or local land status maps before you dig.
- 🚨 Cold, fast water can knock a person down in seconds. Wear non-slip footwear and never pan alone in swift or deep water.
- 🚨 Do not discard pyrite as worthless too quickly. Some pyrite contains invisible gold, but more importantly misidentifying gold as pyrite can cost you your find. Test every yellow flake.
- 🚨 Old mining areas may contain mercury, lead, or arsenic in tailings. Avoid dry panning dust and wash your hands before eating.
- 🚨 Do not use motorized suction dredges or highbankers without checking local rules. Many states restrict or ban them in salmon streams.
- 🚨 Never dig undercut stream banks or large boulders. They can collapse and bury you. Sample only stable gravel bars and exposed bedrock.
Frequently Asked Questions
Is gold panning legal on public land?
It depends on the specific land and creek. Many BLM and Forest Service lands allow casual panning, but active mining claims and some designated areas are off limits. Always check land ownership and any current claims before removing material. A good first step is to contact the local BLM field office.
What kind of gold pan is best for beginners?
A 14-inch plastic pan with deep riffles is the best starter option. Plastic is lighter and grips fine gold better than steel. Dark blue or green colors make yellow flakes easier to see. Avoid tiny pans because they hold less material and make learning slower.
How do I tell gold from pyrite in the field?
Press the flake with a knife tip. Gold dents, while pyrite crumbles or resists. Rub it on unglazed porcelain. Gold leaves a golden yellow streak, and pyrite leaves a greenish black streak. Gold is also softer, about 2.5 to 3 on the Mohs scale, while pyrite is 6 to 6.5.
Where should I look for gold in a creek?
Focus on inside bends, downstream sides of large boulders, and cracks in exposed bedrock. Dig through loose gravel until you hit solid rock. Black sand concentrations often indicate you are in a heavy mineral zone. Sample multiple spots before committing.
What is black sand and why does it appear with gold?
Black sand is mainly magnetite and hematite, which are dense iron minerals. They settle in the same low velocity zones as gold because they are heavier than quartz sand. A magnet can help separate magnetite, but keep it away from visible gold as fine gold may stick to magnetic particles.
Do I need a permit to pan for gold?
In many areas, casual hand panning on open public land does not require a permit. However, some states, private lands, and certain rivers do require permits or have seasonal rules. Always check with the local land management agency before you go.
What Should You Remember?
- Gold density: Gold has a specific gravity of about 19.3, so it sinks and stays in your pan while lighter material washes away.
- Legal check: Always verify land status and active mining claims with the BLM before removing any material.
- Bedrock focus: Gold travels down to solid rock. Dig to bedrock or false bedrock in inside bends and behind boulders.
- Basic motion: Shake, tilt, swirl, and tap. Let density do the work and keep the motion gentle.
- Field test: Use a streak test or knife tip. Gold streaks golden yellow and dents. Pyrite streaks greenish black and shatters.
- Classify first: Screen out large rocks before panning. It speeds up the process and protects fine gold.
- Clean up: Refill holes, pack out trash, and label your gold vial with the location and date.
This article is for general information only. Rockhounding and collecting carry land-access, safety, and legal obligations , always verify claim status, land ownership, and collecting rules before removing material, and get landowner or land-agency permission where required. Field collecting involves physical hazards; use proper safety gear and never enter mines or unstable terrain.