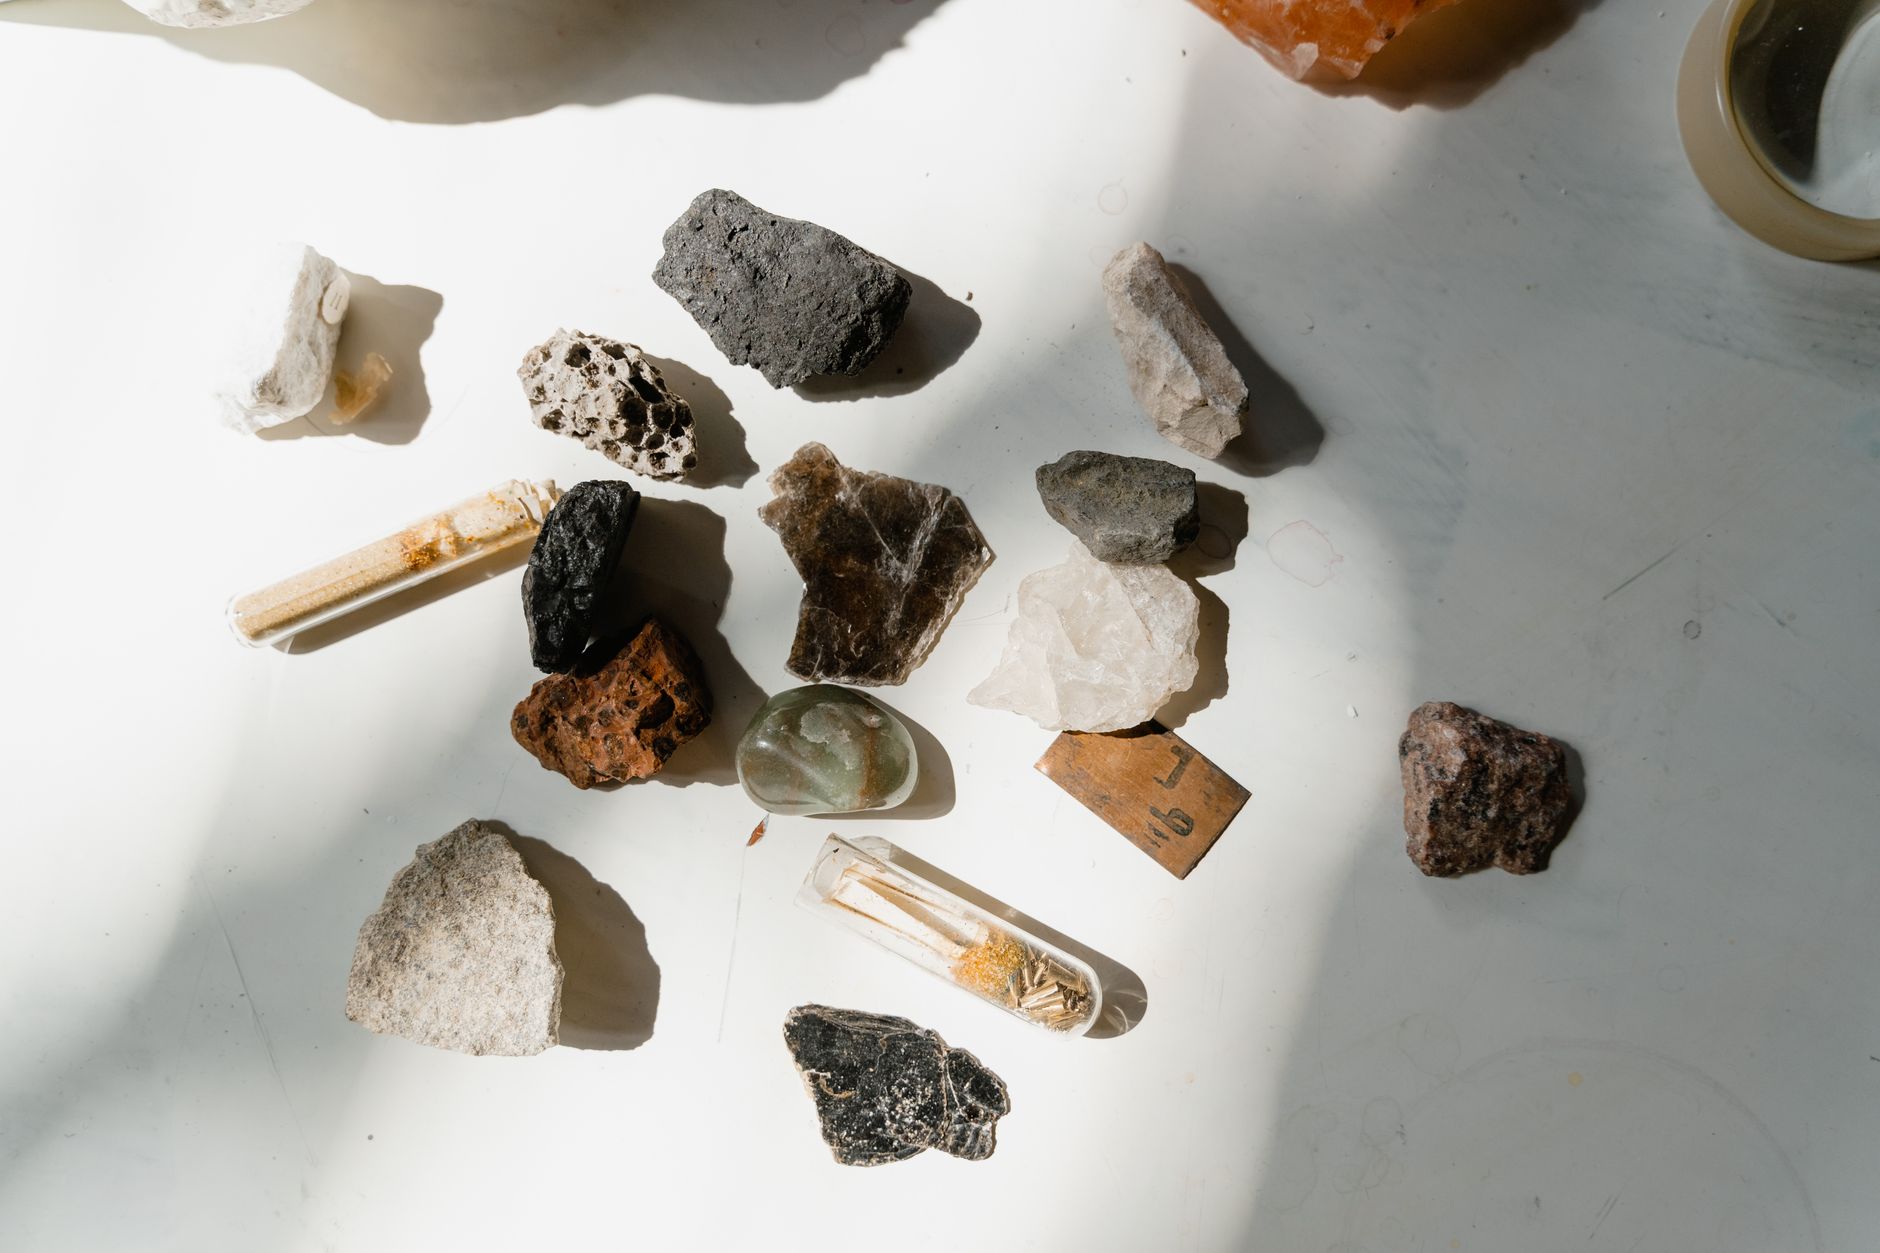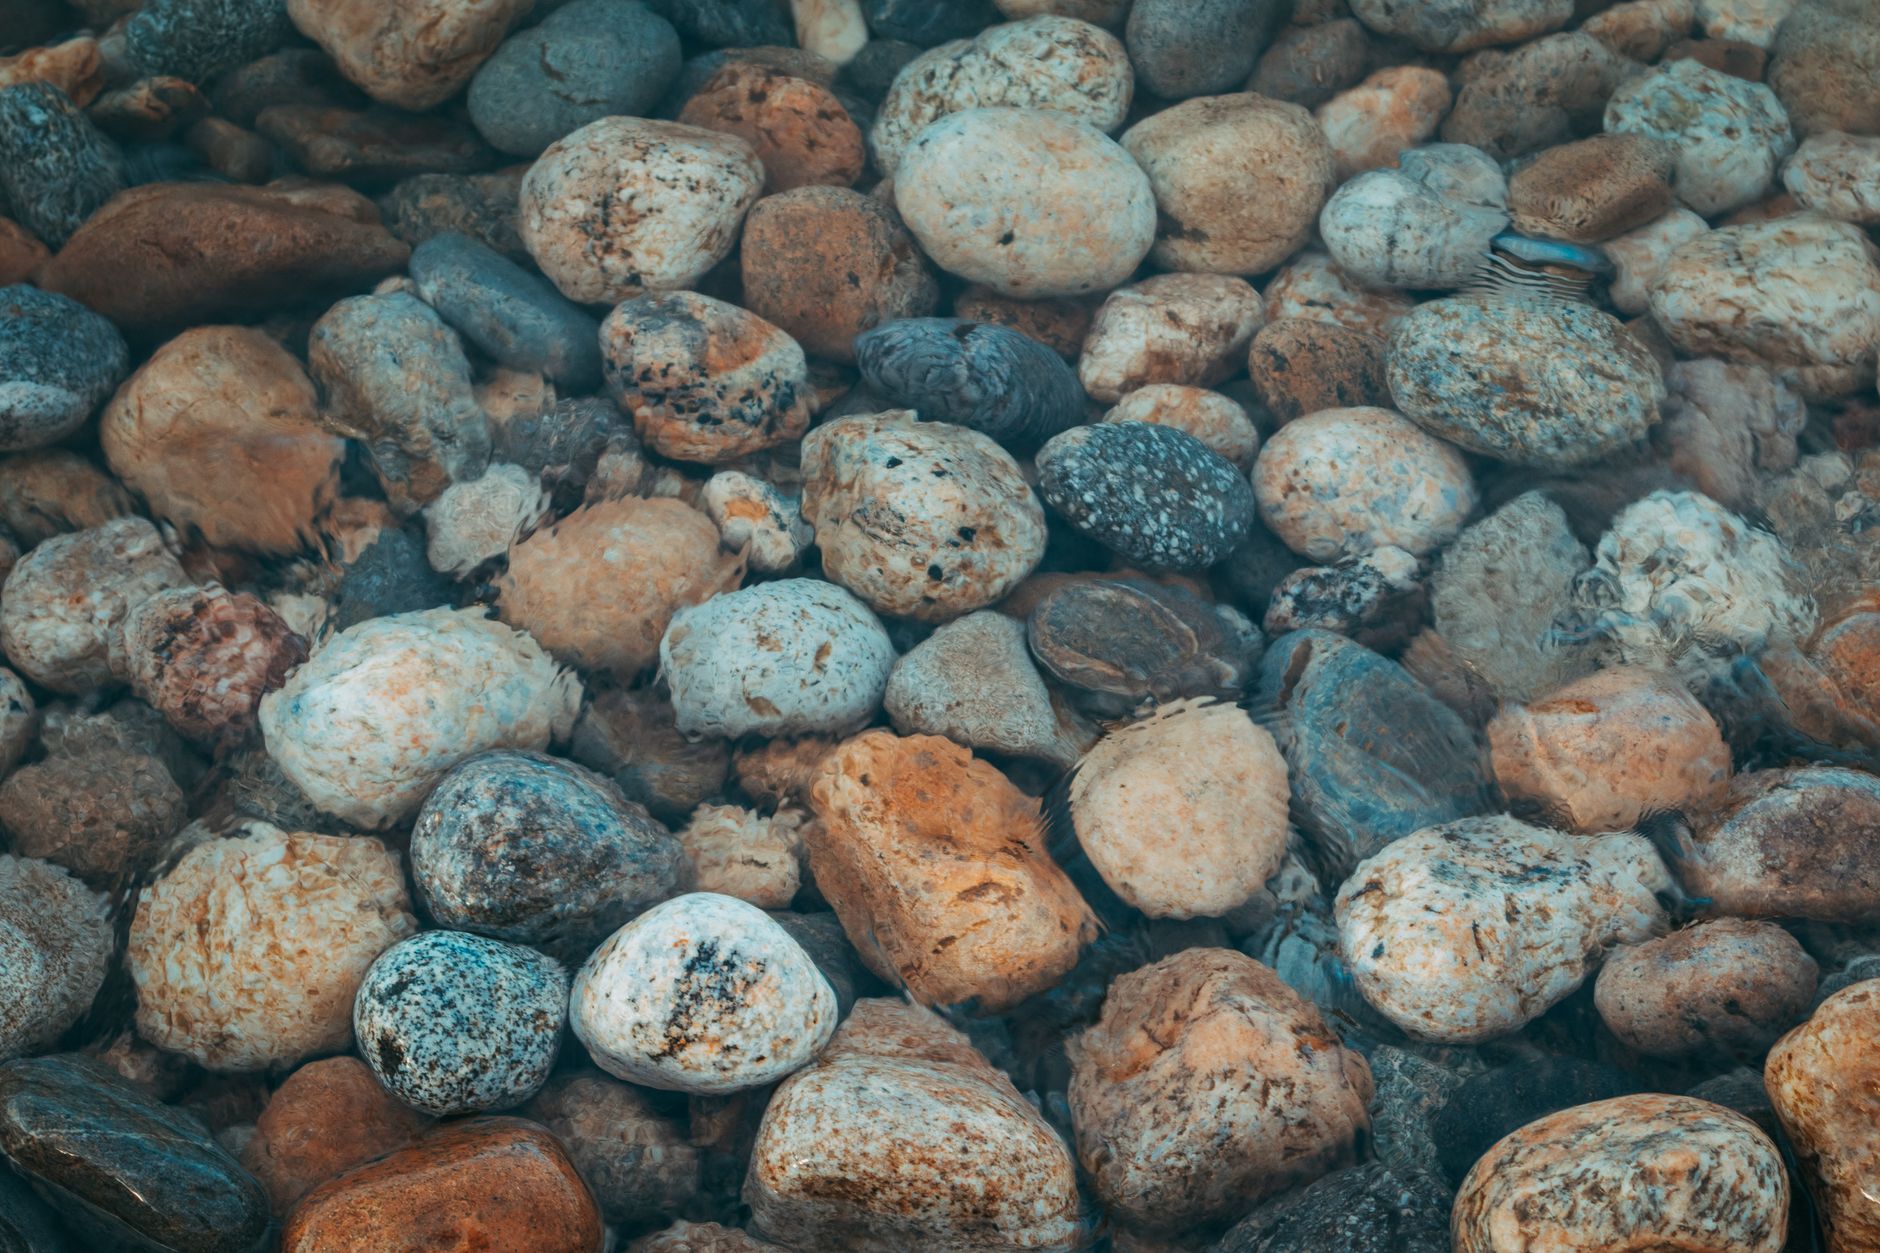
Every rockhound comes home with a pack full of dirty treasure. Mud, clay, iron stains, and mystery crust hide what you actually found. Clean the wrong way and you can destroy a specimen in minutes. This guide shows you how to clean rocks and minerals safely. You will learn the order of methods, from dry brushing to careful acid soaks. Before you start, take time to identify your find with a good field guide. See how to identify rocks and minerals in the field for help with basic ID. Knowing the mineral changes everything, because calcite and quartz need very different handling.
Mineral hardness is the first data point that matters. Quartz rates 7 on the Mohs hardness scale, while calcite sits at only 3. Herkimer County, New York, produces doubly terminated quartz crystals that can scratch glass. Compare that to calcite from many limestone quarries, which a fingernail barely marks. A quick hardness check tells you how aggressive you can be. Mindat.org remains one of the best free databases for mineral properties and locality data. Use it to check your specimen before applying any chemical. A 10x loupe also helps you spot fractures that might trap water or cleaning solution. See our Mohs hardness scale guide for step-by-step testing.
Collecting rules matter before you clean, because you need to know the material is legally yours. Many BLM-managed public lands allow casual rockhounding, but limits and claim boundaries vary. The Bureau of Land Management publishes current rules. Always confirm land ownership and any collecting restrictions before removing material. This guide also assumes you have basic field gear, from a rock hammer to a decent backpack. Our best rockhounding gear guide covers the essentials. If you plan to polish smaller finds, check rock tumbling step by step after cleaning.
The core principle is simple: start gentle, then increase intensity only when needed. Many collectors damage crystals by jumping straight to acid or a wire brush. Throughout this guide, you will see specific product suggestions and safety warnings. The methods work for common quartz, agate, jasper, and many other silicate minerals. Some minerals, like halite and gypsum, should rarely be cleaned with water at all. Read each step fully before you act. Your goal is a clean specimen that still looks natural, not a polished lump with no crystal faces.
What You’ll Need
- soft-bristle brush
- dental pick set
- plastic bucket
- mild dish soap
- distilled water
- 10x magnifying loupe
- nitrile gloves
- safety goggles
- oxalic acid (optional)
- ultrasonic cleaner (optional)
- rock tumbler (optional)
How Do You Clean Rocks and Minerals?
- Identify your specimen before you clean anything
Correct identification is the difference between a clean display piece and a ruined find. Start by testing hardness. Quartz rates 7 on the Mohs scale and will scratch a steel knife blade. Calcite rates 3 and will not scratch glass. Halite, or rock salt, is only 2.5 and will dissolve in water. These numbers are not trivia. They determine whether water, soap, or acid is safe. Use a Mohs hardness scale guide and a simple scratch kit. Record the hardness before you touch a brush.
Next, check for carbonate minerals. Put one small drop of household vinegar on an inconspicuous spot. If it fizzes, you are looking at calcite, aragonite, malachite, or another carbonate. Do not use acid cleaners or even vinegar soaks on these minerals. Mindat.org lets you cross-reference locality data and mineral photos. Enter the place where you found the specimen and compare. A specimen labeled ‘quartz from Herkimer County, New York’ should be hard, clear to smoky, and doubly terminated. A specimen from a limestone quarry in Indiana is more likely calcite.
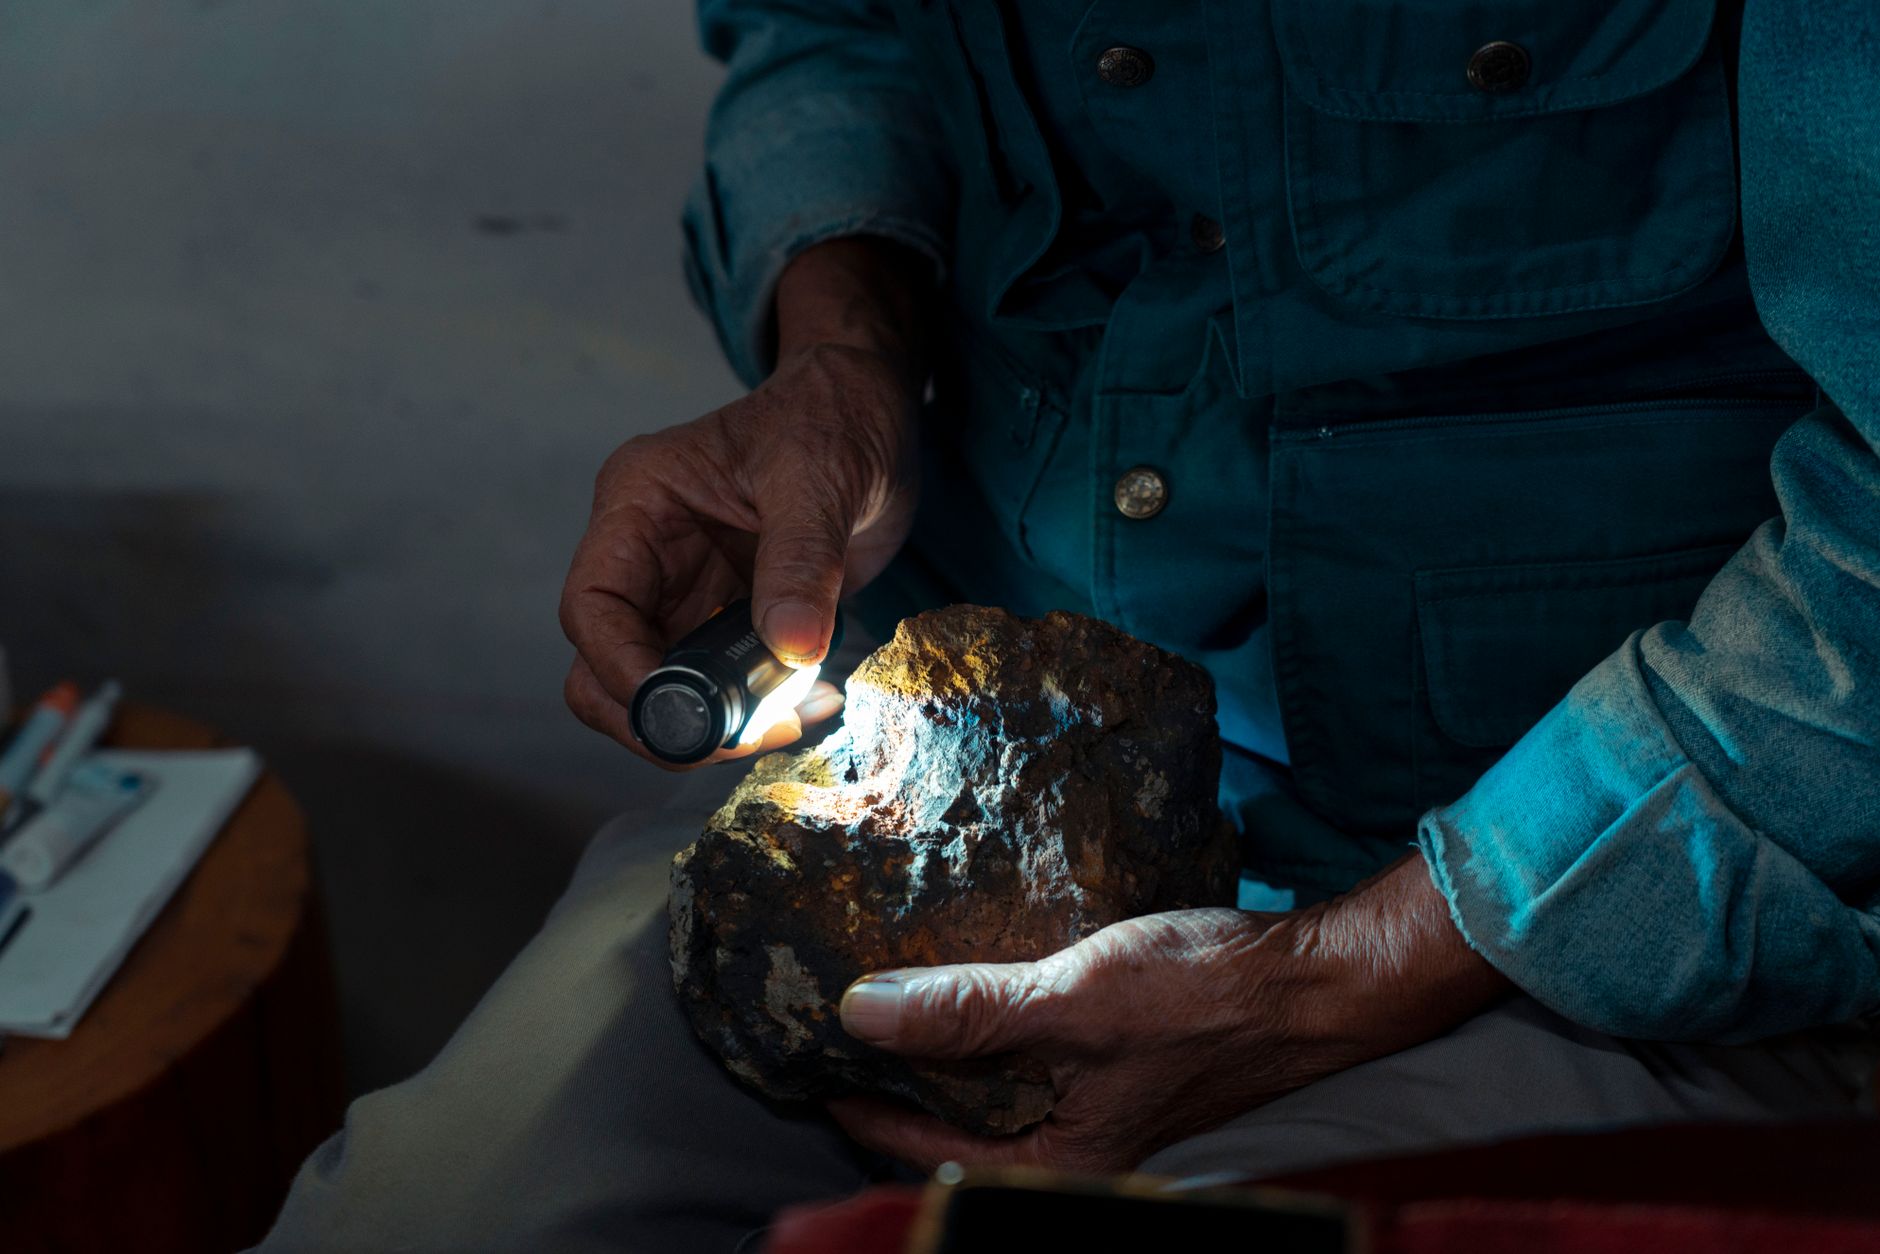
Finally, look at crystal habit and existing damage. Fractured specimens can trap water and chemicals, which leads to internal staining or breakage. Use a 10x loupe or a good hand lens. If the piece is already crumbling, skip water entirely. Dry brushing may be the only safe method. This step connects to the next one because identification tells you how far you can push mechanical cleaning. Never assume a white crystal is quartz. Many collectors learn that lesson on a polished calcite rhomb.
- Start with dry mechanical cleaning
Dry cleaning removes loose dirt, clay, and debris without introducing water. Mud turns into a sticky paste when wet, which can hide fractures and soak into porous minerals. Use a soft-bristle brush, like an old toothbrush or a dedicated specimen brush. Work outdoors over a tray. Short gentle strokes are better than hard scrubbing. A dental pick can pop out compacted clay from crevices. You can find inexpensive sets online. Check a dental pick set on Amazon. But use picks with care. The steel tip is harder than many minerals.
After the loose dirt is gone, inspect the surface under magnification. A good loupe reveals whether the remaining stain sits on the surface or inside cracks. Our best magnifying loupes for rockhounds reviews good options. If you see deep mud inside a tight pocket, a wooden toothpick or bamboo skewer works well. Wood is softer than most display minerals, so it scratches less. Avoid steel brushes entirely on anything you care about. Even quartz can show fine scratches from steel bristles if you push too hard.
Dry mechanical cleaning also works for delicate specimens like gypsum, halite, and clay-rich fossils. These minerals may never see water. If the piece is stable and mostly silicate, you can move to the next step. Brush away as much loose material as possible first. The less dirt you carry into a wash bucket, the easier the wet cleaning will be. Keep the dried debris in the tray. It may contain small crystals that broke off.
- Wash with water and mild soap
For hard silicate minerals like quartz, agate, jasper, and petrified wood, warm soapy water is safe and effective. Fill a plastic bucket with warm water and add a few drops of mild dish soap. Submerge the specimen and gently scrub with a soft nylon brush. The hardness data from step one matters here. Quartz at 7 on the Mohs scale can handle this. Many Lake Superior agates from Minnesota and Michigan are tough enough for a firm scrub. Do not use hot water, because thermal shock can crack some specimens. See the best rockhounding gear guide for durable brushes and buckets.
Rinse the specimen in clean water. Change the water often if you are cleaning a large batch. Clay and grit at the bottom of the bucket act like sandpaper against softer stones. A colander or a second rinse bucket prevents cross-contamination. Be careful with minerals that have a hardness below about 5. Apatite, fluorite, and marble can scratch easily even with nylon if you use pressure. For those, use a soft cloth and plain water only.
Soap residue can leave a dull film. Rinse until the water runs clear and the surface no longer feels slippery. Let the specimen air dry on a towel, not in direct sun. Rapid drying can deposit minerals from tap water inside cracks. If you have hard tap water, a final rinse with distilled water reduces spotting. This step prepares the piece for stain-specific soaking if any stains remain.
- Soak stubborn stains with safe solutions
Sometimes water and soap are not enough. Organic stains, algae, or light iron films may need a soak. Start with the safest option: plain water or a dilute hydrogen peroxide solution. Hydrogen peroxide at 3 percent, the kind sold in drugstores, can lift organic material. Use a plastic container and enough liquid to cover the specimen. Soak quartz, agate, and jasper for 12 to 24 hours. Do not use hydrogen peroxide on pyrite or other sulfides. It can accelerate tarnish.
For hard water deposits or calcium crust on quartz, a diluted white vinegar soak can work. Mix one part vinegar to four parts water. But remember the carbonate test. Calcite, limestone, and marble will fizz and dissolve. A calcite crystal from a Missouri lead mine can be ruined in minutes. If you are unsure, skip vinegar. Better to leave light calcium deposits than lose a crystal. Our best rocks to tumble guide shows which stones tolerate abrasion, but soaking is different from tumbling.
Use a soft brush after each soak. Rinse thoroughly between solutions. Never mix hydrogen peroxide with vinegar or bleach. Each chemical needs its own container and rinse cycle. Some collectors rush this step and create dangerous fumes. Patience here is key. If the stain is red, brown, or yellow and looks like rust, move to the next step on oxalic acid only after these gentler soaks fail.
- Use oxalic acid for iron stains only when needed
Oxalic acid is the standard treatment for iron oxide stains on quartz, agate, and other inert silicates. It works by dissolving rust and leaving the silicate surface intact. Mix about 1 to 2 tablespoons of oxalic acid powder per gallon of warm water. Always add acid to water, never water to acid. Use a plastic container, not metal. The solution is reusable, but it loses strength over time. Check oxalic acid on Amazon.
Safety is non-negotiable. Wear nitrile gloves and safety goggles. Work outdoors or in a well-ventilated area. Do not breathe the dust when mixing. Soak the specimen for 12 to 48 hours, checking periodically. Stubborn stains may need a week. Remove the piece with plastic tongs and rinse thoroughly in clean water. Neutralize with a baking soda and water rinse if you want extra caution. Never pour acid down a drain without neutralizing it first.
Not every mineral tolerates oxalic acid. It will attack calcite, malachite, azurite, and many sulfides. Pyrite, or fool’s gold, can be damaged and may produce hazardous fumes. See how to identify fool’s gold before you soak a brassy specimen. Quartz from Arkansas and Herkimer County, New York, often responds beautifully. But if you value the exact crystal surface, test a small back edge first. Oxalic acid can etch some included minerals and leave pits.
- Try specialty cleaning for durable specimens only
Ultrasonic cleaners shake debris loose with high-frequency sound waves. They work well for durable, unfractured quartz, topaz, and some garnets. But they can destroy opal, fluorite, apatite, and any stone with hairline fractures. Liquid inclusions can also shatter from the vibrations. If you invest in an ultrasonic cleaner, start with short cycles and plain water. Never put acid or flammable liquids in the tank. Check an ultrasonic cleaner on Amazon.
A rock tumbler is better for shaping and polishing than cleaning. It can remove stains by abrasion, but it rounds edges and erases crystal faces. Use a tumbler on beach agates or broken quartz, not on display-quality points. The best beginner machines are covered in best rock tumbler for beginners 2026. If you want the step-by-step polishing sequence, read rock tumbling step by step. Tumbling uses grit, water, and time. It is not a quick stain removal trick.
Air scribes are miniature pneumatic chisels that remove matrix or mineral crust with precision. They are common in fossil prep and advanced mineral cleaning. Air scribes require practice and can leave tool marks. Only use one after you have cleaned the specimen with gentler methods. Compressed air is a simpler specialty tool. It blows dust out of crevices after dry brushing. Hold the can upright and use short bursts.
- Rinse, dry, and document your cleaned specimen
After any chemical soak, rinse the specimen in running water for several minutes. Soap, acid, or bleach residue will continue to react if left on the surface. Use distilled water for the final rinse if your tap water is hard. Dry the specimen slowly at room temperature. Do not use an oven, hair dryer, or direct sunlight. Rapid heat cracks fluid inclusions and can split layered minerals. A folded towel works well. Turn the piece after a few hours.
Documentation is part of cleaning. A cleaned specimen without locality data loses scientific and resale value. Write a small label with the mineral name, location, and collection date. Store it with the specimen, not in a separate notebook that can get lost. Our mineral collecting field guide explains how to record field data. Use a loupe to inspect the final result. Check for hidden residue in cracks. See best magnifying loupes for rockhounds for magnifier options.
Take a photo before and after. Digital records help you track what worked and what did not. This is especially useful for acid cleaning, where results vary by mineral and stain type. A simple phone photo under natural light is enough. Store the image with your notes. The next step covers how to store the cleaned specimen safely.
- Store and display cleaned specimens carefully
Cleaning is wasted if you store specimens in a way that causes new damage. Keep them wrapped individually in acid-free tissue or placed in compartment boxes. Hard minerals like quartz can sit together, but soft minerals like fluorite and calcite need padding. Sunlight fades some minerals, especially amethyst and rose quartz. Store colored specimens away from a bright window. Humidity causes pyrite decay and halite dissolution, so keep those dry.
For display, a glass-front cabinet reduces dust while showing the piece. Avoid storing specimens in raw wood drawers. Wood acids can damage sensitive minerals. Line drawers with felt or inert foam. Keep a desiccant pack in humid climates. If you collected in a well-known area, our state guides, such as rockhounding in Arizona, offer tips on what to expect from that region’s minerals.
Finally, revisit your cleaning decision. If a specimen still has unstable matrix or a fragile coating, consider leaving it as is. Many collectors prefer a natural specimen over one that is over-cleaned. The goal is to reveal the mineral, not to make it look artificially polished. When in doubt, stop and consult a local club or online forum.
Red Flags & Warnings
- 🚨 Never use acid on carbonate minerals. Calcite, aragonite, malachite, azurite, and marble fizz and dissolve. Test with a drop of vinegar first. If it bubbles, keep the specimen dry.
- 🚨 Oxalic acid is toxic. Wear nitrile gloves, safety goggles, and work outdoors. Mix acid into water, not the reverse. Store it locked away from children and pets.
- 🚨 Avoid heat and thermal shock. Do not boil, oven-dry, or leave specimens in direct sun. Rapid temperature change shatters quartz, fluorite, and opal with internal fractures.
- 🚨 Do not use steel brushes or scouring pads on minerals softer than 5.5 Mohs. Steel leaves deep scratches. Use brass, nylon, or wood tools instead.
- 🚨 Check land status before collecting anything to clean. Bureau of Land Management rules vary by state and claim. Private land requires permission, and collecting in national parks is usually prohibited.
- 🚨 Skip acid and bleach entirely if the specimen contains pyrite, galena, or other sulfides. Acid can produce toxic gases and dissolve the mineral you want to keep.
Frequently Asked Questions
Can I use vinegar to clean quartz crystals?
Diluted white vinegar can remove light calcium deposits on quartz, but it is a weak acid. Soak only for a few hours, then rinse well. Never use vinegar on calcite, limestone, or marble, because it will dissolve them.
How do I remove iron stains from quartz without damaging it?
Oxalic acid is the most common method. Mix 1 to 2 tablespoons per gallon of warm water and soak for 12 to 48 hours. Wear gloves and goggles, work outdoors, and rinse thoroughly afterward.
Is it safe to clean rocks with bleach?
Household bleach can remove organic stains on hard silicates, but it is harsh and produces fumes. Use diluted bleach in a ventilated area, never mix it with acid or ammonia, and avoid porous or sulfide minerals.
Can I use a rock tumbler to clean display specimens?
A tumbler is better for polishing than cleaning. It will round sharp crystal faces and erase surface detail. Reserve it for agates, jasper, and broken quartz, not terminated crystals or delicate minerals.
What should I do if I do not know what mineral I have?
Start with dry brushing only. Then test hardness and reaction to vinegar on a tiny spot. Use a field guide or online database like Mindat to narrow the ID before using water or chemicals.
Do I need permission to collect rocks for cleaning?
On many BLM lands, casual collection of small amounts is allowed, but rules vary. Always check current regulations for the specific land type and avoid mining claims and national parks.
What Should You Remember?
- Identify first: Test hardness and reactivity before using any cleaning method.
- Go gentle: Start with dry brushing and plain water; aggressive cleaning destroys detail.
- Match chemical to mineral: Never use acid on calcite, halite, or sulfide minerals.
- Protect yourself: Acid and bleach require gloves, goggles, and ventilation.
- Document the find: Record locality, date, and ID before you clean.
- Verify land access: Know the collecting rules before you remove material.
- Patience pays: Soak and rinse slowly; heat and force damage crystals.
This article is for general information only. Rockhounding and collecting carry land-access, safety, and legal obligations , always verify claim status, land ownership, and collecting rules before removing material, and get landowner or land-agency permission where required. Field collecting involves physical hazards; use proper safety gear and never enter mines or unstable terrain.