Most beginner rockhounds make one mistake. They drive to a random creek or hillside and start looking. That works once in a while, but it ignores how gemstones actually concentrate. Gemstone deposits are not scattered evenly. They form in specific geologic environments, then get moved, sorted, and exposed by erosion. A little geology saves you weeks of empty pockets. This mineral collecting field guide covers the full loop: where gemstones come from, how to research legal sites, what tools to carry, and how to identify rough stones in the field.
You do not need a geology degree to find gemstones. You do need a simple mental model. Some gems crystallize in pegmatites, some in metamorphic rocks, and some survive as heavy minerals in stream gravels. Once you know what to look for, public land maps and mineral databases become practical tools. For example, Mindat.org lists thousands of mineral localities with GPS coordinates. The Bureau of Land Management clarifies where casual collection is allowed and where mining claims exclude you. Add a 10x loupe and a few basic field tests, and you can separate real candidates from common rocks.
This guide is for beginners but includes enough detail to level up quickly. It covers legal access, gear, research, field identification, and responsible collecting. It uses specific examples like quartz at hardness 7, corundum at hardness 9, and the Crater of Diamonds State Park in Arkansas, the only public diamond deposit in the world where you keep what you find. The goal is not to guarantee a bucket of rubies. The goal is to teach you how to read the ground and return home with rocks worth keeping.
| Gemstone | Mohs Hardness | Field Identification Clues | Classic U.S. Locality |
|---|---|---|---|
| Quartz (amethyst, citrine) | 7 | Six-sided prisms, glassy luster, scratches glass | Arizona, Arkansas, North Carolina |
| Garnet (almandine, pyrope) | 6.5 to 7.5 | Rounded dodecahedrons, red to brown, no cleavage | Idaho, Montana, New York |
| Corundum (ruby, sapphire) | 9 | Hexagonal barrels, hard, high density, bright luster | Montana, North Carolina, Wyoming |
| Beryl (emerald, aquamarine) | 7.5 to 8 | Six-sided prisms with flat ends, often in pegmatite | Maine, California, Colorado |
| Topaz | 8 | Prismatic crystals with basal cleavage, high luster | Utah, Texas, Colorado |
| Turquoise | 5 to 6 | Massive blue-green nodules, waxy luster, often in copper districts | Arizona, Nevada, New Mexico |
What Are Gemstones and How Do They Form?
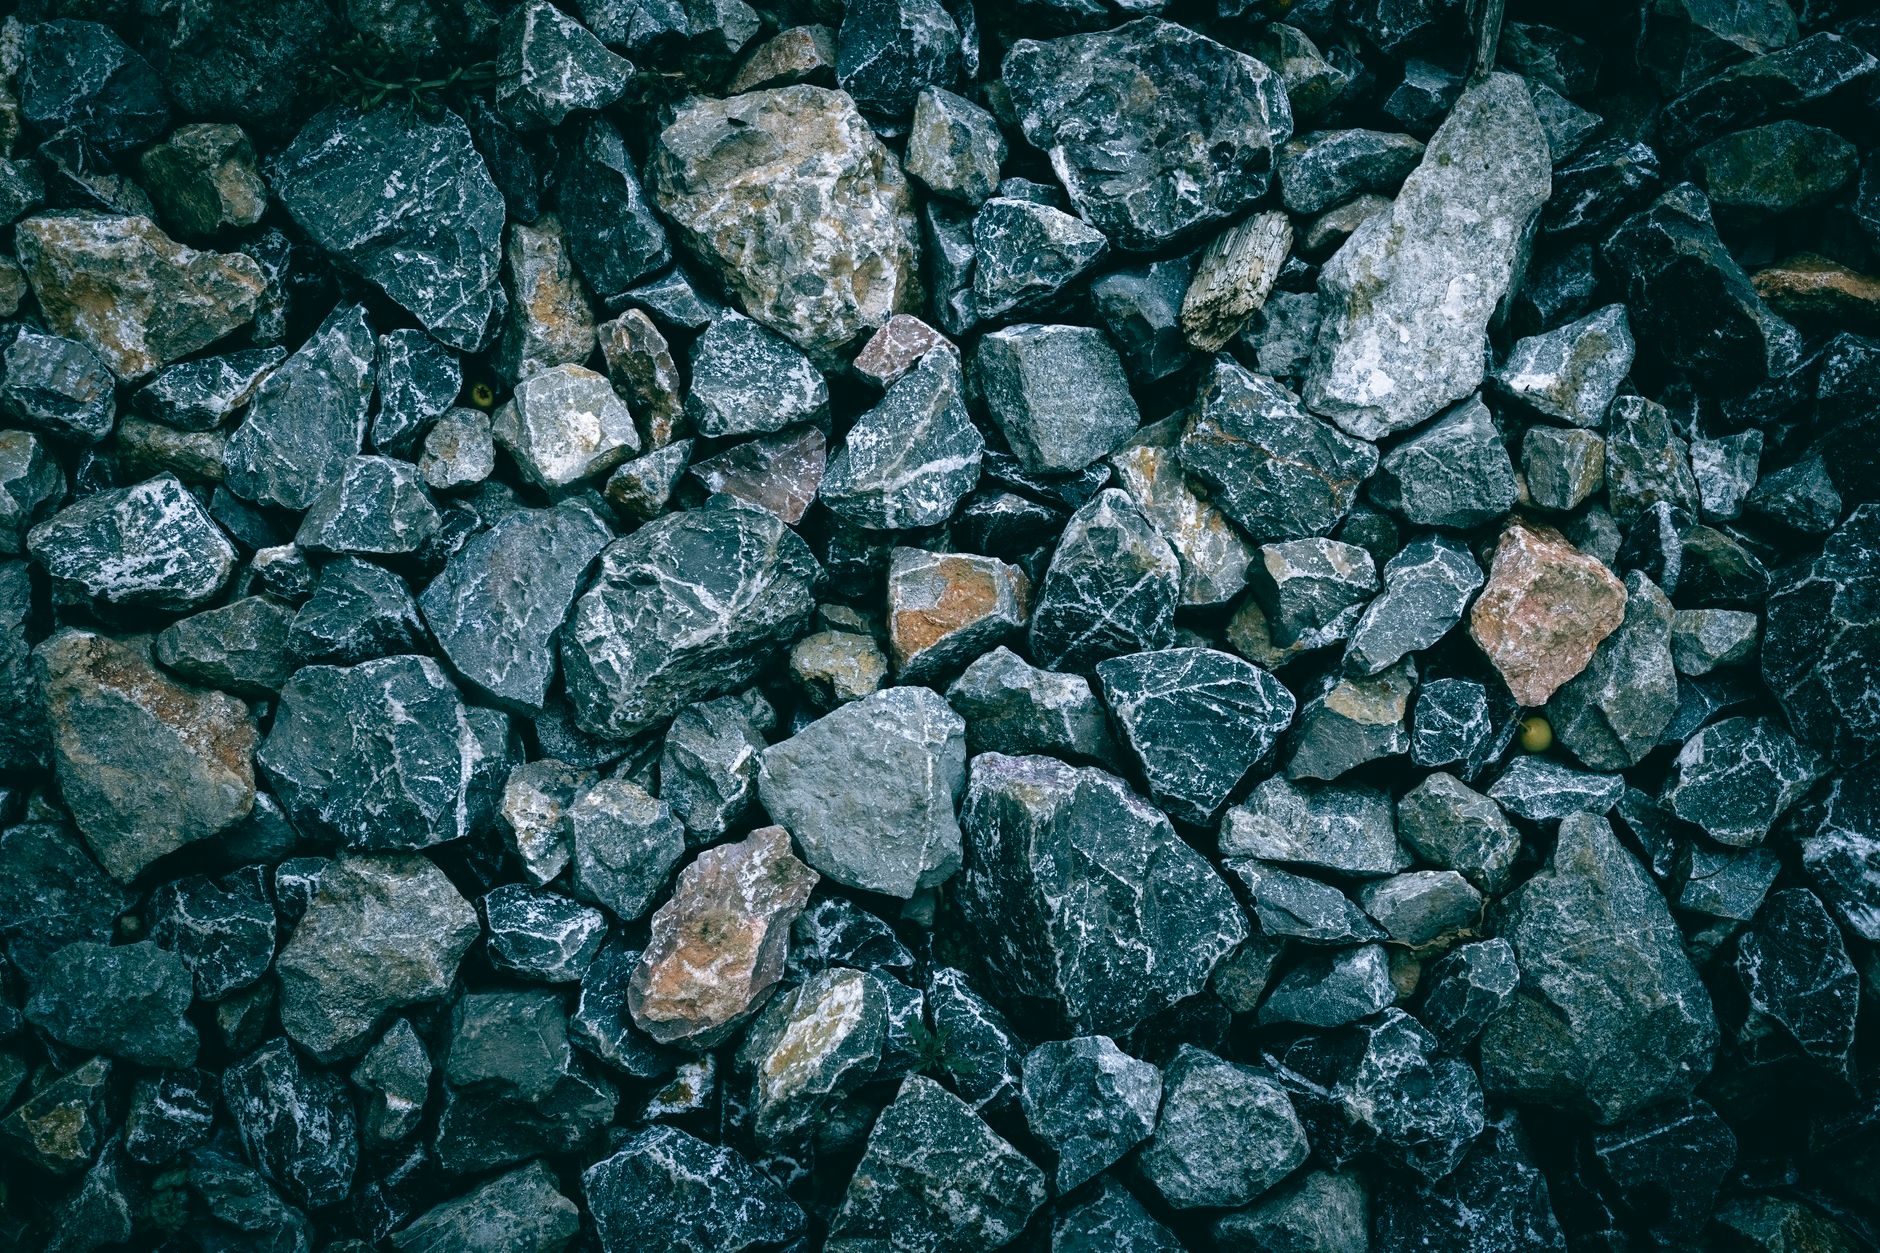
Gemstones are minerals with beauty, durability, and rarity. Not every pretty rock is a gemstone. The GIA defines gemstones by their optical properties, hardness, and stability. Beauty comes from color, transparency, or play of light. Durability comes from hardness and toughness. Quartz earns a Mohs hardness of 7, which is why it survives in stream gravels while softer minerals disappear.
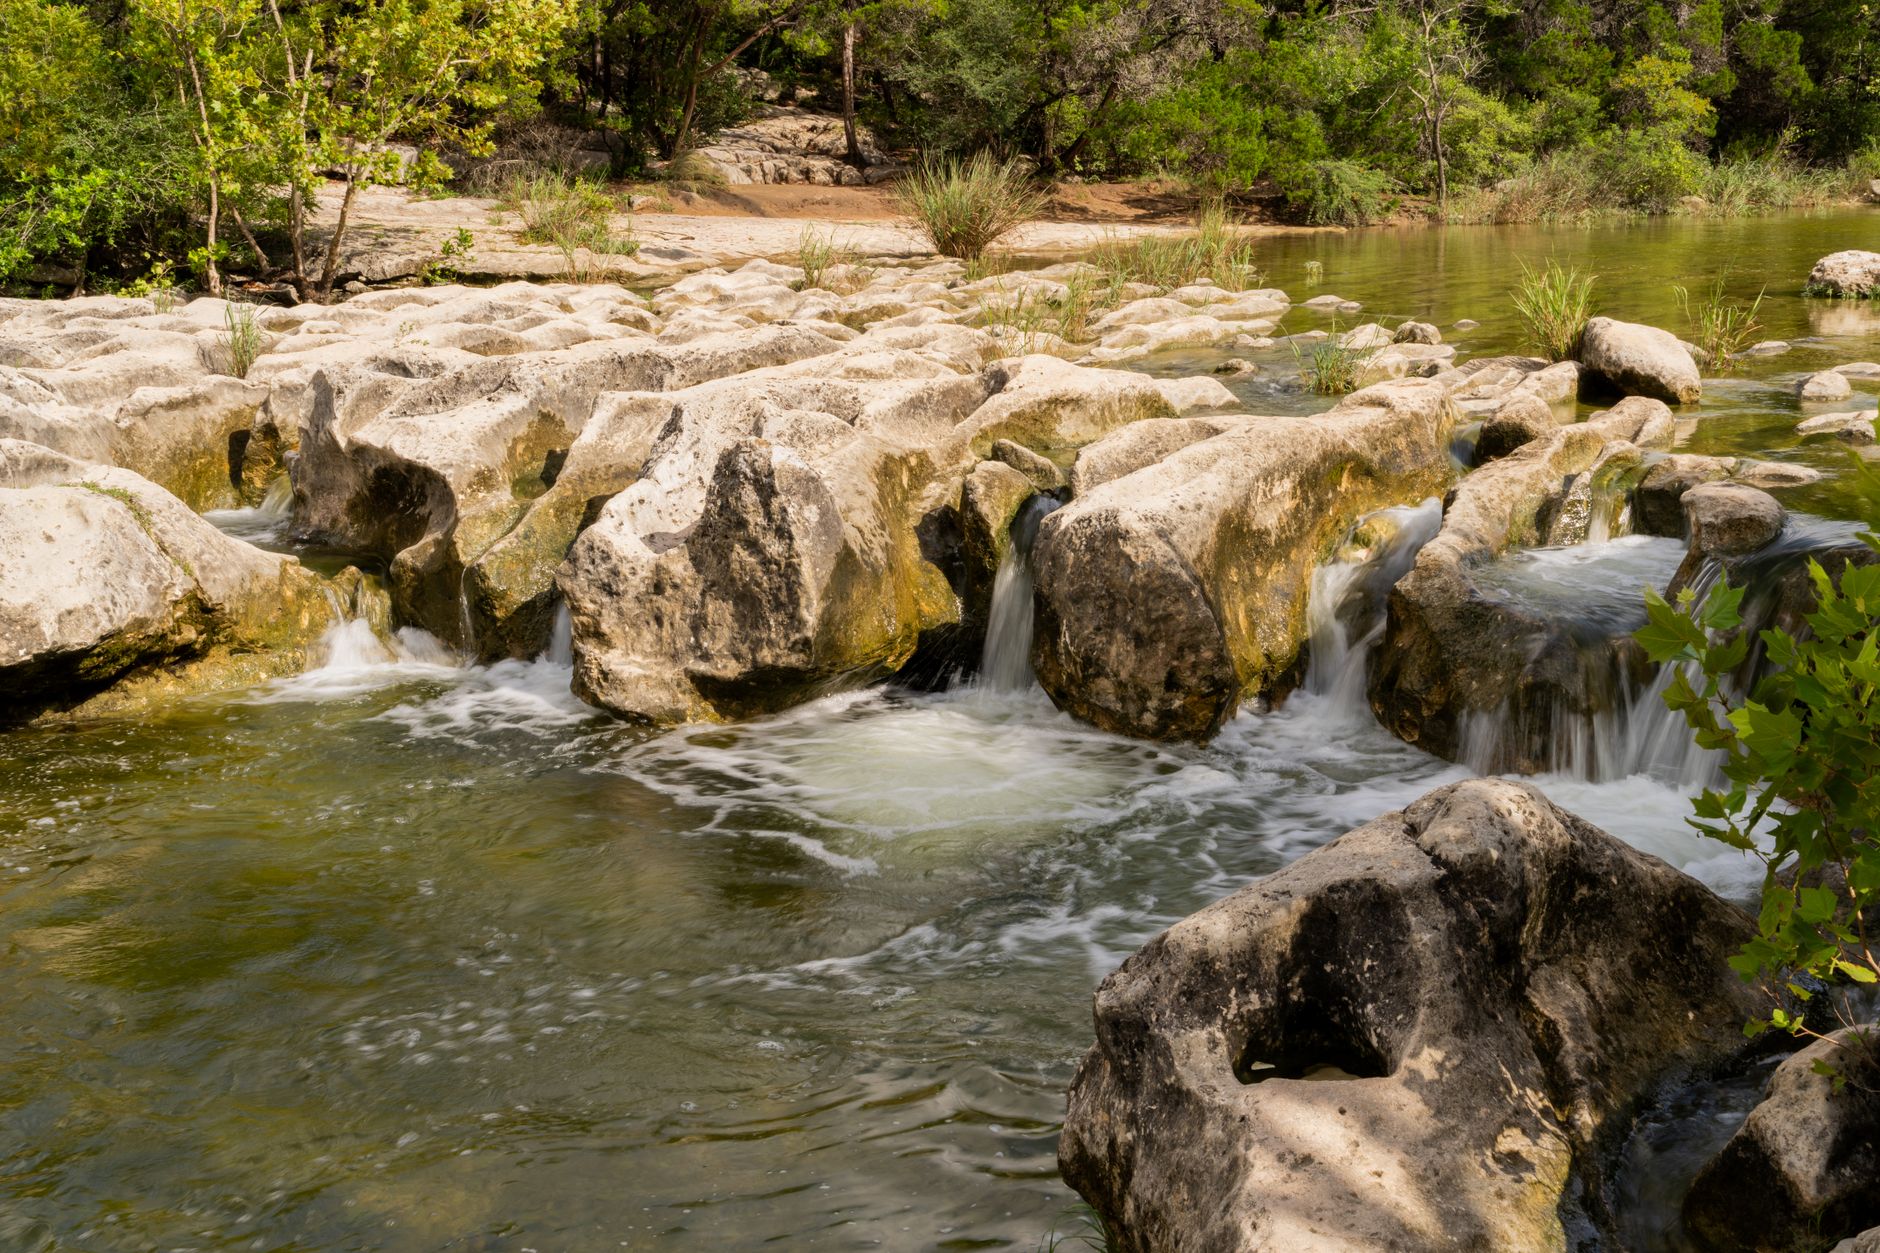
Most gemstones form deep underground. Pegmatites are coarse-grained igneous rocks that produce beryl, tourmaline, topaz, and sometimes spodumene. Metamorphic environments produce garnet, corundum, and some emerald. Basalt flows can carry peridot xenoliths to the surface. Over millions of years, weathering breaks those rocks down. Heavy minerals with high specific gravity and hardness resist erosion, so they concentrate in river gravels and beach sands. Miners call these deposits placers.
Color alone misleads. The same mineral can occur in many colors, and different minerals can share the same color. Field identification should use crystal habit, hardness, streak, luster, and density. A rough garnet may look like a red pebble, but its crystal shape is often dodecahedral. A sapphire in Montana has a hexagonal barrel shape and hardness 9. Learning to see those clues is more important than memorizing color photos.
- Pegmatites: coarse-grained rocks that yield tourmaline, beryl, and topaz.
- Metamorphic rocks: sources for garnet, corundum, and some emerald.
- Placer gravels: stream and beach deposits that concentrate quartz, garnet, sapphire, and gold.
- Hydrothermal veins: quartz, amethyst, and fluorite fill fractures in existing rock.
Where Can You Legally Collect Gemstones?
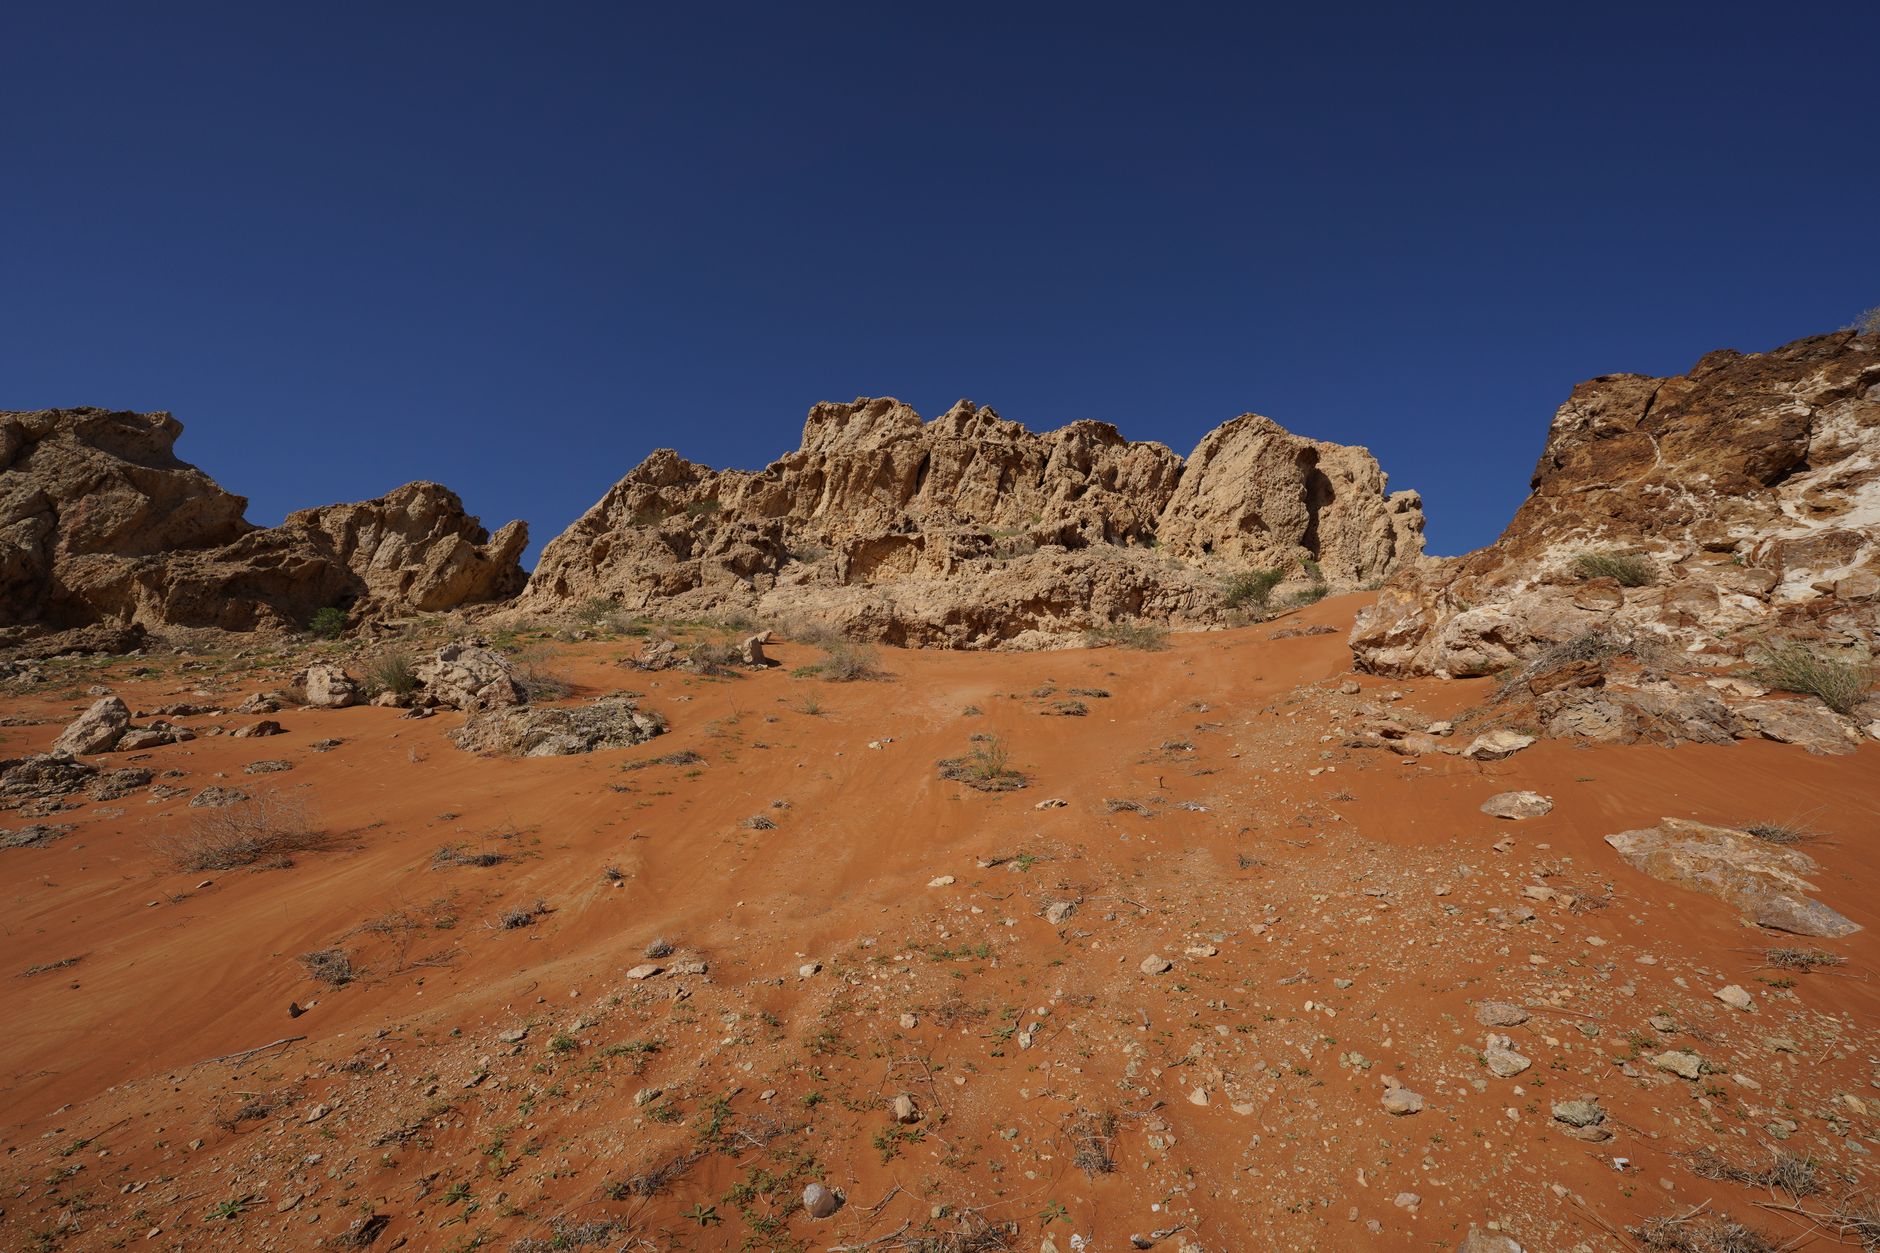
Before you pick up a rock, know whose land you are on. The Bureau of Land Management manages large areas of public land in the western United States. Casual collection of reasonable amounts of common rocks and mineral specimens is allowed on many BLM lands, but not all. Some areas are closed to protect wildlife, cultural sites, or active mining claims. You must verify land status before removing material.
National forests often have similar casual collection rules, but some forests require permits for commercial or large-scale digging. State parks vary widely. Some, like Crater of Diamonds State Park in Arkansas, allow fee-based collecting and let you keep what you find. Others ban collecting entirely. Private land is different. You need written permission from the landowner. Never assume that an unposted field is open.
Fee dig sites are the fastest way for a beginner to find gemstones legally. They expose ore or gravel that already contains known material. Many operate in North Carolina, Montana, and Arizona. A fee dig may not feel like wilderness discovery, but it teaches you what host rock looks like and fills your bag with specimens. After you develop that eye, you can move to public land prospecting.
- BLM public lands: casual collecting often allowed, but check closures and mining claims.
- National forests: similar rules, but some require permits or are closed to mineral collection.
- State parks: variable, some allow fee collecting, others ban all removal.
- Private land: written permission required.
How Do You Research a Collecting Site Before You Go?
Research separates lucky days from wasted trips. Start with Mindat.org. It is the largest open mineral locality database. Search by state, county, or mineral. You will find GPS coordinates, historical descriptions, and photos of specimens from that exact site. The more specific the locality page, the better your chance of finding the host rock or float.
Next, pull up USGS geologic maps and topographic maps. USGS maps show rock units, faults, and old prospect symbols. You want to see pegmatite bodies, metamorphic belts, or known placer gravels. Cross-check those map features with Mindat localities. If several old prospects cluster along a contact zone, that contact is likely the mineral source. Use a mapping app or printed topo map to mark access points and terrain.
Finally, check the BLM or Forest Service land status maps. The Bureau of Land Management and county assessor records can show private inholdings and active mining claims. The best beginner rockhounding sites often have known access and documented minerals. A little office time saves you from driving hours to a gated claim.
- Search Mindat by mineral and county to find specific localities.
- Use USGS geologic maps to locate promising rock units and structures.
- Overlay land status maps to avoid private property and active claims.
- Join a local rockhounding club. Members share exact access and recent finds.
What Tools Should You Bring on a Mineral Collecting Trip?
Beginners often overpack but forget the essentials. The core kit for mineral collecting starts with eye protection and gloves. A rock hammer is your main digging and breaking tool. For general collecting, a 22-ounce or 24-ounce pick or chisel-tip hammer works. An Estwing rock hammer is a common choice because the one-piece steel handle resists overstrike breaks. Carry a second heavier hammer or crack hammer if you plan to open hard rock.
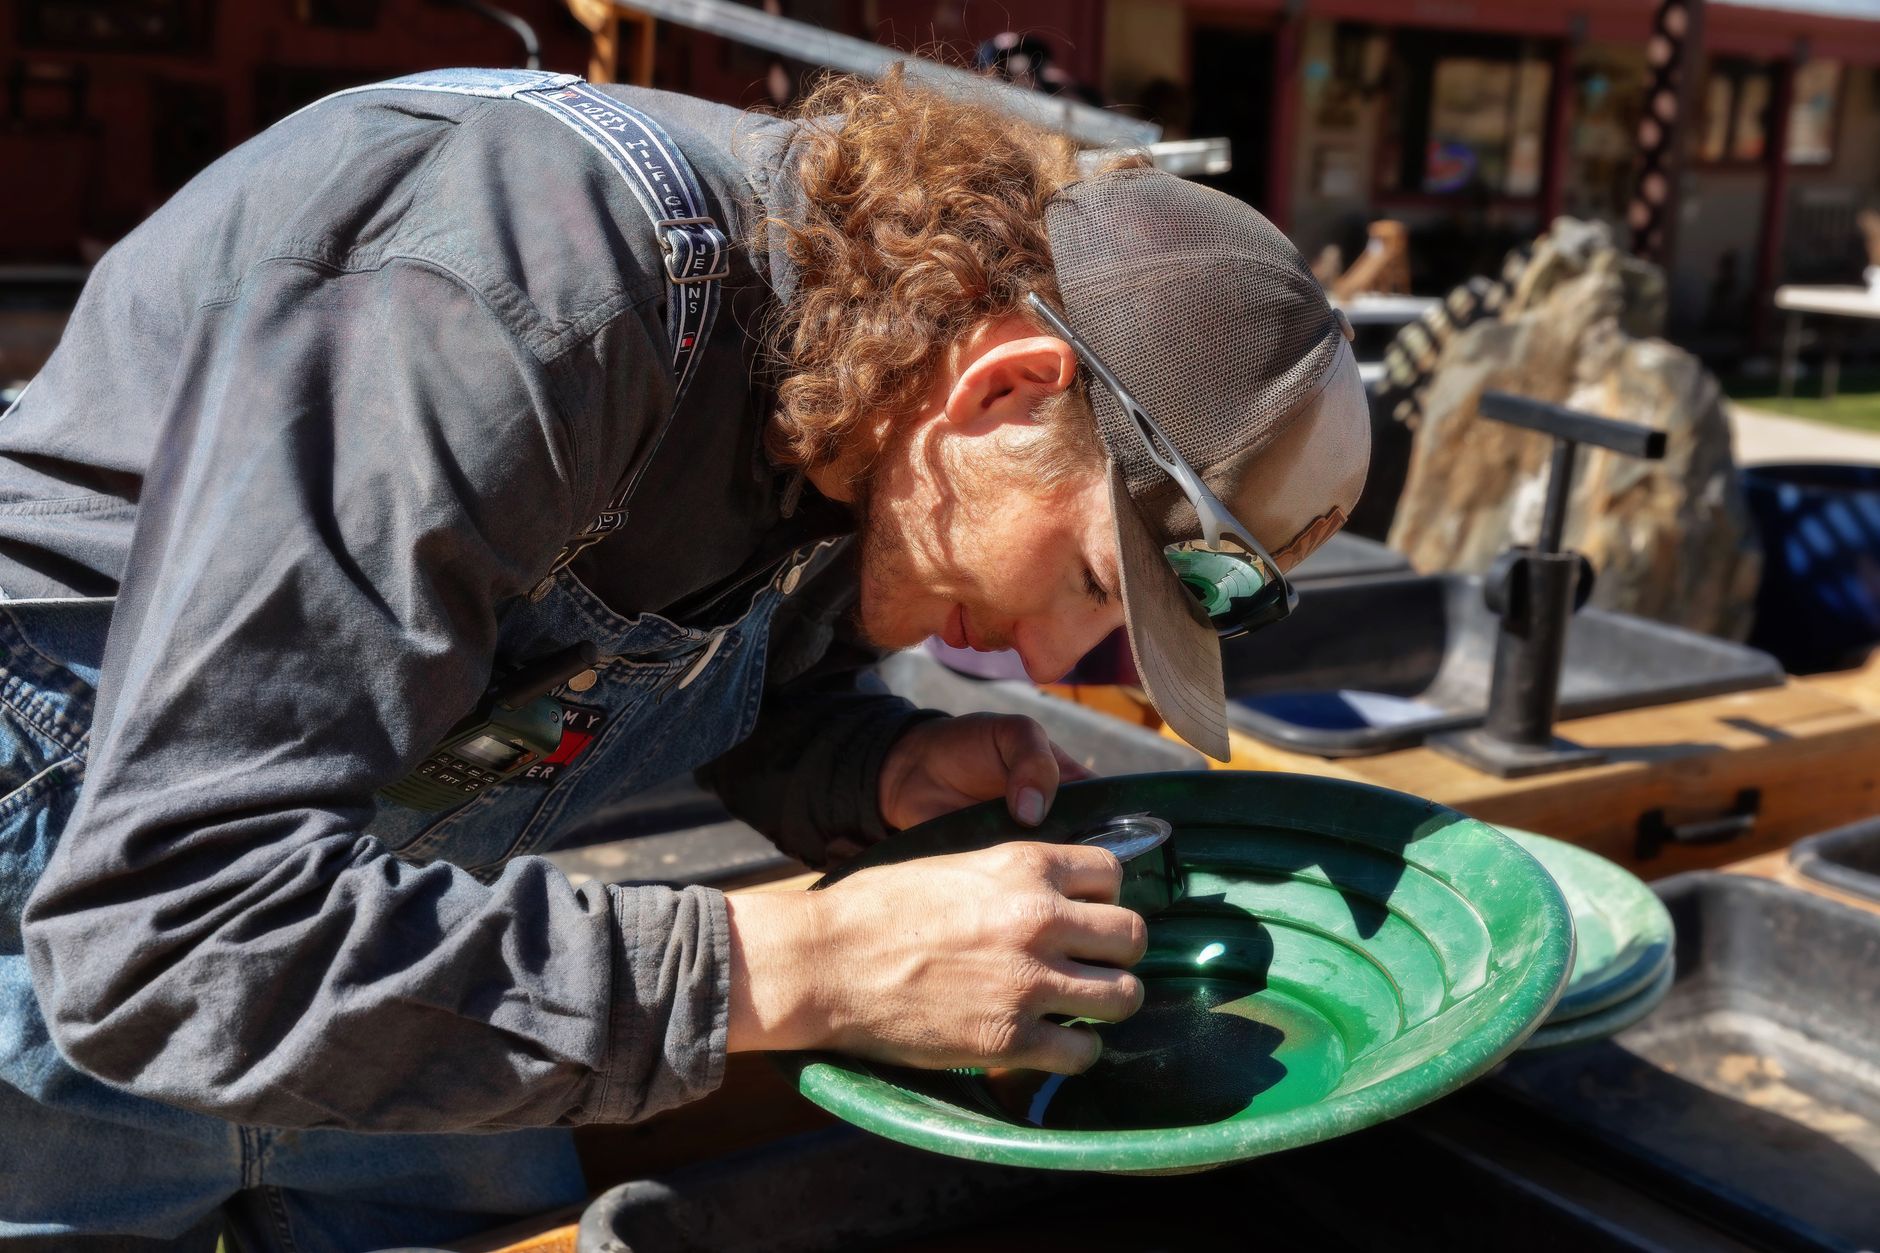
A 10x triplet loupe is not optional. You need magnification to see crystal faces, cleavage, and inclusions. The BelOMO 10x triplet loupe has a wide, clear field, but any good triplet loupe works. Add a field guide such as the National Audubon Society Field Guide to Rocks and Minerals for quick mineral identification. Our best rockhounding gear guide covers the full pack list.
Other useful tools include a hand lens, a streak plate, a small spray bottle to wet rocks, paper bags for wrapping specimens, and a GPS unit or phone app. A notebook matters more than you think. Record GPS coordinates, the rock unit, and the exact layer or gravel bar. A specimen without locality data loses scientific and resale value. Use the best rock hammers 2026 guide if you are unsure which hammer fits your target rock.
- Safety glasses and leather gloves
- Rock hammer and crack hammer
- 10x triplet loupe
- Streak plate and spray bottle
- Paper bags and a waterproof notebook
- GPS or mapping app
How Do You Field Identify Rough Gemstones?
In the field you see rough stones, not polished gems. Color is only the starting point. Start with basic physical properties: crystal shape, hardness, streak, luster, and density. Quartz has a hardness of 7 and glassy luster. It scratches glass but is scratched by corundum. Rubies and sapphires are both corundum and have a hardness of 9. You can test hardness using common objects: a steel nail is about 5.5, glass is 5.5, and a hard steel file is 6.5. See the Mohs hardness scale guide for a full list.
Crystal habit is a strong clue but not always visible in broken specimens. Quartz often forms six-sided prisms with pointed terminations. Garnet often forms rounded dodecahedrons. Beryl forms six-sided prisms with flat ends. Tourmaline forms long striated prisms with triangular cross-sections. If the crystal shape is still intact, you can narrow the list quickly. Use the gemstone identification guide for side-by-side comparisons.
Do not trust color alone. Amethyst is purple quartz. Fluorite can be purple too, but fluorite is hardness 4 and has perfect octahedral cleavage. You can identify fluorite with a scratch test. If a knife blade scratches it easily, it is not amethyst. Also check for luster, diaphaneity, and streak. A basic field guide adds detailed tests for common minerals.
- Crystal shape: quartz prisms, garnet dodecahedrons, beryl hexagons.
- Hardness: quartz 7, garnet 6.5 to 7.5, topaz 8, corundum 9.
- Luster: glassy quartz, resinous sphalerite, adamantine diamond.
- Streak: most gemstones leave a white or colorless streak; some sulfides leave colored streaks.
How Do You Collect Responsibly and Stay Safe?
Responsible collecting means leaving a site better than you found it. Fill small holes, avoid undercutting banks, and do not disturb historical structures or petroglyphs. Take only what you can reasonably use. A five-gallon bucket of common quartz may seem exciting, but it becomes a burden at home. Focus on specimens with good crystal form, color, or locality significance.
Safety starts before you swing the hammer. Wear safety glasses because rock chips fly unpredictably. Wear leather gloves when handling rough rock. Use a crack hammer and chisel for hard material rather than overstriking a light hammer. In desert regions, carry at least one gallon of water per person per day. Tell someone where you are going and when you expect to return. Cell service may be absent in remote districts.
Check land ownership and collecting rules one final time before removing material. A GPS pin on public land does not guarantee there is no active mining claim. The Bureau of Land Management provides claim status tools. If you are unsure, do not collect. Respect gates, fences, and signs. Many old mines have dangerous shafts and unstable rock. Stay out of underground workings.
- Fill holes and avoid undercutting stream banks.
- Collect small, high-quality specimens, not buckets of common rock.
- Carry water, first aid, and navigation tools.
- Check mining claims and land status before collecting.
- Never enter abandoned mine openings.
Frequently Asked Questions
What is the minimum age to start mineral collecting?
There is no minimum age. Children can collect with supervision, especially at fee dig sites and club field trips. The main limits are safety gear, attention span, and permission from landowners.
Where can I find gemstones in the United States?
Arizona, Montana, North Carolina, Arkansas, Oregon, and Maine are well-known for different gems. Fee dig sites and public land collecting areas are good starting points. Always verify land status before you collect.
What tools does a beginner need?
Start with safety glasses, leather gloves, a rock hammer, a 10x triplet loupe, a streak plate, and a field guide. A notebook and GPS app are also helpful for recording localities.
How do I know if a rock is a gemstone or not?
Test physical properties like crystal shape, hardness, streak, luster, and density. For example, quartz has hardness 7 and glassy luster. Color alone is not reliable.
Is it legal to collect gemstones on public land?
It depends. Many BLM and national forest lands allow casual collection of common rocks and mineral specimens in reasonable amounts. Some areas are closed, and active mining claims are always off-limits. Check the specific land status first.
How should I clean the gemstones I find?
Start with water and a soft brush. Soak stubborn clay in water. Avoid acids until you identify the mineral. Some gems like halite dissolve in water, and others like calcite react with acid.
What Should You Remember?
- Land access research is the first step. Check ownership, mining claims, and collecting rules before you swing a hammer.
- Mindat.org and USGS maps reveal which minerals occur in an area and where old prospects are located.
- Gemstone clues include crystal habit, streak, luster, and Mohs hardness. Quartz is hardness 7.
- Bring safety glasses, gloves, a rock hammer, a loupe, and a field guide on every trip.
- Public lands managed by BLM are not automatically open to collecting. Some require permits or are off-limits.
- Responsible collecting means small samples, no filled trenches, and exact location notes for future identification.
This article is for general information only. Rockhounding and collecting carry land-access, safety, and legal obligations , always verify claim status, land ownership, and collecting rules before removing material, and get landowner or land-agency permission where required. Field collecting involves physical hazards; use proper safety gear and never enter mines or unstable terrain.