Rock and mineral identification feels intimidating at first. The field is full of specimens that look similar, and color alone can mislead you badly. Experienced collectors start with a system. They observe texture, hardness, streak, luster, and the setting. You do not need a laboratory to make solid identifications. You need a few simple tools and a method. This guide walks you through the same steps I use when I find something new. Before you head out, check the basics in our best rockhounding gear guide.
The single biggest beginner mistake is relying on color. Quartz alone can be purple, pink, yellow, gray, or clear. Feldspar can be white, salmon, green, or black. That is why field identification leans on properties that stay consistent. The Mohs scale gives you hardness numbers you can test with common objects. If you need a refresher, see our Mohs hardness scale guide. A fingernail, a pocketknife, and a piece of glass will handle most quick tests.
You also need to understand the difference between rocks and minerals. Minerals are naturally occurring solids with a defined chemical composition and crystal structure. Rocks are aggregates of one or more minerals. A granite boulder contains quartz, feldspar, and mica. A quartz vein may be mostly one mineral. Classifying the material first saves you time. It tells you which tests matter most.
This article gives you a field-tested order of operations. It is built for beginners but works for intermediate collectors too. You will learn how to read a specimen, run safe field tests, and use locality data from Mindat.org to narrow possibilities. The USGS and state geological surveys also publish bedrock maps that help. Start with the basics, then build your confidence rock by rock.
What You’ll Need
- 10x hand lens or loupe
- Unglazed porcelain streak plate
- Rock hammer or small steel pick
- Pocket knife or steel nail
- Magnet
- Field notebook and pen
- Small spray bottle for wetting specimens
How Do You Identify Rocks & Minerals in the Field?
- Step 1: Look at Texture Before You Guess a Name
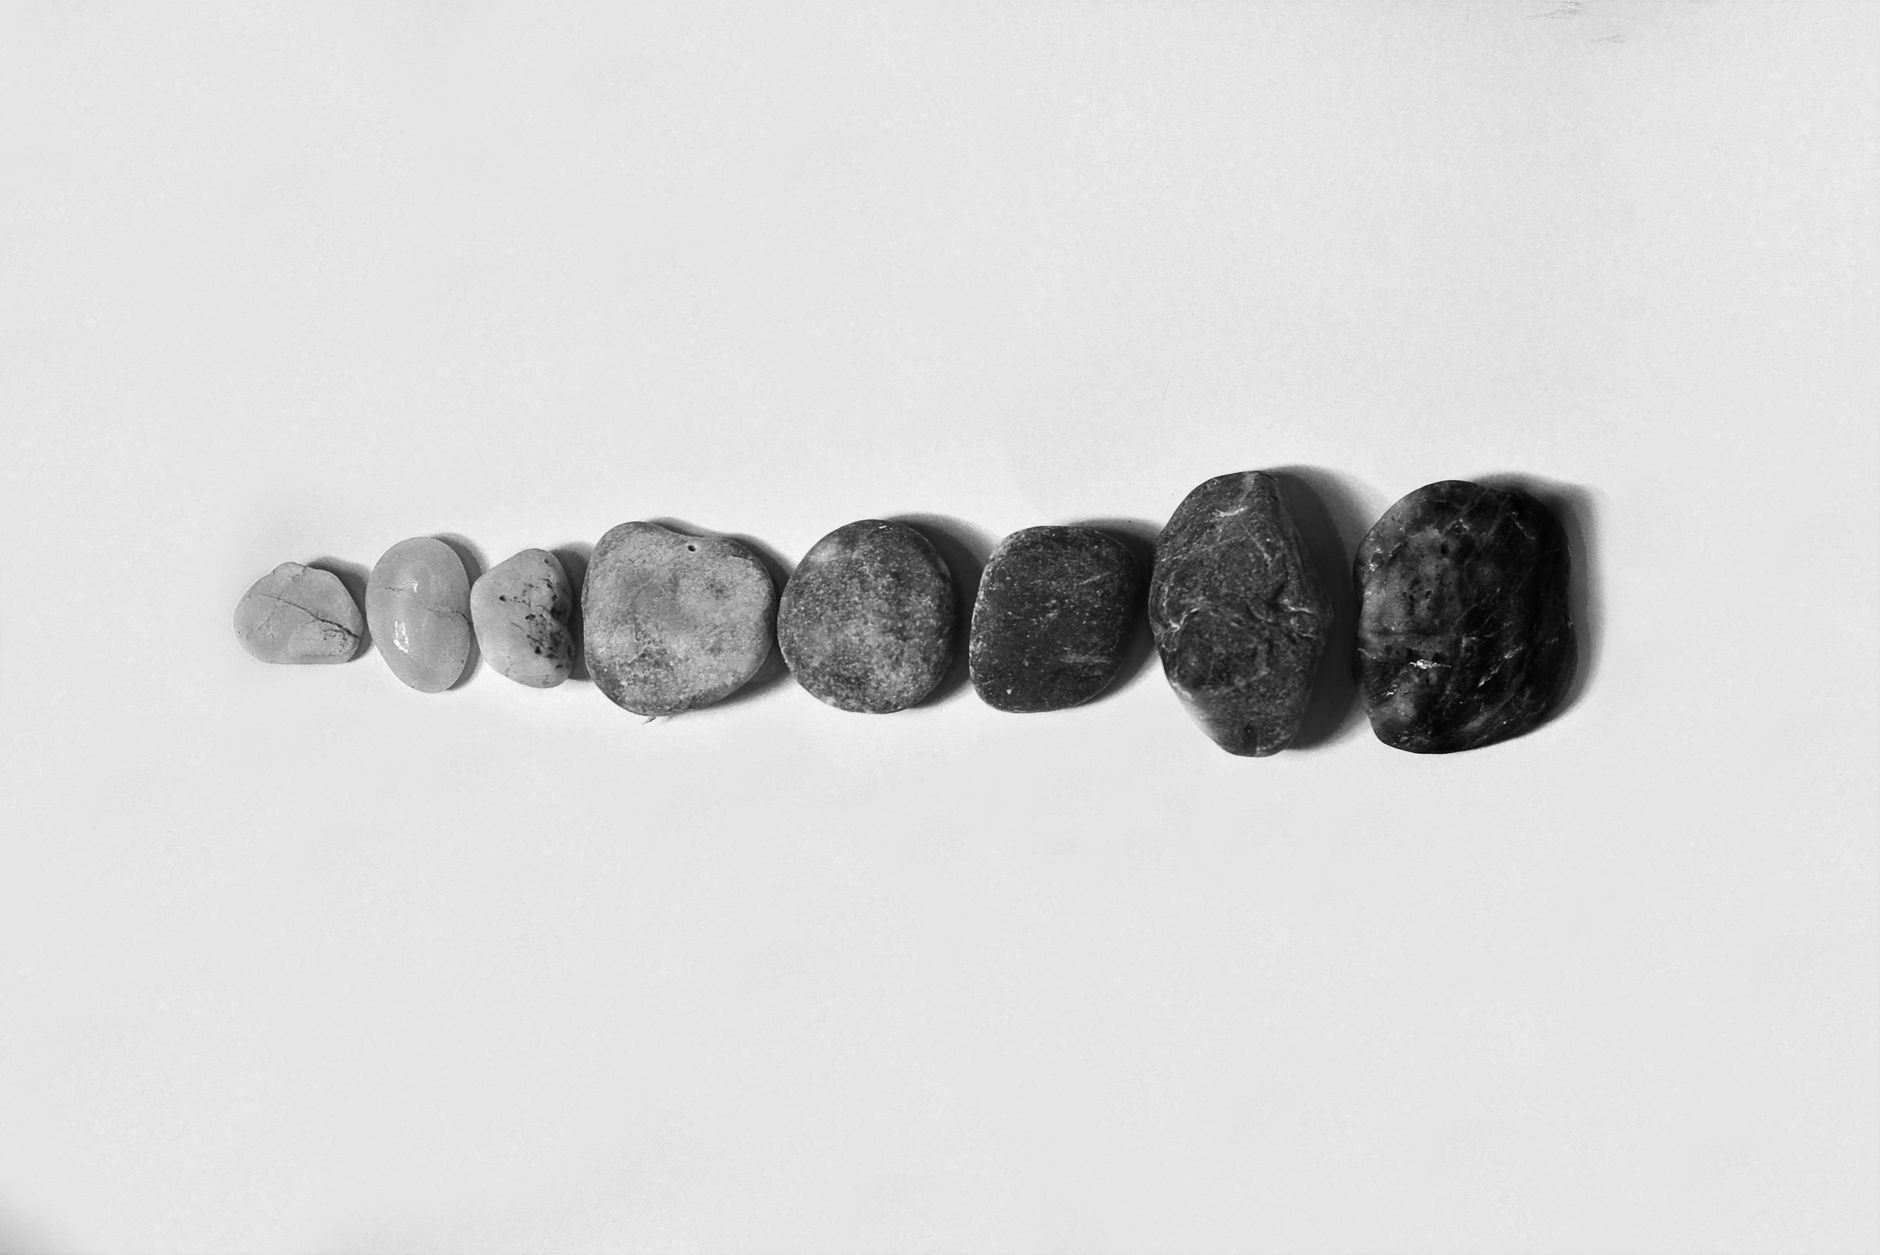
Pick up the specimen and note whether it looks made of interlocking crystals, cemented grains, or bands. Igneous rocks like granite have visible interlocking crystals. Sedimentary rocks like sandstone often feel gritty from cemented grains. Metamorphic rocks may show flattened bands or shiny mica layers. This first look takes less than a minute. It tells you which major rock family you are in.
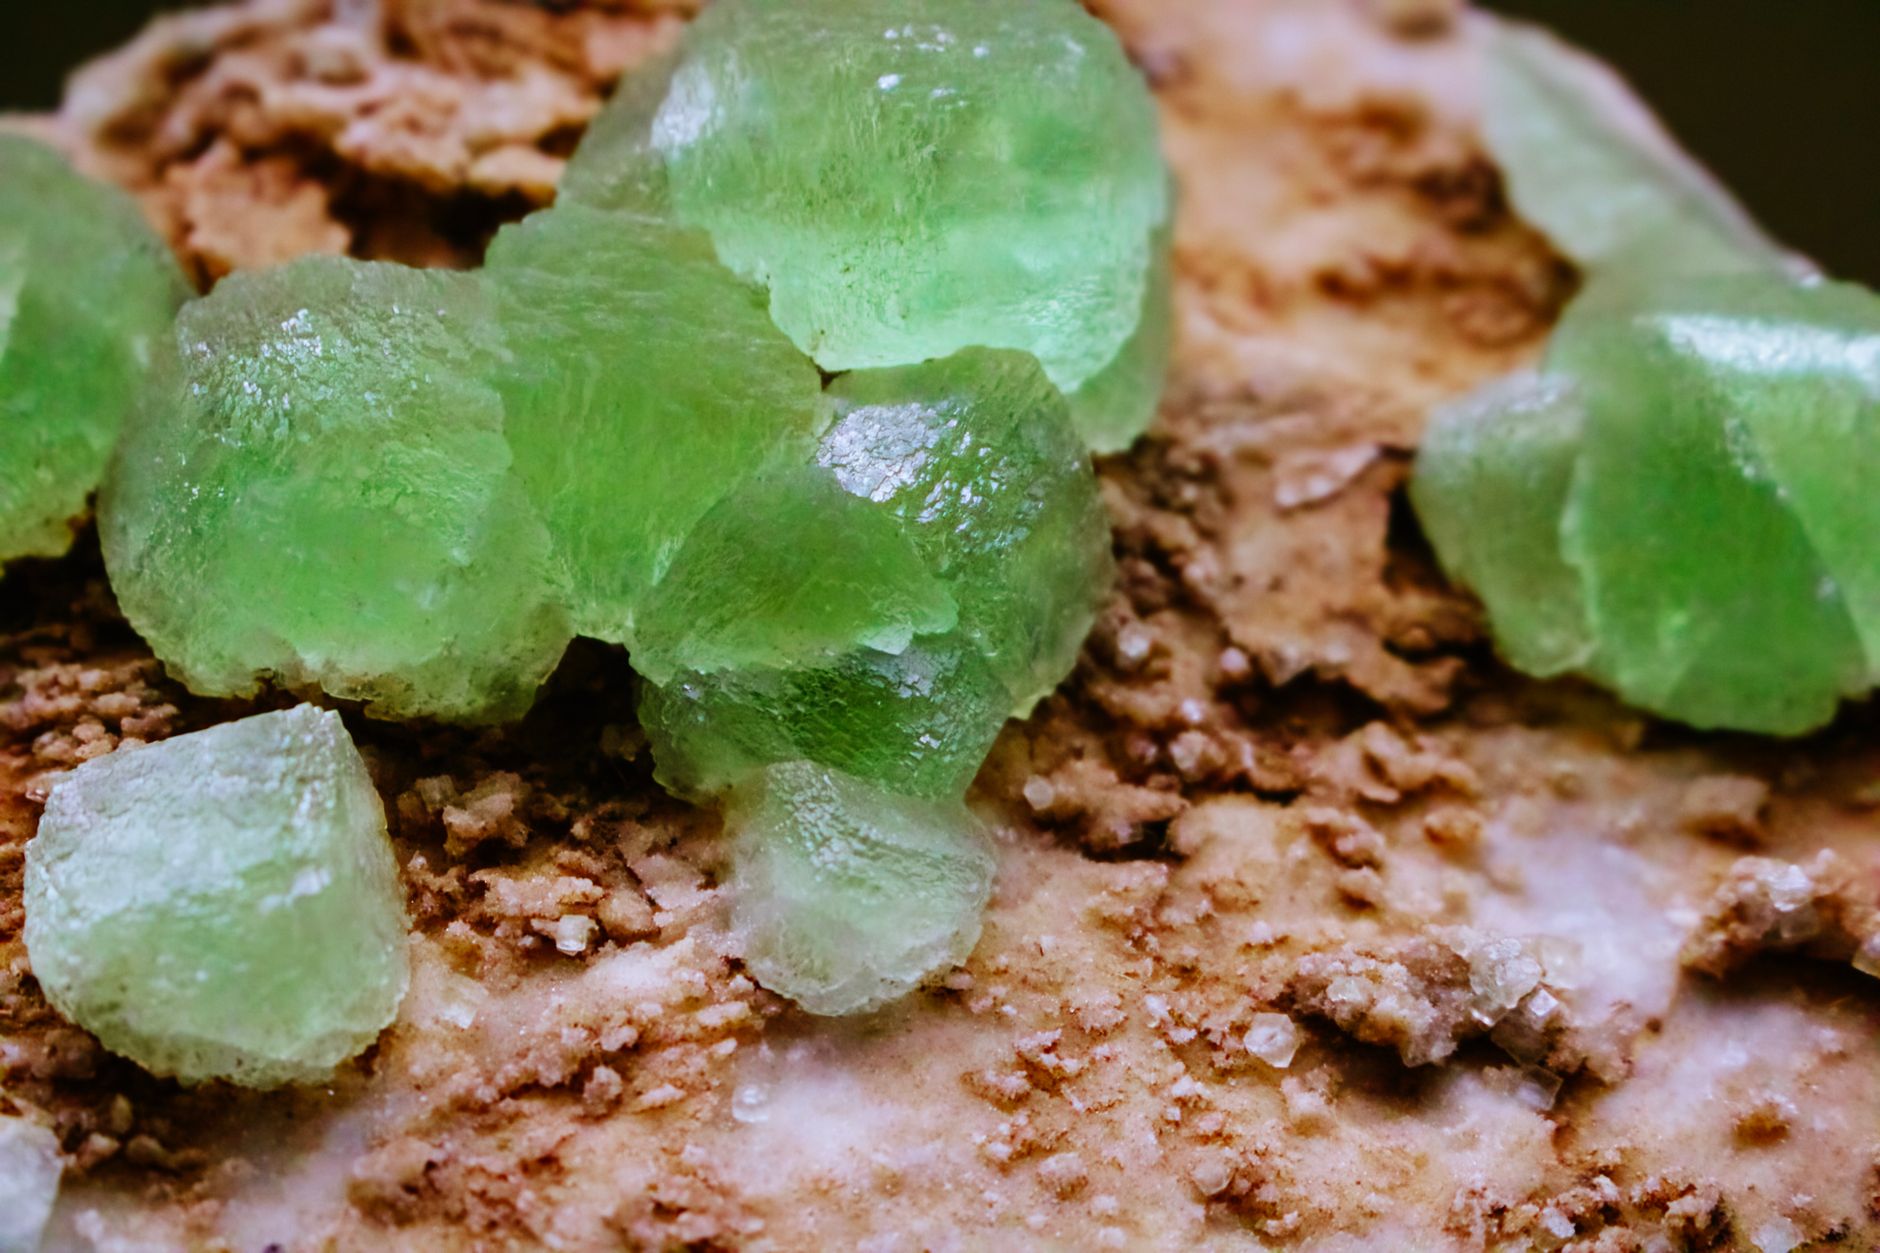
Texture also helps with minerals. Some minerals grow as well-formed crystals with flat faces. Others appear as massive lumps with no visible crystal shape. Quartz often forms six-sided prisms with pointed ends. Calcite commonly breaks into rhombohedral blocks. If the piece is a crystal, you can use crystal form later. If it is a rock, you are really identifying the mix of minerals.
Look for grain size too. A fine-grained basalt may look like flint at first. A coarse-grained granite is unmistakable once you see the minerals. Porphyritic rocks show large crystals in a fine matrix. Each texture points to a cooling history. That history helps you connect the piece to local geology. Always inspect the specimen dry and then wet. Wetting the surface brings out patterns you may miss.
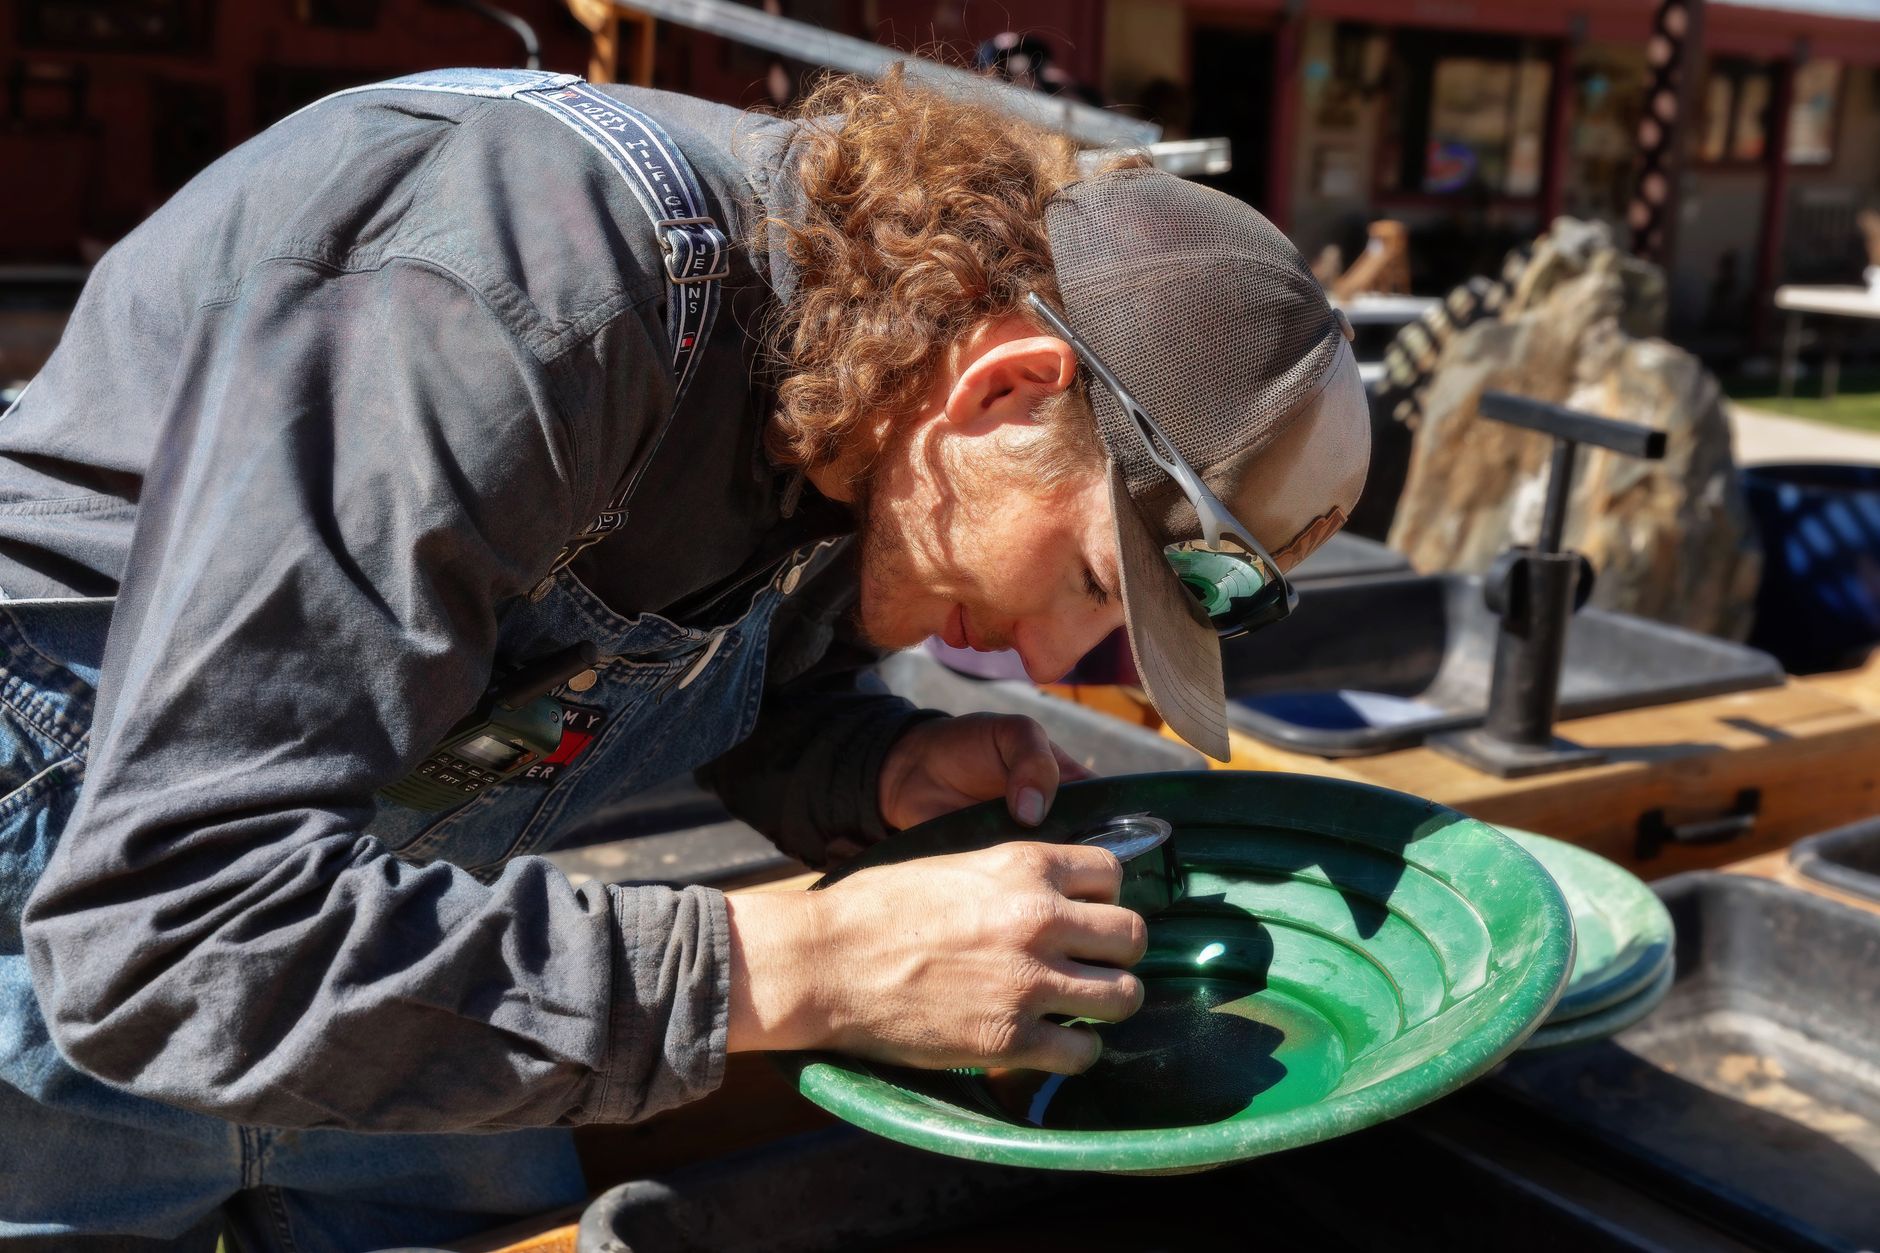
Use a magnifier if your eyes are tired. A best magnifying loupe can reveal tiny grain boundaries and cleavage. For now, just build the habit of describing texture before reaching for a name. The name comes after tests, not before.
- Step 2: Use Color as a Clue, Never as Proof
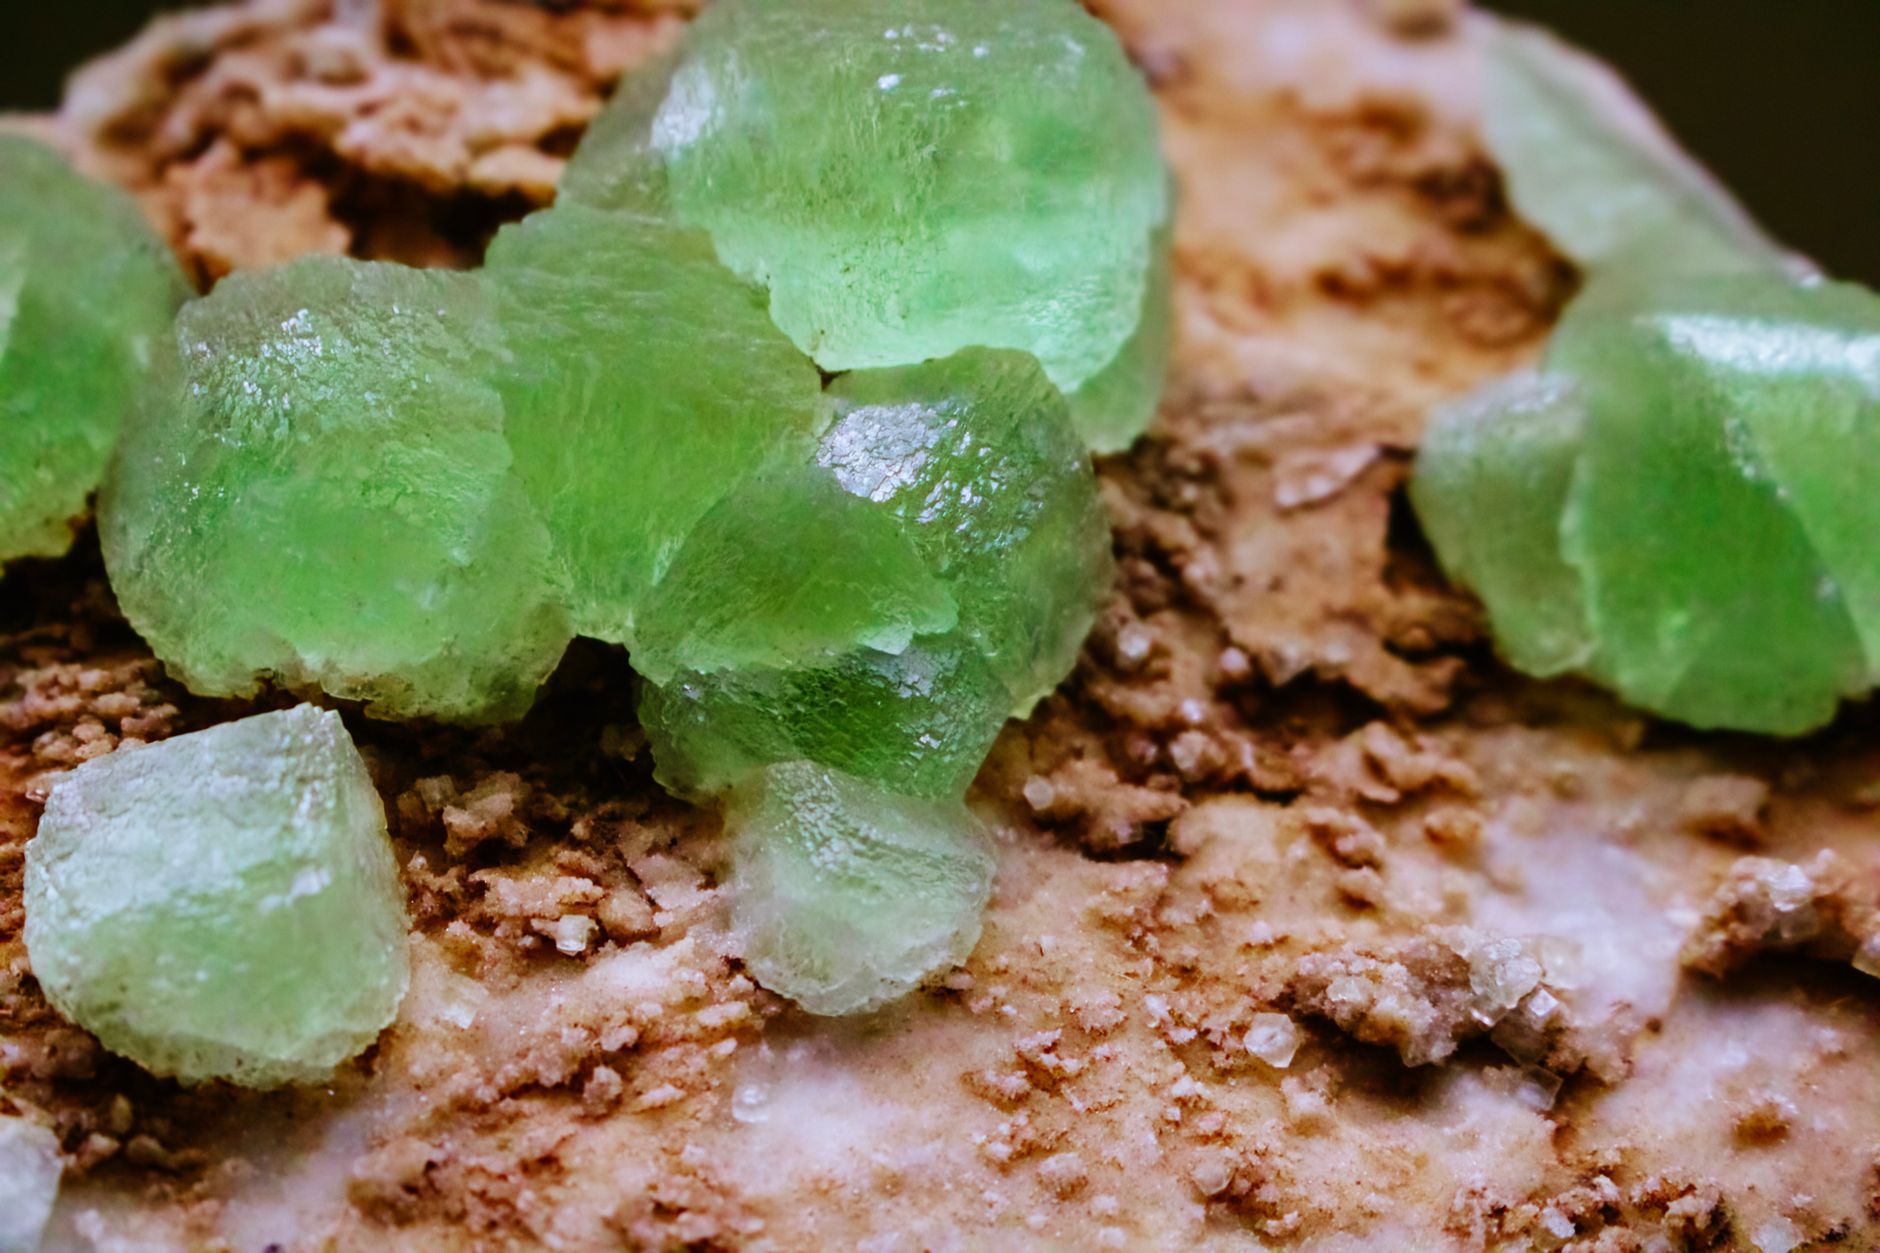
Color is the first thing you notice. It is also the least reliable property. Quartz can be amethyst, citrine, rose quartz, smoky quartz, or clear. Fluorite comes in purple, green, yellow, and blue. The same mineral can vary because of tiny chemical impurities. So record color, but do not end your identification there.
Some colors are still useful. Bright yellow sulfur is uncommon in other minerals. Malachite is green and often has a botryoidal or banded habit. Copper minerals frequently stain nearby rock green or blue. In some areas, color can be a strong regional clue. That still needs backup from hardness and streak.
Weathered surfaces often hide the true color. A fresh break shows the actual color of the mineral or rock. Carry a rock hammer to break a small edge when it is safe and legal. Do not break specimens in parks or protected sites. A scratch or chip can expose a fresh surface without major damage.
For agates and jaspers, color bands can help. Agates often show translucent bands of blue, gray, white, or brown. If you want to focus on that group, read our guide on how to identify agates. Still, interior color may differ from the rind.
- Step 3: Test Hardness with Common Objects
Hardness is one of the most reliable quick tests. The Mohs scale ranks minerals from 1 to 10. Talc is 1 and diamond is 10. You do not need a full kit to start. Use your fingernail, a copper penny, a steel knife or nail, and a piece of glass. These common items give you quick cutoffs in the field.
Your fingernail has a hardness of about 2.5. It scratches gypsum but not calcite. A copper penny is around 3.5. A steel knife or masonry nail is about 5.5. Glass is also around 5.5. Quartz, at 7, will scratch glass. Calcite, at 3, will not scratch glass and will be scratched by a copper penny. For a full scale, see our Mohs hardness scale guide.
Always test a small, inconspicuous area. Scratch the unknown mineral with the known object, then the reverse. If the object scratches the mineral, the mineral is softer. If the mineral scratches the object, the mineral is harder. A quick double test prevents mistakes. Do not press hard enough to crush small crystals.
Hardness works best on single minerals. On rocks, the test may reflect the softest or hardest mineral present. Still, a sandstone that crumbles easily tells you it likely contains softer grains or weak cement. A hard quartzite resists a steel knife. The hardness of the overall rock can still help you classify it.
- Step 4: Check Streak, Luster, and Cleavage
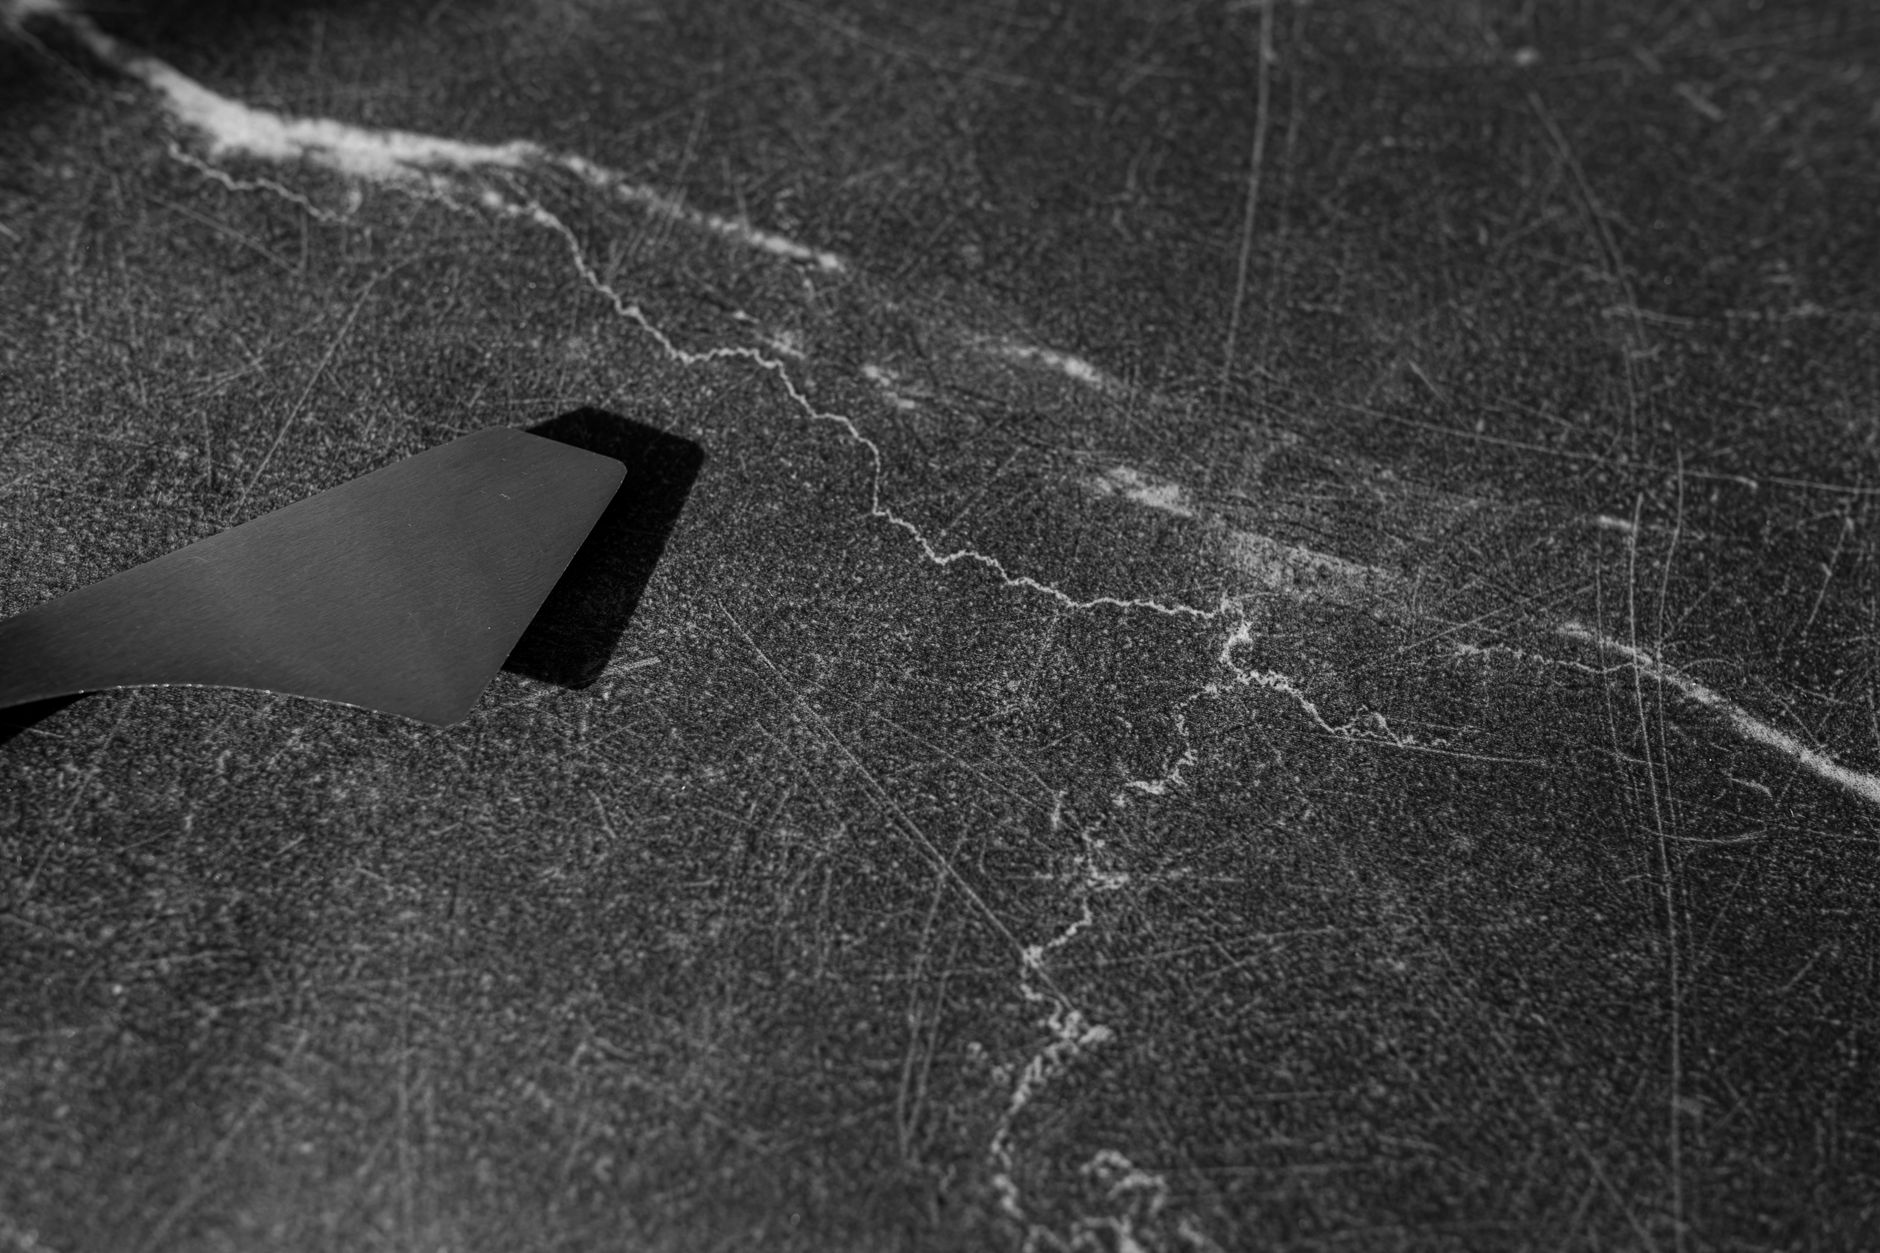
Streak is the color of a mineral in powdered form. Rub the specimen across an unglazed porcelain streak plate. Many minerals show a streak color different from their surface color. Hematite may look steel gray or black but leaves a red-brown streak. Pyrite often looks brass yellow but has a greenish-black streak. Streak is steady and takes seconds.
Luster describes how light reflects from the surface. Common terms include metallic, vitreous or glassy, pearly, greasy, dull, and earthy. Galena is metallic. Quartz is vitreous. Talc can feel greasy and look pearly. Squint at the surface and compare it to a known glassy mineral. A 10x loupe helps you see tiny crystal faces and fine textures. I use a BelOMO 10x triplet loupe because the optics stay sharp.
Cleavage is how a mineral breaks along flat planes. Mica peels into thin sheets. Feldspar has two cleavage directions at nearly right angles. Calcite splits into rhombohedrons. Quartz has no cleavage; it breaks with a curved or conchoidal fracture. Look for flat reflective surfaces on broken pieces. They often repeat the same angle.
Together these three properties can pin down many common minerals. For example, a dark mineral with a red-brown streak and metallic luster is likely hematite. A glassy mineral that scratches glass and breaks with curved surfaces is likely quartz. For more detail, see how to choose a magnifying loupe.
- Step 5: Read the Geological Setting and Locality Data
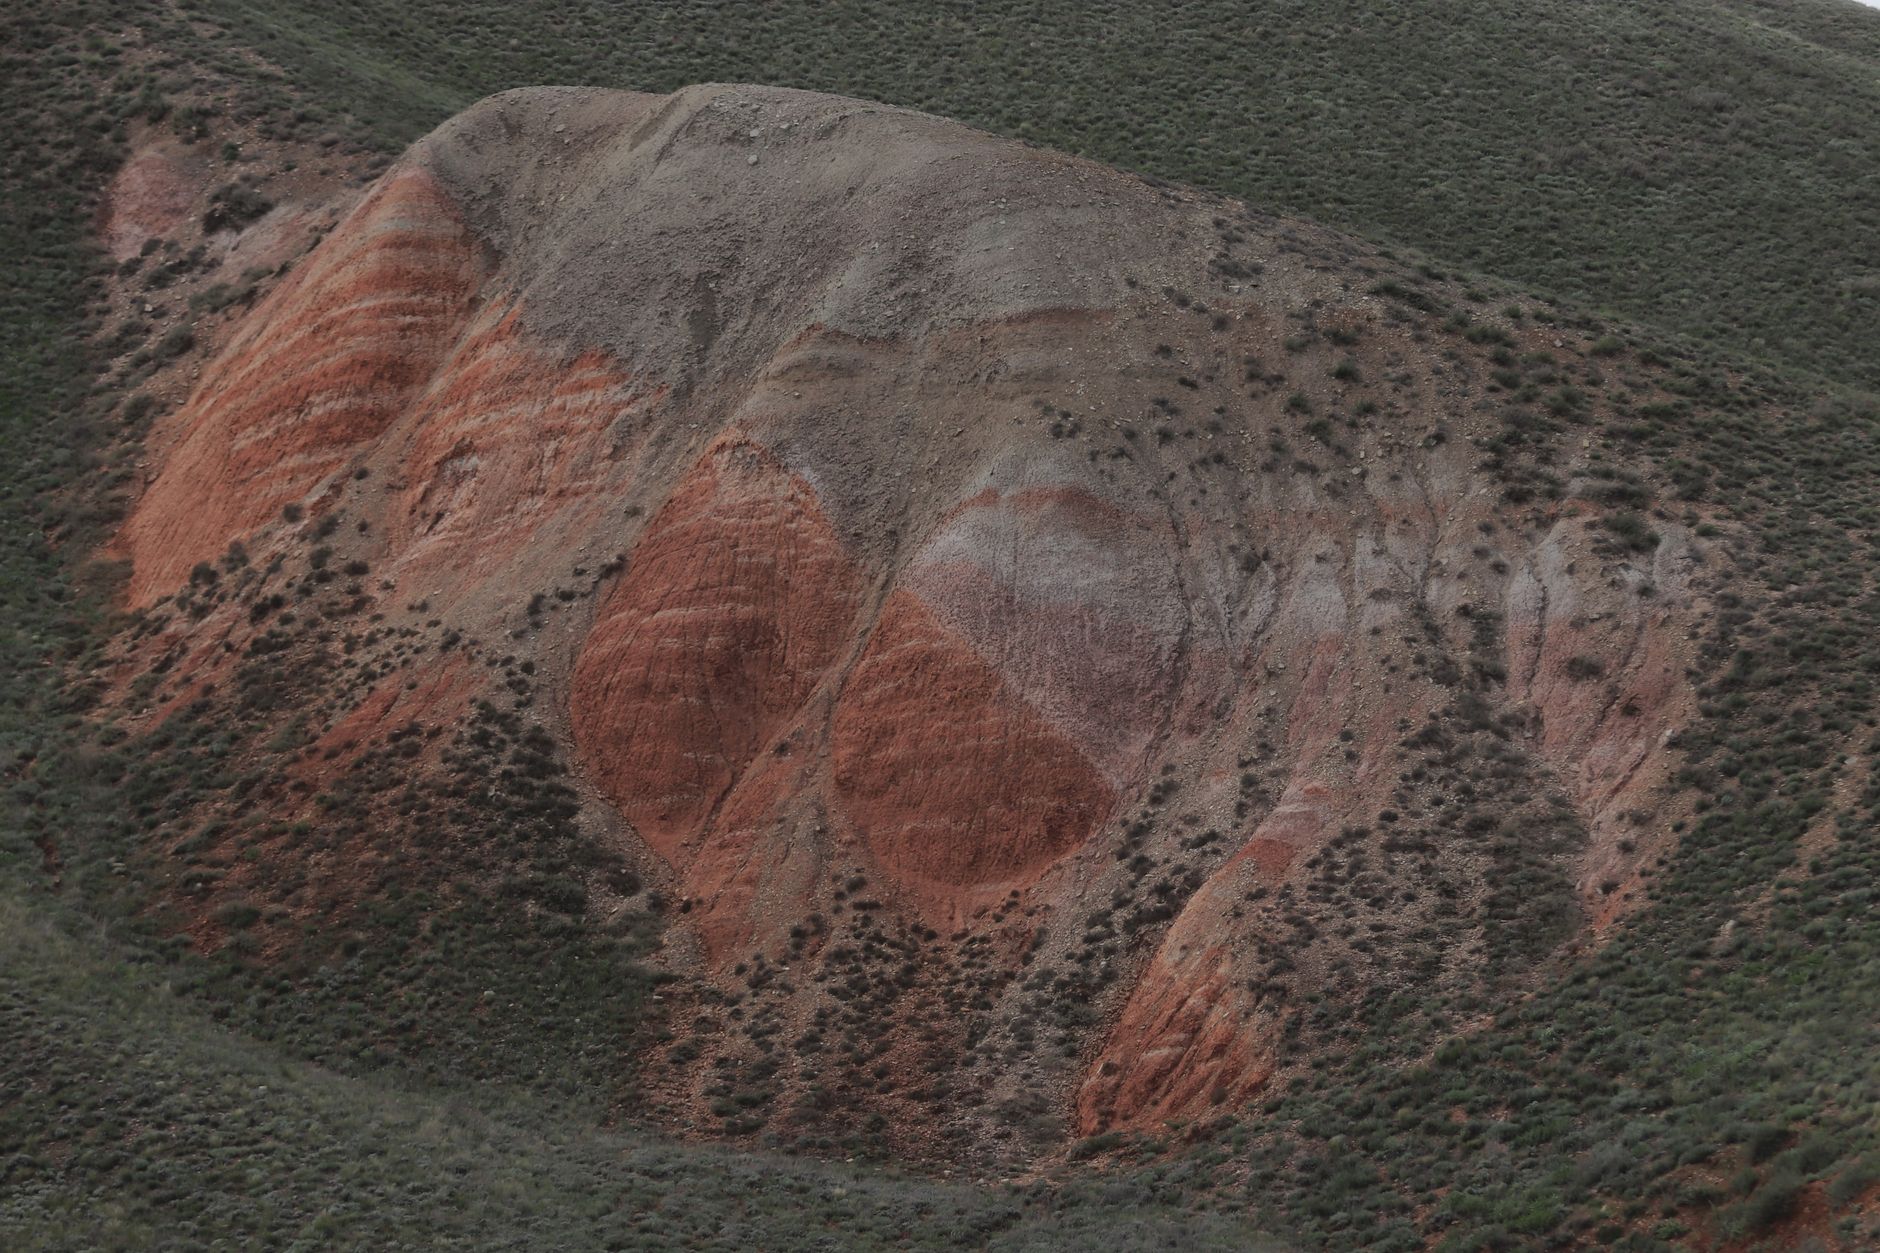
Where you found the specimen is powerful evidence. A mineral from a granite pegmatite is more likely to be feldspar, quartz, mica, or beryl than a copper mineral. A mineral from a weathered copper deposit in Arizona may be chrysocolla, malachite, or azurite. Note the surrounding rock type. That helps you rule out many options immediately.
Check the local geology before you dig deep. The USGS publishes bedrock and surficial geologic maps for much of the United States. State geological surveys are equally useful. Search for Mindat.org locality pages. Mindat often lists the minerals reported from a specific mine, quarry, or district. If your unknown is not on that list, you may need to reconsider.
Known localities can teach you a lot. Franklin, New Jersey has produced more than 350 mineral species. That is an exceptional number for one mining district. In Arizona, copper minerals color many rock dumps green and blue. Our rockhounding in Arizona guide covers some collecting ethics and locations. Local knowledge can cut identification time in half.
Do not collect blindly on public land. The Bureau of Land Management allows casual collecting on many lands but has rules. Some areas are off limits, and claim boundaries matter. Always verify land ownership and collecting rules before removing material. A little research protects you and the resource.
- Step 6: Compare Against a Field Guide and Online Database
Once you have texture, color, hardness, streak, luster, and setting, you can compare candidates. A good field guide narrows the list quickly. Look up minerals that match your hardness and streak first. The National Audubon Society Field Guide to Rocks and Minerals is a reliable starting choice. You can Check the National Audubon Society Field Guide to Rocks and Minerals on Amazon.
Do not stop at the first pretty picture. Read the text. Check the diagnostic properties, not just the photo. Color plates can steer you wrong because specimens vary. Focus on the listed hardness, streak, cleavage, and typical environments. If two minerals match, look for the one with the fewest exceptions.
Online databases add flexibility. Mindat lets you search by color, hardness, streak, and locality. Some collectors prefer a phone app in the field. Apps are helpful, but they still need good input. If you enter a blurry photo and no test results, you will get bad guesses. The best habit is to test first, then search.
For gem minerals, our gemstone identification guide covers color, transparency, and common treatments. Use it when you suspect a piece might be gemmy. But remember that many field finds are not faceting grade. Identification is about understanding the material, not just its value.
- Step 7: Use Special Tests Only When Needed
Some minerals need a special test to separate lookalikes. Calcite and dolomite look similar. Calcite reacts strongly with cold dilute hydrochloric acid. Dolomite reacts weakly or only when powdered. This acid test is classic, but it must be done safely. Use diluted acid, wear gloves and eye protection, and work outdoors.
Magnetic tests help with magnetite, pyrrhotite, and some meteorites. A small magnet pulled across the specimen can reveal attraction. Magnetite is strongly magnetic. Hematite is sometimes weakly magnetic. Do not assume every dark heavy mineral is magnetite. Streak and hardness still matter.
Ultraviolet light can separate some minerals. Fluorite often fluoresces blue or green. Willemite from Franklin, New Jersey glows bright green under shortwave UV. A small UV flashlight is useful but not essential for beginners. If you want to clean specimens before testing, see our how to clean rocks and minerals guide.
Specific gravity, or heft, is another clue. Galena feels surprisingly heavy. Barite is also heavy but has different cleavage. The test requires a scale and water, or just a practiced hand. Start with the tests you can do safely. Add special tests as your interest grows.
- Step 8: Record Your Observations and Verify the ID
Write down where you found the specimen, what the surrounding rock was, and all test results. A small field notebook or a phone note works. Include the date, GPS coordinates if possible, and a quick sketch. This record turns a guess into a verifiable identification. It also helps you learn patterns over time.
Photograph the specimen in daylight. Capture the fresh surface, the weathered exterior, and the locality. If you later find out the name was wrong, the record helps you correct it. Good notes also make trading and sharing more meaningful.
Compare your results with a second source. Ask a local club or a knowledgeable collector. Many clubs host identification tables at rock and mineral shows. You can also post clear photos and test results to forums. Be specific about hardness and streak. A blurry photo alone rarely gets a reliable answer.
When you are confident, label the specimen. Use a small card or sticker with the mineral or rock name, locality, and date. Proper labels protect the collection’s value to you. For more on field routines, read our mineral collecting field guide.
Red Flags & Warnings
- 🚨 Never taste or lick minerals. Some common specimens contain arsenic, lead, mercury, or other toxic elements.
- 🚨 Always verify land ownership and collecting rules before removing material. Public land does not automatically mean open collecting.
- 🚨 Use acid tests with diluted acid only, outdoors, and with eye protection and gloves. Acid can damage skin, clothing, and the specimen.
- 🚨 Do not hammer or collect in national parks, monuments, or protected sites. Collecting is often illegal and harms resources.
- 🚨 Wear safety glasses when breaking rock. Flying chips can cause serious eye injuries.
- 🚨 Be cautious around old mine dumps and roadcuts. Sharp glass, unstable rock, and traffic are real hazards.
Frequently Asked Questions
What is the fastest way to tell a rock from a mineral?
A mineral is a naturally occurring solid with one chemical composition and an orderly crystal structure. A rock is a solid made of one or more minerals. Examine texture. If you see multiple minerals, like pink feldspar, gray quartz, and black mica, it is a rock.
How reliable is color for identifying minerals?
Color is the least reliable test because impurities and weather change it. Quartz, fluorite, and corundum show many colors. Use streak, hardness, and luster first. Record color as supporting evidence only.
What is the Mohs hardness scale?
The Mohs scale ranks minerals from 1, talc, to 10, diamond. It measures resistance to scratching. Common field tools include a fingernail at about 2.5, a copper penny at 3.5, and glass or a steel knife at 5.5. Quartz is 7.
Can I use a smartphone app to identify minerals?
Apps can help, but they work best when you enter good test results. A photo alone often gives poor guesses. Use an app after checking hardness, streak, and luster. Confirm with a field guide or Mindat.org.
Is it legal to collect rocks on public land?
It depends on the land agency and designation. The Bureau of Land Management allows limited casual collecting on many lands, but national parks and monuments prohibit it. Verify current rules and land status before you collect.
What should I do if I think I found a meteorite or a rare mineral?
Take clear photos, record the location, and run basic tests like magnetism and streak. Do not sell or cut it until an expert verifies the find. Contact a local university geology department or a recognized meteorite testing service.
What Should You Remember?
- Texture first: Classify the piece as igneous, sedimentary, metamorphic, or a single mineral crystal before guessing a name.
- Hardness: Use fingernail, penny, steel, and glass to bracket the Mohs number quickly.
- Streak: Rub the mineral on unglazed porcelain. Streak color is more reliable than surface color.
- Luster and cleavage: Note glassy, metallic, pearly, or dull surface and how the mineral breaks.
- Locality: Check Mindat.org and USGS maps. Where you found it excludes many candidates.
- Document: Write down tests, location, and date before you forget. A label is part of the find.
- Respect rules: Verify land ownership and collecting limits. Leave protected sites untouched.
This article is for general information only. Rockhounding and collecting carry land-access, safety, and legal obligations , always verify claim status, land ownership, and collecting rules before removing material, and get landowner or land-agency permission where required. Field collecting involves physical hazards; use proper safety gear and never enter mines or unstable terrain.