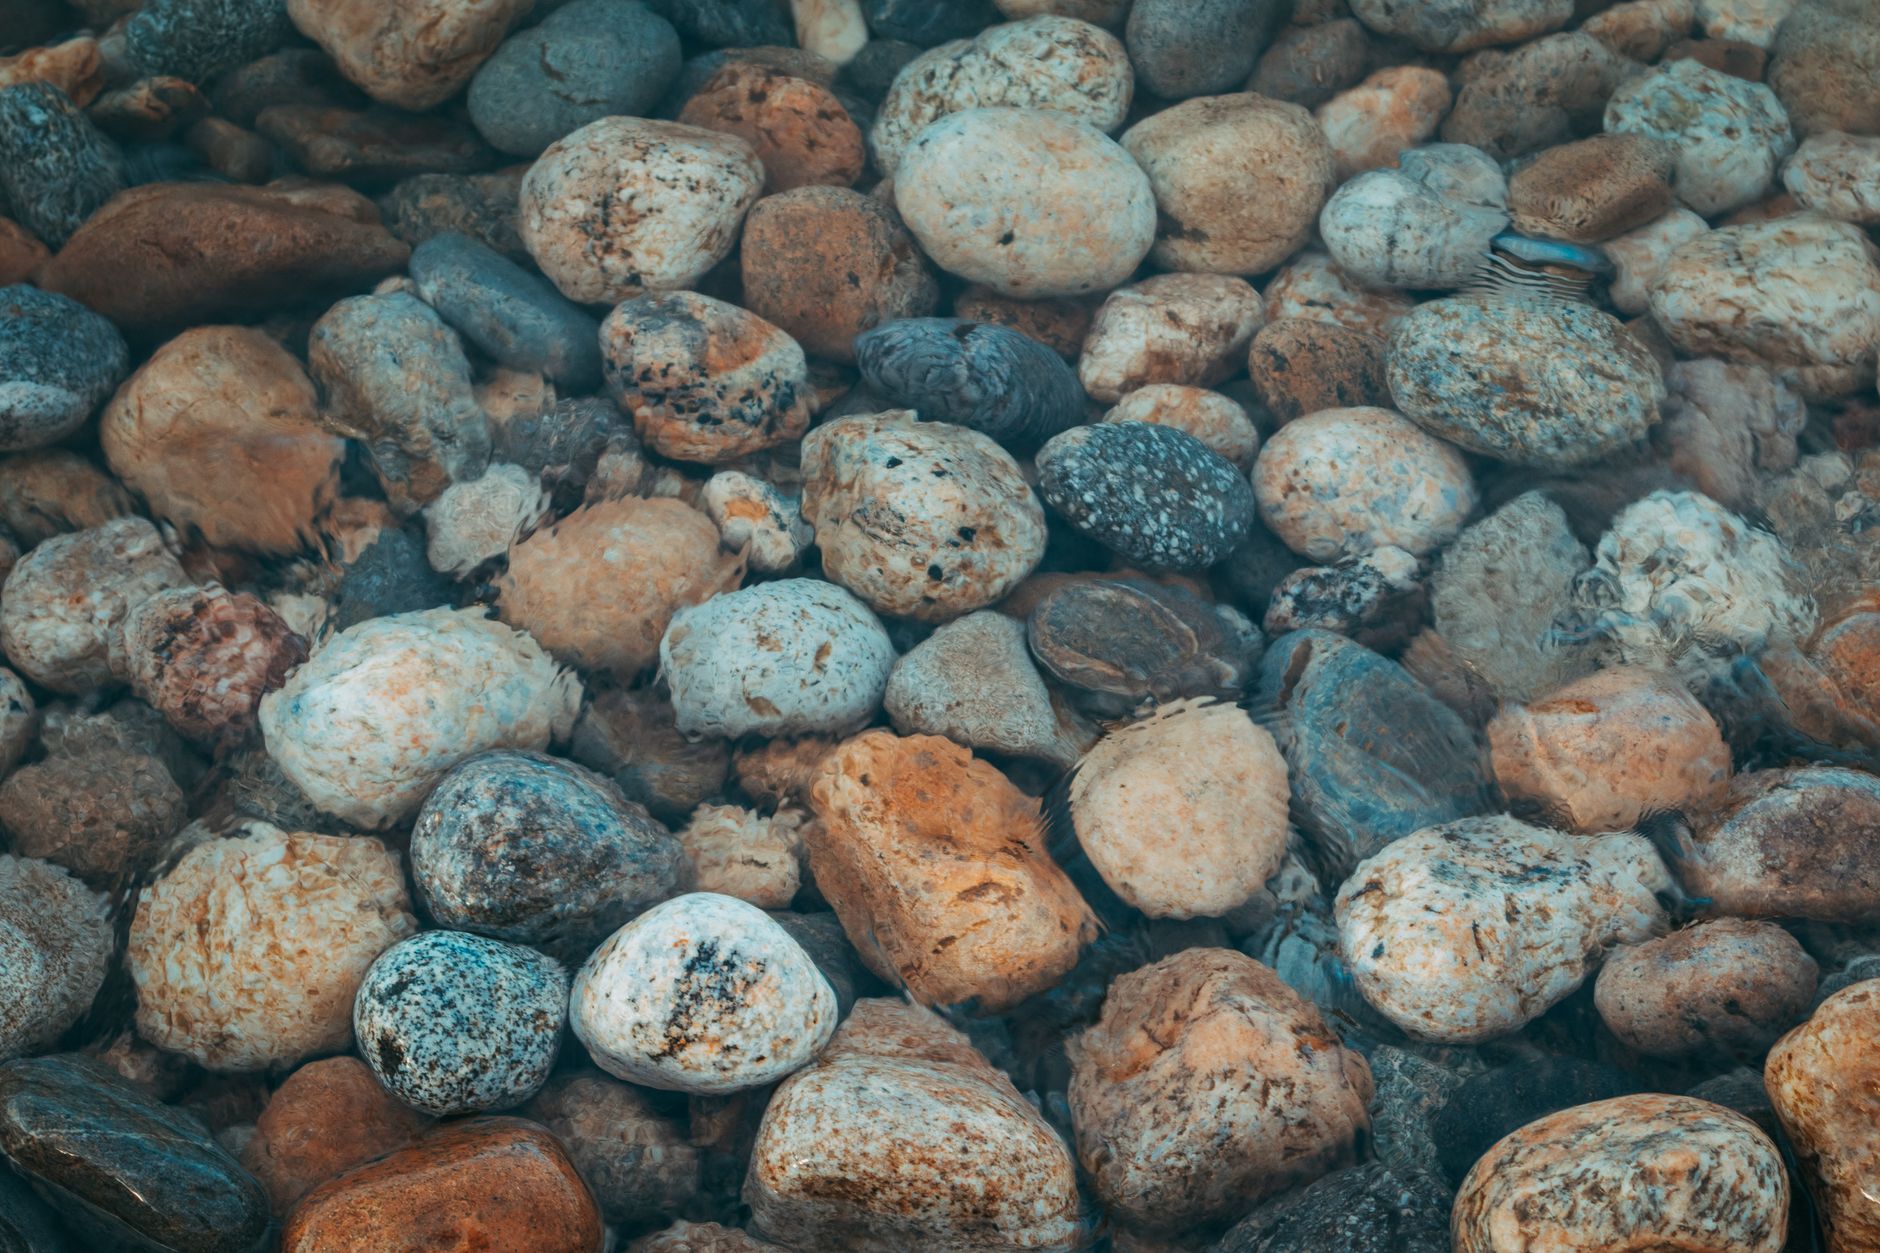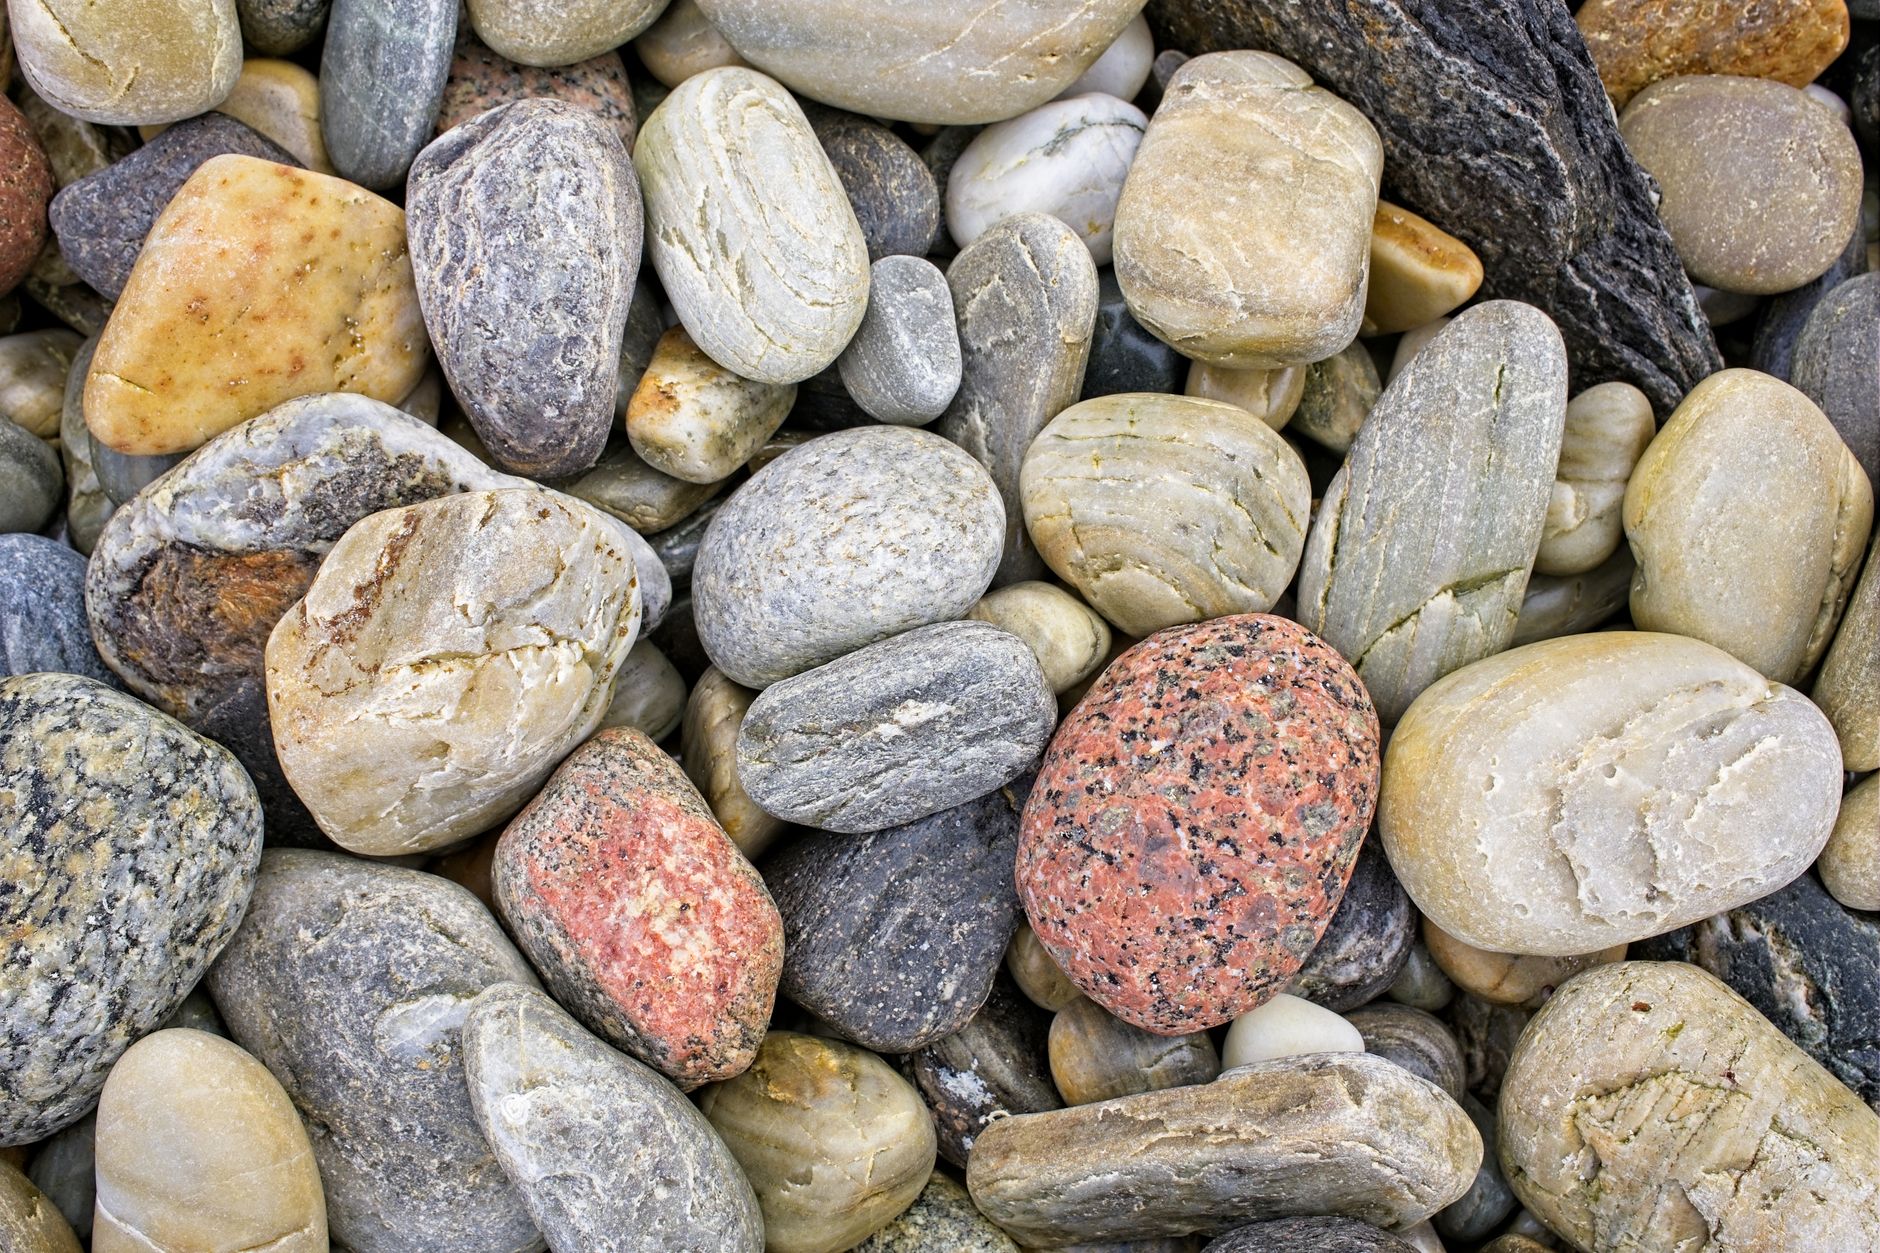
Rock tumbling turns rough, dull stones into smooth, glossy gems. The process is simple, but it takes patience. You load rocks, water, and abrasive grit into a rubber barrel. A motor turns the barrel for days at a time. The tumbling action wears down sharp edges and scratches. By the end, the stones show a deep, wet shine. Many beginners rush and end up with frosted pebbles. The fix is understanding each stage. This guide walks through the complete four-stage process.
The most important rule is sorting by hardness. Rocks of different hardness grind at different rates. A soft stone can disappear while a hard stone stays rough. The Mohs hardness scale guide is your best tool here. Quartz, agate, and jasper sit at 6.5 to 7 on the scale. Softer minerals like calcite rate 3. You can check specific mineral hardness data on Mindat.org. That database is the standard reference for mineral collectors.
The four-stage process uses progressively finer grit. Stage one uses 60/90 silicon carbide to shape rocks. Stage two uses 220 grit to smooth them. Stage three uses 500 or 600 grit as a pre-polish. Stage four uses aluminum oxide or cerium oxide for the final gloss. Each stage usually runs seven days. Between stages, you must clean the rocks and the barrel. One stray grain of coarse grit can ruin the polish job. That is why cleaning takes as much care as tumbling.
Before you start, gather rough material legally. Public land collecting rules vary by area. The Bureau of Land Management explains limits on casual collection. Always verify land ownership and collecting rules before removing material. You can tumble material you buy or self-collect. Hard, fine-grained stones work best. This process works for agates, jaspers, quartz, and petrified wood. Pick stones free of deep pits and cracks.
What You’ll Need
- Rotary rock tumbler
- 60/90 silicon carbide grit
- 220 silicon carbide grit
- 500 or 600 silicon carbide grit
- Aluminum oxide polish
- Plastic pellets or ceramic media
- Water
- Colander and bucket
- Old toothbrush or small scrub brush
- Mild soap or borax for burnishing
How Do You Tumble Rocks?
- Sort rocks by hardness, size, and shape
Tumbling works best when every rock in the barrel shares a similar hardness. If you mix quartz with calcite, the calcite may grind away before the quartz is smooth. The Mohs hardness scale helps you sort. Agates and jaspers are usually around 6.5 to 7. Obsidian is slightly softer at 5 to 5.5. Use the best rocks to tumble guide to pick beginner-friendly material.
Size sorting matters too. A barrel with only large rocks leaves gaps and grinds slowly. A barrel with only small rocks may not have enough impact to shape anything. Aim for a mix of sizes. Most stones should be between 1/4 inch and 2 inches across. Add some smaller pieces to fill gaps between larger stones. Avoid stones that are too thin or have deep cracks.
Shape matters because odd shapes can break. A jagged piece with a thin edge may snap off during tumbling. This creates new sharp surfaces late in the process. It can also damage other rocks. Pre-form rough stones with a rock hammer or trim saw if you have those tools. At minimum, remove pieces that look fragile. Good tumbling starts with good material selection.
- Load the barrel 2/3 to 3/4 full
The barrel should be about 2/3 to 3/4 full of clean rocks. Too few rocks means poor tumbling action. Too many rocks prevents the load from sliding and rolling. Fill the barrel with water until it just covers the rocks. Do not fill it all the way to the top. The barrel needs some air space for the slurry to move.
Add the appropriate grit for the stage. For stage one, use about two tablespoons of 60/90 silicon carbide per pound of rock. For a three-pound barrel, that is about six tablespoons. The exact amount depends on barrel size and rock load. Follow the instructions for your beginner rock tumbler. Most small rotary tumblers need between three and six tablespoons of grit for a full load.
Cushioning media is optional but helpful. Plastic pellets or ceramic media fill space and help carry grit into small crevices. Ceramic media also helps polish. Add media only after the coarse stage, or it will wear down quickly. For stage one, rocks can tumble against each other. Starting in stage two, add media to improve results. A good principle is to use about 25 percent media by volume after the first grind.
- Stage 1: Coarse grind with 60/90 grit
The coarse stage shapes the rocks. Use Check the 60/90 silicon carbide grit on Amazon. This grit has hard particles with sharp edges. It removes a lot of material quickly. The goal is to round sharp corners, smooth rough surfaces, and remove pits. Run the tumbler for seven to ten days. Do not open the barrel every day. Opening too often slows progress and can cause leaks.
Check progress after five to seven days. Open the barrel carefully. The slurry will be thick and gray. Rinse a few rocks and look at them. They should be rounded with no major pits or cracks. If they are still rough, add fresh grit and run for another two or three days. Keep using fresh grit if the old grit is spent. Spent grit feels slippery and fine, not gritty.
Clean everything before moving to stage two. Dump the slurry outside, not down a drain. Rinse the rocks in a colander over a bucket. Scrub the barrel and lid with a brush. Even a small bit of 60/90 grit carried into stage two will leave deep scratches. The rock tumbling grit guide explains why separating grit sizes is critical.
- Stage 2: Smooth with 220 grit
After stage one, the rocks are shaped but covered with small scratches. Stage two uses 220 grit silicon carbide. This finer grit removes the coarse scratches and starts to smooth the surface. Use about the same amount of grit as stage one, or slightly less. Run the tumbler for five to seven days.
Add cushioning media in this stage. Plastic pellets or small ceramic cylinders fill gaps and cushion the rocks. This reduces bruising and helps the finer grit reach every surface. Add enough media to keep the barrel about 2/3 to 3/4 full after the rocks are loaded. Do not use so much media that the rocks cannot tumble.
Cleaning is just as important after stage two. Rinse the rocks in a strainer over a bucket. Use an old toothbrush to clean pits and crevices. Any grit left on the rocks will contaminate the next stage. Keep separate scrub brushes for coarse and fine stages. Even a few coarse particles can scratch a pre-polished surface. The same cleaning method applies after every grit change.
- Stage 3: Pre-polish with 500 or 600 grit
Stage three removes the fine scratches left by 220 grit. Use 500 or 600 grit silicon carbide. Some tumblers use aluminum oxide for this stage instead. The goal is to prepare the rocks for the final polish. Run the barrel for five to seven days. This stage often makes rocks look slightly matte or frosted.
Keep using cushioning media. The finer grit needs help reaching into small fractures. Ceramic media works well here. It also smooths the rock surface through its own fine abrasive action. Fill the barrel so the load still slides and rolls. A barrel that is too full will not grind evenly.
After the pre-polish stage, inspect the rocks carefully. Rinse them and look for any remaining scratches or pits. A 10x loupe from a lapidary equipment list helps inspect. If scratches are still visible, run another batch of 500/600 grit. Do not move to polish until the surface is smooth and even. The final polish cannot remove deep scratches. It only removes the micro-fine haze from pre-polish.
- Stage 4: Final polish with aluminum oxide
The final stage creates the glossy shine. Use aluminum oxide polish for most hard rocks. Cerium oxide works well for quartz and glassy materials. Use about two to three tablespoons of polish per pound of rock. Run the tumbler for seven days. This stage uses very fine particles, usually around 1 to 3 microns.
Cushioning media matters more than ever in this stage. Plastic pellets help carry the polish evenly. Ceramic media also works but can be slightly abrasive. Many experienced tumblers use plastic pellets for polish only. That prevents any dulling from ceramic media. Use clean media that has not been contaminated with coarse grit.
Do not rush this stage. A full seven days gives the polish time to work. Check the slurry after a few days if you like. It should look milky, not gray. Gray slurry means coarse grit contamination. If that happens, stop and clean everything again. Polishing is the most sensitive stage in the whole process. The best rock tumblers often run more smoothly, which helps here.
- Burnish and dry for final shine
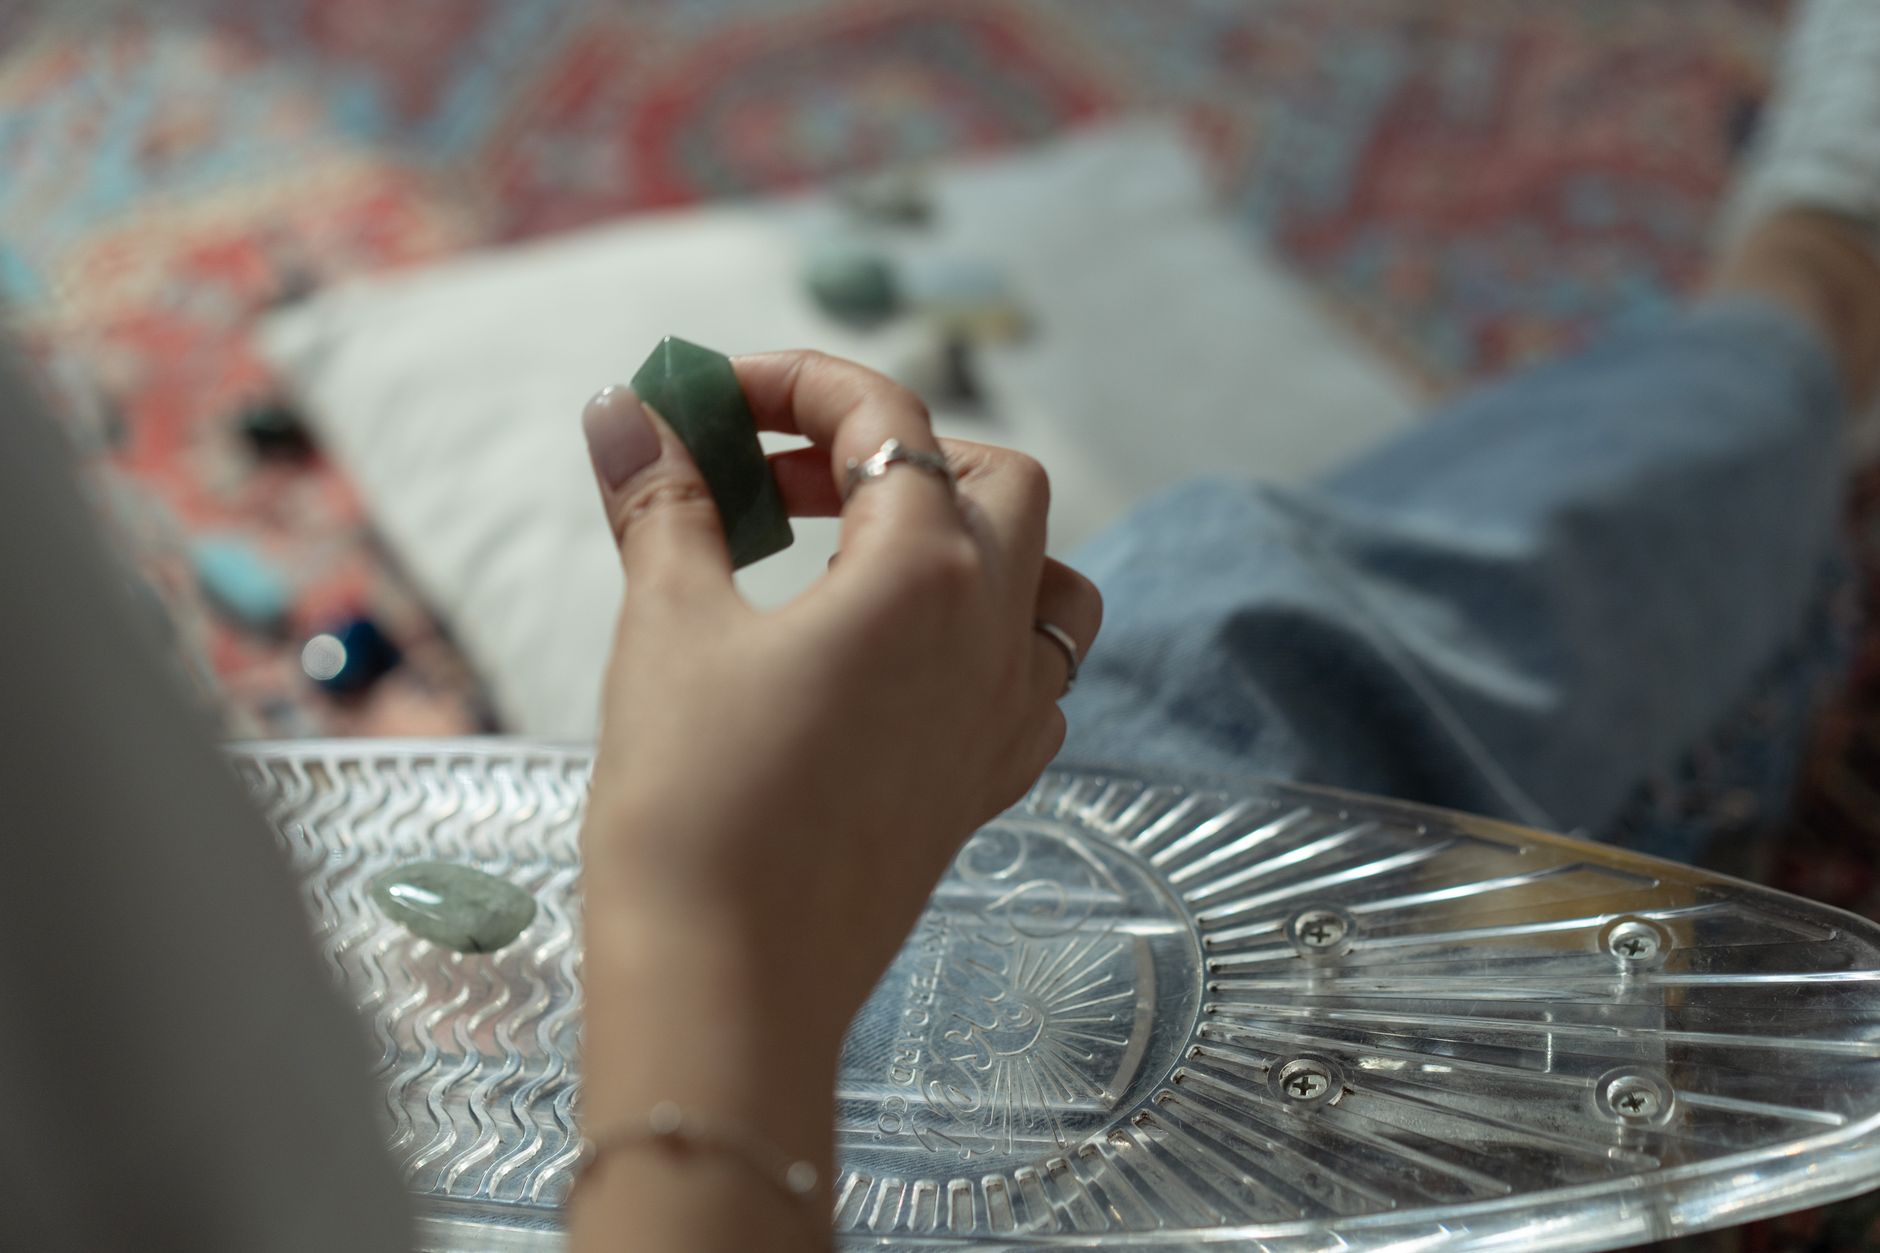
Burnishing is an optional but useful final step. It removes the last traces of polish and adds extra shine. Use a mild soap or borax. Ivory bar soap shavings work well. Add about one tablespoon of soap per pound of rock. Fill the barrel with water and run it for 24 hours. Do not use detergent or dish soap. They can leave a film.
After burnishing, rinse the rocks in clean water. Use a colander over a bucket. Inspect each stone for polish quality. If some are dull, you can re-run them through the polish stage. But first check for contamination. A thorough cleaning usually fixes the problem.
Dry the rocks with a soft towel. Let them air dry completely before storing. Store polished stones in a soft pouch or padded box to prevent scratches. If you collected the rough material yourself, double-check your records. The how to clean rocks and minerals guide has tips for final washing and storage.
Red Flags & Warnings
- 🚨 Never mix rocks with very different Mohs hardness. Soft minerals like calcite will disappear while hard agates stay rough.
- 🚨 Do not pour rock slurry down sinks or drains. Grit and rock dust will harden like cement and clog pipes. Dump slurry outside in a safe place.
- 🚨 Open the tumbler barrel away from your face. Gases can build up during tumbling, especially in warm weather. The pressure can cause a small spray.
- 🚨 Never reuse grit or polish from a previous run. Spent abrasive has dull particles and contaminants. Always add fresh grit for each stage.
- 🚨 Keep coarse grit away from the polish stage. One grain of 60/90 silicon carbide can ruin an entire batch in final polish.
- 🚨 Do not overload the barrel. Fill it only 2/3 to 3/4 full. An overfilled barrel grinds poorly and can leak or strain the motor.
Frequently Asked Questions
How long does the full rock tumbling process take?
Expect 4 to 6 weeks for a complete batch in a rotary tumbler. Stage one often runs 7 to 10 days. Stages two, three, and four each run about 7 days. Burnishing adds another day. Vibratory tumblers can shorten some stages, but the four-step sequence stays the same.
Can I use rocks I find anywhere?
Only collect where you have permission. Public land rules vary. Many hard, fine-grained rocks like agate and jasper tumble well. Avoid soft, porous, or heavily fractured stones. Always clean rocks before tumbling to prevent contamination.
What grit do I need for each stage?
Stage one uses 60/90 silicon carbide. Stage two uses 220 silicon carbide. Stage three uses 500 or 600 silicon carbide. Stage four uses aluminum oxide or cerium oxide. Always use fresh grit and clean between stages.
Why are my rocks dull or frosted after polishing?
Dull results usually come from contamination. Coarse grit left on rocks or in the barrel scratches the final polish. Mixed hardness can also cause dull patches. Re-clean everything and run the polish stage again for seven days.
Do I need plastic pellets or ceramic media?
Media is strongly recommended after the coarse stage. It cushions rocks, fills gaps, and helps distribute fine grit. Plastic pellets work best for the final polish. Ceramic media is better for shaping and smoothing stages.
Can I tumble rocks of different sizes together?
Yes, a mix of sizes improves tumbling action. Small stones fill gaps and carry grit into curved surfaces. Avoid pieces larger than about 2 inches in a small barrel. Keep all sizes within the same hardness range.
What Should You Remember?
- Sort by Mohs hardness. Tumble only rocks within one or two hardness points of each other.
- Clean between every stage. One stray coarse grit particle can ruin the final polish.
- Use the right grit sequence. 60/90 coarse, 220 medium, 500/600 pre-polish, then aluminum oxide polish.
- Fill the barrel correctly. Keep it 2/3 to 3/4 full of rocks and media, with water just covering the load.
- Run each stage long enough. Seven days is standard for most rotary tumblers.
- Use cushioning media. Plastic pellets or ceramic media prevent bruising and improve polish coverage.
- Dispose of slurry outside. Never pour rock slurry into sinks or drains.
This article is for general information only. Rockhounding and collecting carry land-access, safety, and legal obligations , always verify claim status, land ownership, and collecting rules before removing material, and get landowner or land-agency permission where required. Field collecting involves physical hazards; use proper safety gear and never enter mines or unstable terrain.