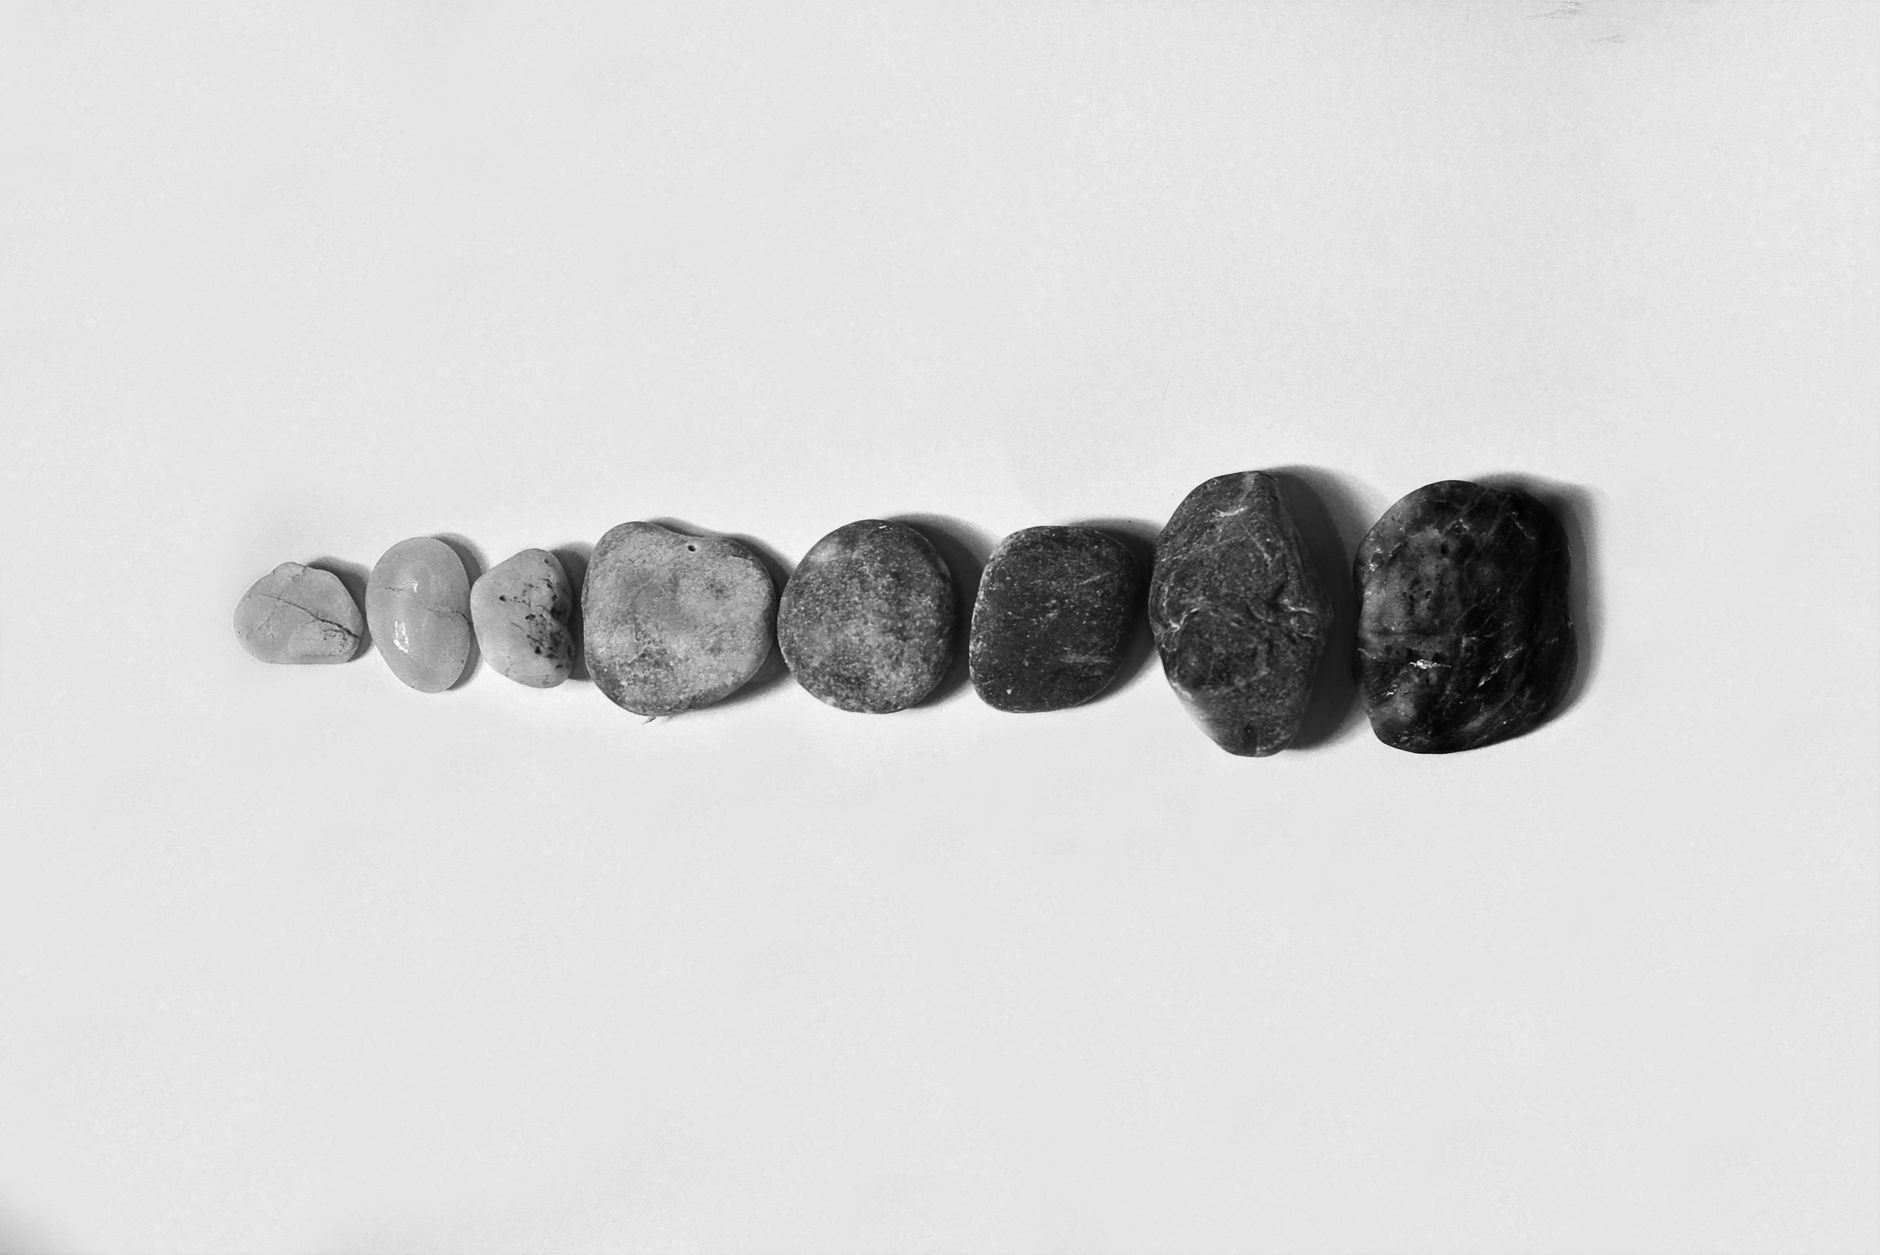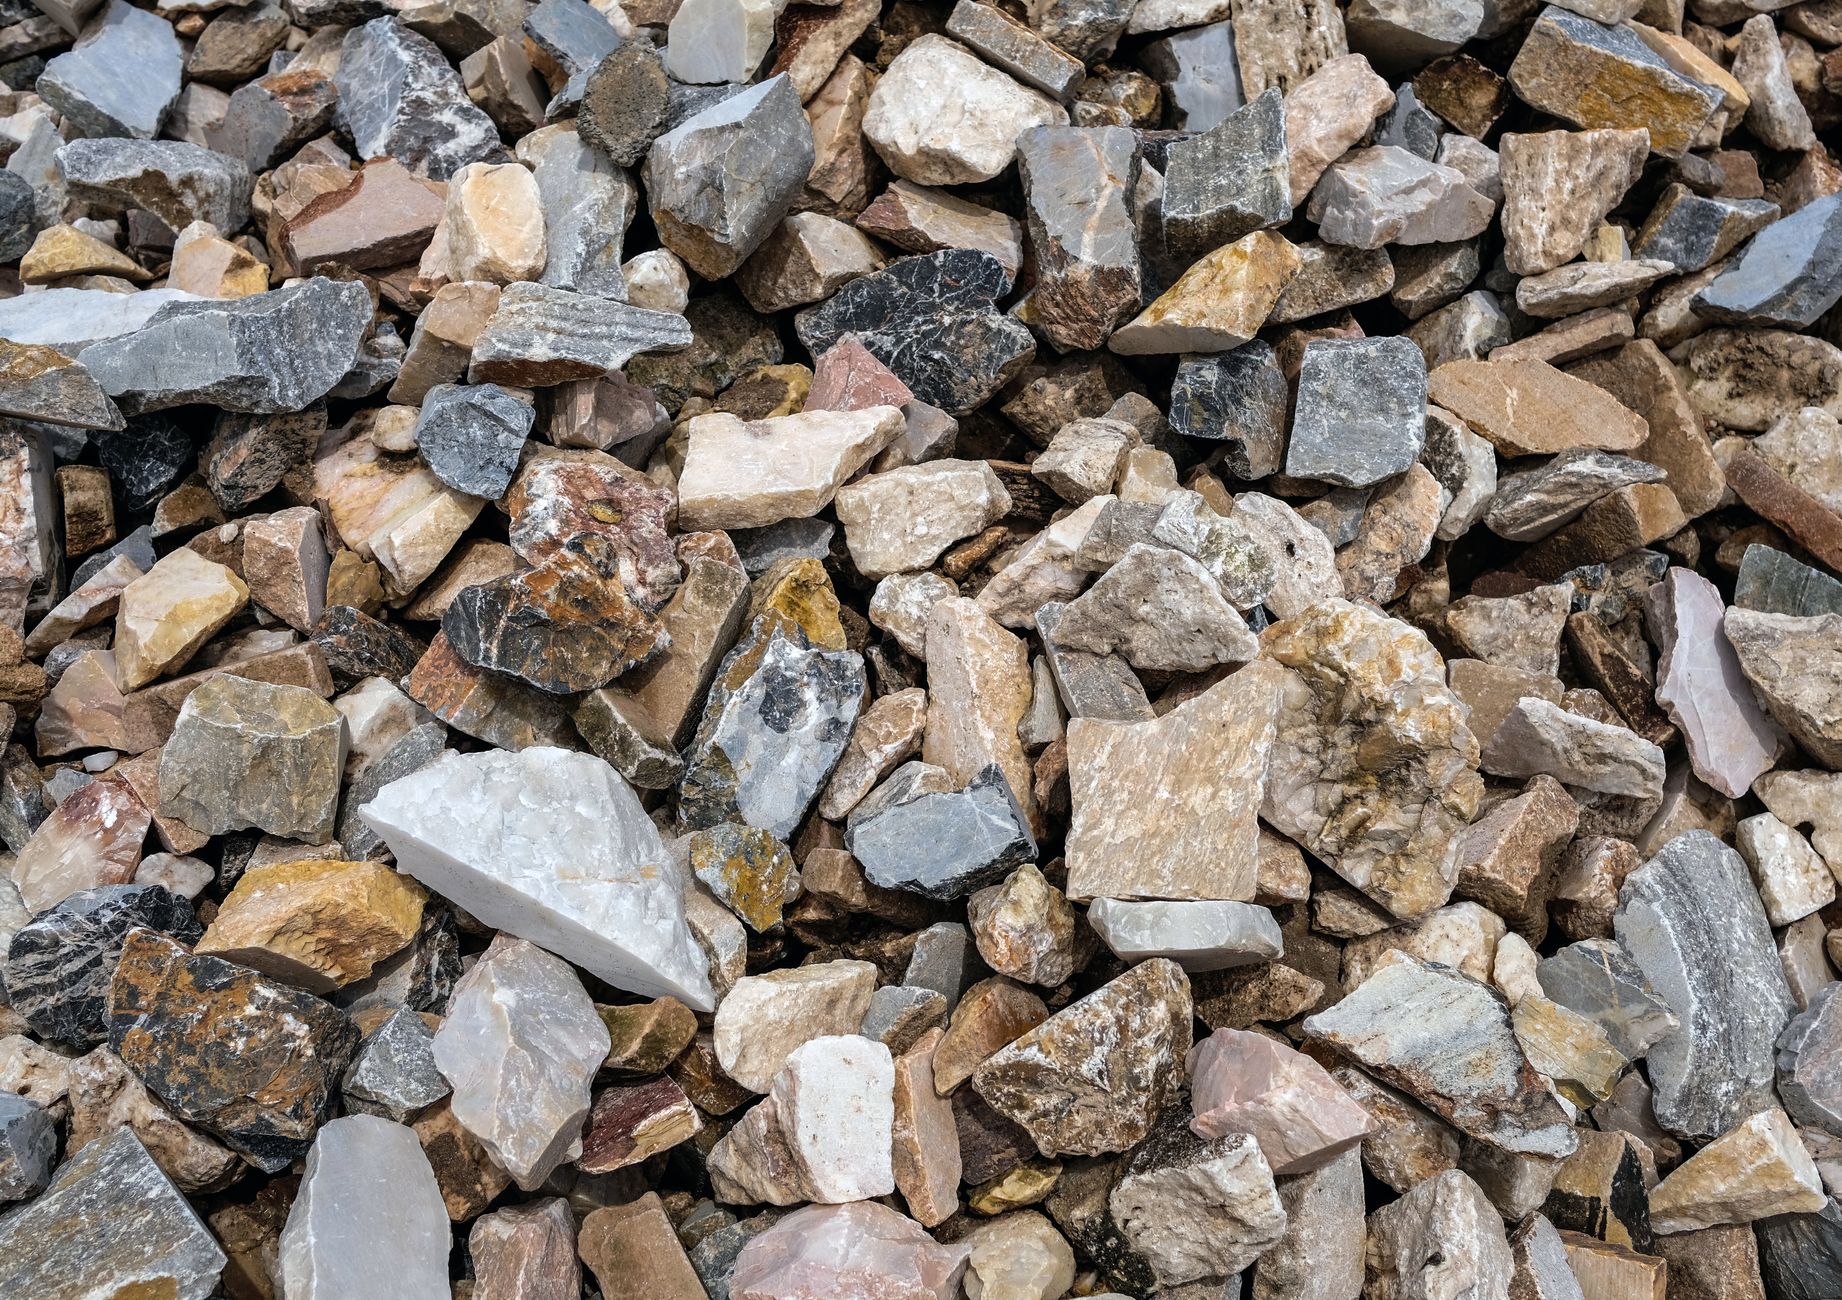
Rock tumbling grit is not a one-size-fits-all supply. The grit you choose, the amount you measure, and the sequence you follow decide whether you get a cloudy batch or a glassy shine. Beginners often assume a tumbler does all the work. The machine only rotates the barrel. The grit does the cutting and smoothing. If you want polished stones from rough rock, you need the right abrasives at each stage. This guide covers the 2026 essentials: which grits to buy, how much to use, and how to avoid mistakes. See the best rocks to tumble for material choices.
Most tumbling rough is quartz family material. Quartz has a Mohs hardness of 7. Agate and jasper are microcrystalline quartz with hardness around 6.5 to 7. This matters because silicon carbide grit has a Mohs hardness of about 9.5. It can cut quartz effectively. Softer stones like calcite at Mohs 3 will wear down too fast in a standard quartz-focused sequence. The Mohs scale helps you match grit and expectations. Mindat.org lists hardness for thousands of minerals if you collect mixed rough.
Your tumbler barrel size controls how much grit you need. A 3-pound barrel is common for beginners. A 6-pound barrel needs roughly double the grit load. You do not need a huge grit collection to start. A simple four-stage kit with coarse, medium, fine, and polish will handle most quartz family rough. The key is changing grit completely between stages. Leftover coarse grit scratches are the number one reason tumbled rocks look dull. For equipment basics, review the best rock tumbler for beginners in 2026.
Grit is a consumable, but it is not trash-friendly. Never rinse used grit down household drains. It settles like cement. Use a bucket of water outdoors or a lined container. Also remember that collecting rough material follows local rules. The BLM and USFS manage many public lands, but ownership varies. Check the Bureau of Land Management before removing material from federal land. If you buy rough, you still need to verify quality and hardness.
What You’ll Need
- Rotary rock tumbler with 3-pound barrel
- Silicon carbide grit kit (60/90, 120/220, 500, polish)
- Ceramic or plastic tumbling media
- Dedicated measuring spoons
- Buckets for rinsing
- Fine mesh strainer or colander
- Safety glasses and dust mask
- Old towel for drying
How Do You Choose Rock Tumbling Grit in 2026?
- Match grit sequence to your rough material
Start with the classic four-stage grit sequence for quartz family rough. Typical stages are 60/90 coarse silicon carbide, 120/220 medium silicon carbide, 500 fine silicon carbide, and a final polish such as aluminum oxide. Quartz has a Mohs hardness of 7, and agate ranges around 6.5 to 7. Silicon carbide grit is about 9.5 on the Mohs scale, so it cuts quartz without excessive wear. If you are not sure about a mineral’s hardness, check the Mohs hardness scale guide before loading the barrel.
Not every rough rock needs all four stages. Soft material like calcite at Mohs 3 or fluorite at Mohs 4 can start at a finer grit or take less time. Most beginner kits use a quartz-based sequence because common tumbling material is agate, jasper, petrified wood, or quartz crystal. Match the grit to the hardest mineral in the batch. If you mix soft and hard stones, the soft ones may disappear before the hard ones shape.
The first stage does the heavy cutting. Later stages remove the scratches left by earlier grit. Many beginners skip the middle stages or use too much coarse grit and wonder why the final polish is cloudy. Each stage prepares the surface for the next one. If you start with smooth beach pebbles, you may shorten the coarse stage. If you start with jagged rough, plan on a full week or more in 60/90.
- Measure grit by barrel capacity and rock fill
Measure grit by the barrel’s rated capacity, not by guesswork. A standard 3-pound hobby tumbler barrel usually needs about 2 tablespoons of grit per stage. A 6-pound barrel needs about 4 tablespoons. Use a dedicated measuring spoon and level the scoop. Too little grit slows cutting. Too much grit coats the rocks and creates thick slurry that cushions the tumbling action. If you want a tested all-in-one kit, check the Polly Plastics Rock Tumbler Grit Kit on Amazon.
The amount also depends on how full the barrel is. Most tumblers run best with the barrel filled between two-thirds and three-quarters full of rocks and media. If you use less rock, you may need slightly less grit, but do not go below the manufacturer’s minimum. Barrel shape matters too. Rotary tumblers are more forgiving than vibratory tumblers, which use less grit but require more precise measurement. For rotary barrels, the 2-tablespoon rule works for most 3-pound models.
Keep the grit dry until you are ready to pour. Moisture causes clumping and makes measuring inaccurate. Different grit sizes must stay separate. Never scoop medium grit with a spoon that still has coarse dust on it. Store each grit in a labeled container with a tight lid. This is a small habit that prevents cross-contamination.
After measuring, pour the grit into the barrel on top of the rocks, not into the water first. Then add water. The goal is a slurry thick enough to coat the rocks but thin enough for rocks to move. The slurry carries abrasive particles into contact with the rock surface. In a properly loaded barrel, you should hear a soft grinding sound, not a hard clatter.
- Load the barrel correctly before adding grit
The rock fill is just as important as the grit load. Fill the barrel between two-thirds and three-quarters full of rough rock and media. For most 3-pound barrels, that is about 2 to 2.5 pounds of rock plus enough filler to reach the fill line. Add water until it just reaches the bottom of the top layer of rocks. Do not submerge the rocks completely. Tumbling needs a tumbling action, not a swimming pool. See the step-by-step rock tumbling guide for a full load-and-run sequence.
Use filler media when the rock load drops. After stage one, some rough loses up to 30 percent of its weight. Ceramic cylinders are durable and help carry grit into small recesses. Plastic pellets are lighter and better for soft stones. The filler keeps the barrel at the right level so rocks do not crash into each other as much. Too many large rocks with no filler can bruise or crack softer material.
A common mistake is loading too many large rocks or too few small ones. Variety in rock size improves grinding contact. Aim for a mix of stones from about 1/4 inch to 1 inch. If every rock is the same size, they tend to slide past each other instead of abrading. If rocks are too large for the barrel, they may not tumble at all and can scratch the barrel interior. Check the manufacturer’s barrel capacity before adding oversized material.
- Run stage one with coarse 60/90 silicon carbide
The first stage shapes the rough. Use 60/90 coarse silicon carbide because it fractures into sharp cutting edges as it breaks down. Most quartz family rough needs 7 to 14 days in this stage. Check the barrel after 5 days. Look for smooth, rounded shapes. If the rocks still have major pits or sharp edges, replace the spent grit and run another 5 to 7 days.
Coarse grit is the loudest stage. The rocks bang against each other. That is normal at first. After a few days, the sound softens as the slurry thickens and the grit breaks down. If the barrel starts to leak or swell, open it outside to release gas. Carbon dioxide can build up from the tumbling action. Open the barrel slowly and away from your face.
When stage one is done, pour the entire contents into a bucket or strainer outside. Never pour slurry down a sink. The grit will settle in pipes like concrete. Rinse the rocks and barrel thoroughly. Inspect every stone. Any deep cracks or pits will carry coarse grit into the next stage and ruin the polish. Re-run or discard problem stones now. A small crack in a stone can hold enough grit to scratch the whole batch.
Expect weight loss. Quartz rough can lose 20 to 30 percent of its starting weight by the end of stage one. That is why filler media matters later. Keep a log of how much rock you load and how much remains after each stage. The log helps you adjust time and grit amounts for the next batch.
- Rinse rocks thoroughly before medium 120/220 grit
The medium stage smooths the surface left by coarse grit. Use 120/220 silicon carbide. Run this stage for 6 to 12 days. Before adding medium grit, wash the rocks, barrel, lid, and your hands. Use a separate container for rinsing. Even one grain of 60/90 grit can scratch every rock in the medium stage.
Clean the rocks under running water if possible, or use a bucket with multiple changes of water. Scrub the barrel with a brush and mild soap. Rinse the barrel several times. Do not use kitchen sponges that may go back to dishes. Dedicated rock tumbling tools prevent cross-contamination and keep family members safe from abrasive dust. Good equipment for rinsing and media storage is listed in the best lapidary equipment guide for 2026.
Reload the same rock batch. If the barrel is no longer two-thirds full because of stage one weight loss, add ceramic or plastic media. Add the medium grit at the same 2-tablespoon amount for a 3-pound barrel. Add water to just below the top of the rocks. Run the tumbler and check after 4 or 5 days. The rocks should feel smoother and look less scratched, but they will still be dull.
Do not rush this stage. Medium grit removes the coarse scratches but leaves its own finer scratches. If you skip medium and go straight to polish, the deep scratches remain. The final polish cannot remove coarse scratches in a reasonable time. Each stage has a job. Let it finish.
- Use 500 fine grit as pre-polish before final polish
The fine stage prepares the surface for polish. Use 500 grit silicon carbide or a 500 to 600 grit pre-polish abrasive. Run this stage for 5 to 10 days. The goal is to remove the scratches from the medium stage and create a uniformly matte surface. After this stage, the rocks should be completely smooth and almost silky but not shiny.
Inspect rocks under a bright light. If you see any remaining pits, cracks, or coarse scratches, do not move them to polish. Return those problem stones to an earlier stage or set them aside for a re-run. It is better to delay one batch than to pour polish onto contaminated rocks. Remember that each crack can hide grit and release it later.
Add filler media if needed. The barrel must stay between two-thirds and three-quarters full. Plastic pellets work well for softer stones, but ceramic media is more aggressive and can help clean recesses. Change media between stages or wash it thoroughly. Dirty media carries grit just like dirty rocks. If you are reusing media, run it in a dedicated cleaning cycle with water and no grit before using it in the next stage.
Water amount stays the same. Add water to just below the top layer of rocks. Some tumblers need a little more water if the barrel leaks or if the slurry becomes too thick. If the slurry stops moving and the barrel thumps, open it, add a small amount of water, and reseal. Keep notes on how much water works best for your specific tumbler.
- Polish with aluminum oxide or cerium oxide
The final polish stage uses a much finer abrasive. Aluminum oxide polish is the standard for quartz family stones. Cerium oxide works best for glassy materials such as obsidian and some agates. Use about 2 tablespoons of polish for a 3-pound barrel. Do not use more polish thinking it will shine faster. Too much polish can create a gummy slurry that dulls the surface. Check the Rock Tumbler Polish Kit on Amazon if you do not have polish yet.
Clean everything before this stage. Any leftover 500 grit will leave fine scratches that ruin the shine. Rinse the rocks, barrel, lid, and media with extreme care. Some tumblers use a dedicated polish barrel that never sees coarse grit. If you have only one barrel, wash it with soap and hot water, then wipe it with a clean cloth. Avoid using the same measuring spoon for grit and polish unless it is washed and dried completely.
Run the polish stage for 5 to 10 days. Check the barrel after 5 days. If the rocks are still dull but smooth, you may need fresh polish or a longer run. Some polish breaks down and becomes less effective after about a week. If the slurry is very thick or gray, add a tablespoon of borax or a drop of dish soap to help suspend the polish. Borax also helps remove oils from your fingers. Do not add baking soda unless you know your polish is compatible; some polishes work best alone.
For best results, use a clean barrel and clean water. The polish particles are tiny, around 1 to 3 microns for many aluminum oxide products. They cannot remove coarse scratches, but they can produce a high shine on a properly prepared surface. If your stones still look frosted, the problem is usually contamination or an incomplete pre-polish stage. See the how to clean rocks and minerals guide for final cleaning methods after tumbling.
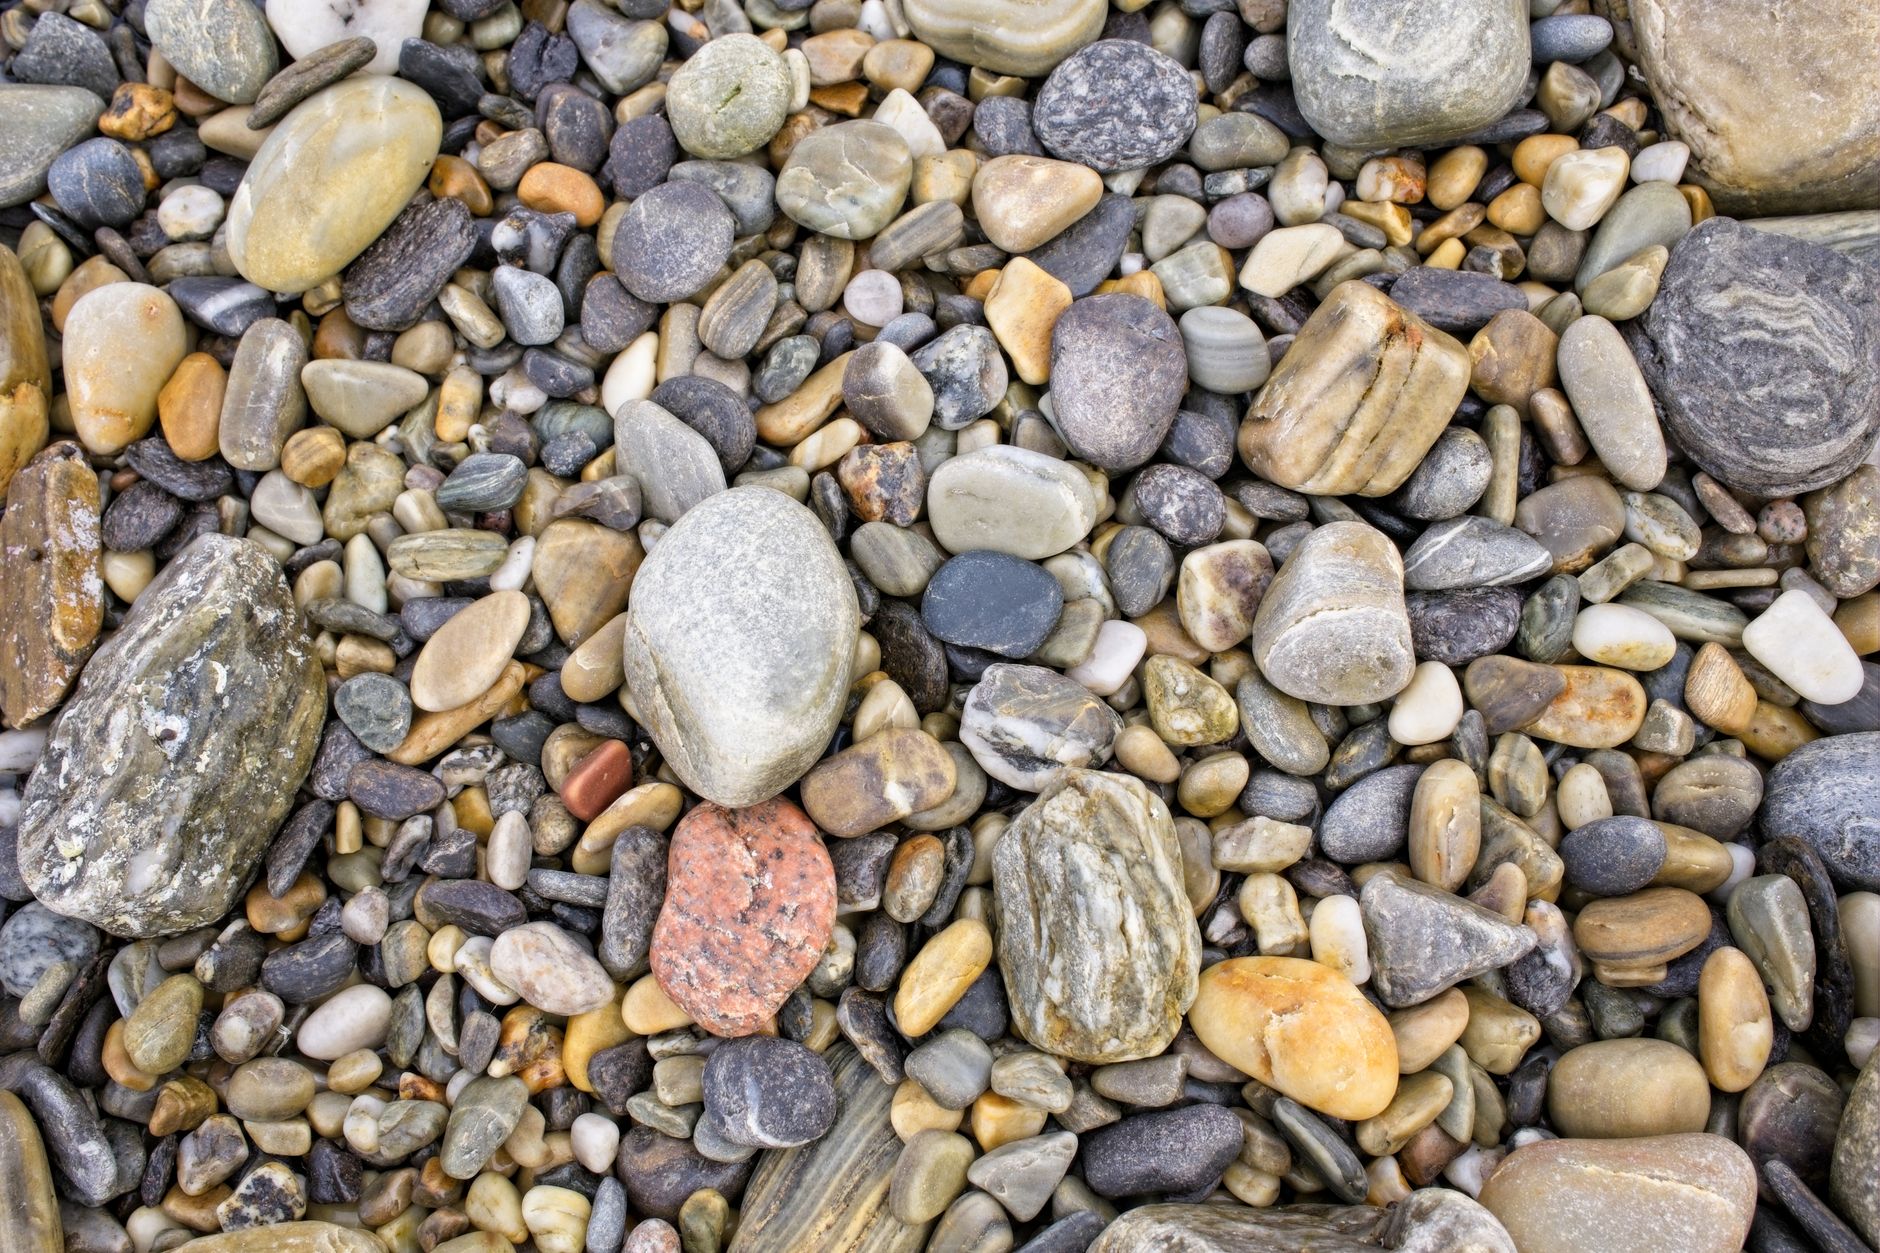
- Clean, dry, and troubleshoot dull results
After the polish stage, remove the rocks and rinse them in a bucket of clean water. Swish them to remove polish residue. You can run a burnish stage for 2 to 4 hours with water and a small amount of ivory soap or borax. This final rinse removes any last polish film and improves shine. Do not use kitchen detergent with dyes or additives.
Spread the rocks on an old towel and let them air dry completely. Do not use a hair dryer or oven. Heat can crack some minerals. Once dry, inspect the batch. Shiny, smooth stones are ready for display. If some stones are dull, set them aside for troubleshooting. A dull stone with a grainy texture may not have spent enough time in coarse or medium. A dull stone with a smooth texture likely has polish contamination or was moved through stages too fast.
Store leftover grit and polish in labeled containers. Keep them in a cool, dry place. Grit does not go bad if kept dry. Before your next batch, clean the tumbler barrel, lid, and any media. Store the barrel open so it dries completely and does not grow mildew. Wipe down your work area to keep abrasive dust out of your home.
Remember that collecting the rough itself has rules. Many public lands allow casual rockhounding, but limits apply. Verify land ownership and collecting regulations before removing material from any site. If you buy rough, ask about the source and hardness before tumbling.
Red Flags & Warnings
- 🚨 Never rinse used grit or slurry down a sink or toilet. It hardens like concrete in plumbing. Use a bucket outdoors and dump the settled grit in the trash.
- 🚨 Open the tumbler barrel outside or in a ventilated area. Decomposing slurry can build up gas and spray when opened. Point the lid away from your face.
- 🚨 Do not change grit stages without cleaning rocks, barrel, and tools. One grain of coarse grit in the polish stage can ruin the entire batch with fine scratches.
- 🚨 Do not overload the barrel. Fill only two-thirds to three-quarters full. Too much rock prevents tumbling action and can damage the motor.
- 🚨 Wear safety glasses and a dust mask when handling dry grit or polishing powder. These abrasives are fine enough to irritate eyes and lungs.
- 🚨 Do not tumble unknown or mixed hardness stones in the same batch without checking hardness. Soft stones can be destroyed and may contaminate the batch.
Frequently Asked Questions
How much grit do I use in a 3-pound tumbler?
Use about 2 tablespoons of grit per stage for a standard 3-pound rotary tumbler. A 6-pound barrel needs about 4 tablespoons. Always measure with clean, dry spoons and follow the manufacturer’s minimum fill.
Can I reuse rock tumbling grit?
Coarse grit breaks down during tumbling and is mostly spent after one stage. You can reuse medium or fine grit once if it is not contaminated, but results are less consistent. Most hobbyists use fresh grit for each stage to avoid scratches.
What is the difference between silicon carbide and aluminum oxide grit?
Silicon carbide is harder and cuts faster, making it ideal for coarse and medium stages on quartz. Aluminum oxide is finer and works well for pre-polish and polish. Cerium oxide polish is best for glassy materials like obsidian.
Do I need a pre-polish stage?
Yes, a fine 500 grit or pre-polish stage removes medium scratches and prepares the surface for final polish. Skipping it often leaves the final stones cloudy. The extra 5 to 10 days is worth the quality difference.
Why are my tumbled rocks dull after polishing?
Dull rocks usually come from grit contamination, too little time in fine or medium grit, or not cleaning between stages. Check for pits and cracks that hide coarse particles. Re-run the batch starting at fine grit and then polish with clean tools.
Can I tumble quartz and softer stones together?
It is risky. Quartz has Mohs hardness 7, while calcite is only 3. The softer stones will grind away quickly and can be crushed. Tumble similar hardness ranges together for best results.
What Should You Remember?
- Use a four-stage sequence. Start with 60/90 coarse, then 120/220 medium, then 500 fine, then polish.
- Measure by barrel capacity. Add about 2 tablespoons of grit per 3-pound barrel per stage.
- Clean between every stage. Leftover coarse grit is the top cause of dull stones.
- Check rock hardness. Quartz is Mohs 7; avoid mixing much softer stones.
- Do not rinse grit down drains. Use an outdoor bucket and dispose of settled grit in the trash.
- Expect weight loss. Quartz rough can lose 20 to 30 percent in stage one, so add media.
- Troubleshoot dull results. Re-run with fine grit, clean tools, and check for cracks.
This article is for general information only. Rockhounding and collecting carry land-access, safety, and legal obligations , always verify claim status, land ownership, and collecting rules before removing material, and get landowner or land-agency permission where required. Field collecting involves physical hazards; use proper safety gear and never enter mines or unstable terrain.