Rockhounding in Montana is not a side trip. It is a primary reason collectors visit the Treasure State. Public land managed by the BLM and USDA Forest Service covers millions of acres. That means more ground to search, but also more rules to know. Before you fill a bucket, check current state and federal collecting limits. This guide covers the best sapphire sites, permits, tools, and field methods for 2026. If you want a broader comparison, read best rockhounding states for 2026 to see why Montana ranks high.
Montana’s geology is varied. It includes the Stillwater Complex, the Boulder Batholith, and sapphire-bearing alluvial gravels. These deposits have produced fine corundum, agates, gold, and fossils. Mindat.org lists hundreds of mineral localities across the state. You can use it to cross-check a site before driving out. The catch is that many famous spots are on private mining claims. Some are fee digs. Some are closed. Always treat mines, active claims, and patented land as off limits unless you have written permission.
If you are new to gem collecting, you need a simple field routine. Learn to identify rough corundum, quartz varieties, and common iron minerals before you collect. Corundum, the mineral that includes ruby and sapphire, has a hardness of 9 on the Mohs scale. That is just below diamond at 10. You can review the Mohs hardness scale guide to understand why a scratch test helps. Hardness alone will not prove a stone is sapphire, but it rules out many lookalikes.
This how-to guide walks through specific steps. You will learn how to check land status, work gravel bars, and evaluate cuttable rough. We also cover permits and limits for public land collecting in 2026. The rules change, so your first job is confirmation, not collection. Bring a map, a GPS, and a notebook. A good 10x loupe will help you inspect small stones in the field. You can find field-ready tools in our rockhounding gear guide.
What You’ll Need
- Rock hammer
- Classifier screen set
- 10x loupe
- Gold pan
- Safety glasses
- GPS or mapping app
- Notebook and pencil
How Do You Rockhound in Montana 2026?
- Check land status and secure permits before collecting
Start with ownership. Many of Montana’s best rockhounding areas cross BLM, Forest Service, state trust, tribal, and private land. On BLM-managed public land, casual collection of reasonable amounts of common rocks and mineral specimens is often allowed for personal use. But petrified wood, vertebrate fossils, and archaeological materials have separate rules. The BLM is your first stop. Visit the local field office or call before you dig. This step saves you from fines and claim disputes.
For fee dig sapphire mines, permits are basically your entry fee. Places like Gem Mountain and Spokane Bar Sapphire Mine sell bags of sapphire-bearing gravel or let you dig from a designated pile. You do not need a federal mining claim there. You need their day-use fee or reserved screen. The mine handles disposal and access. Still call ahead because 2026 operating hours and fire restrictions can change quickly.
If you want to work public streambeds, check gold panning and mineral collection limits first. Some waterways have suction dredge restrictions. Others fall under state land leases. The Montana Department of Environmental Quality and local BLM offices publish current rules. Mark your map with legal access points. Avoid crossing posted private land to reach a creek.
Common mistake? Assuming all public land is open. It is not. Wilderness areas, national monuments, and developed recreation sites can have stricter rules. Use the BLM’s online mapping tools and onX or similar overlays. Record land status for each stop. That habit connects to step two, where you choose target sites based on legal access. For more on claim awareness, read mineral collecting field guide.
- Target famous Montana sapphire districts first
You do not need to wander randomly. Montana has four well-known sapphire areas: Yogo Gulch, Rock Creek, the Missouri River gravels near Helena, and Dry Cottonwood Creek. Yogo Gulch is famous for small but intense cornflower-blue sapphires. The stones formed in a vertical igneous dike, not typical alluvial gravel. That geological fact matters because Yogo sapphires are often faceted without heat treatment.
Rock Creek near Philipsburg is a working fee dig district. You can buy buckets of pre-washed gravel or screen your own pile. Sapphires from Rock Creek show pale blue, pink, yellow, and green. The color range teaches you how the same mineral can vary by trace elements. Dry Cottonwood Creek, southwest of Helena, is another classic. Many stones there are small, but they can be bright and clean.
The Missouri River near Helena has produced sapphires and gold. You can pan for heavy minerals there. Sapphire has a high specific gravity compared to common quartz and feldspar. That is why sapphires concentrate in black sand and gravel traps. Work behind boulders and in cracks where heavier minerals settle. Use a gemstone identification guide to separate sapphire from glass, spinel, or garnet.
For site-specific locality data, cross-reference Mindat.org entries. They list minerals reported, coordinates, and sometimes historical notes. This is not a replacement for land checks. It does help you avoid wasting fuel on a site with no recorded corundum.
- Use the right rockhounding and sapphire screening gear
Basic rockhounding gear starts with a rock hammer, safety glasses, gloves, and sturdy boots. For sapphire gravel, add a classifier screen set. The screens let you wash away clay and sort by size. Sapphires are heavy, so they stay near the bottom of the screen with black sand and other heavies. A plastic gold pan or a small trowel helps you feed the screen.
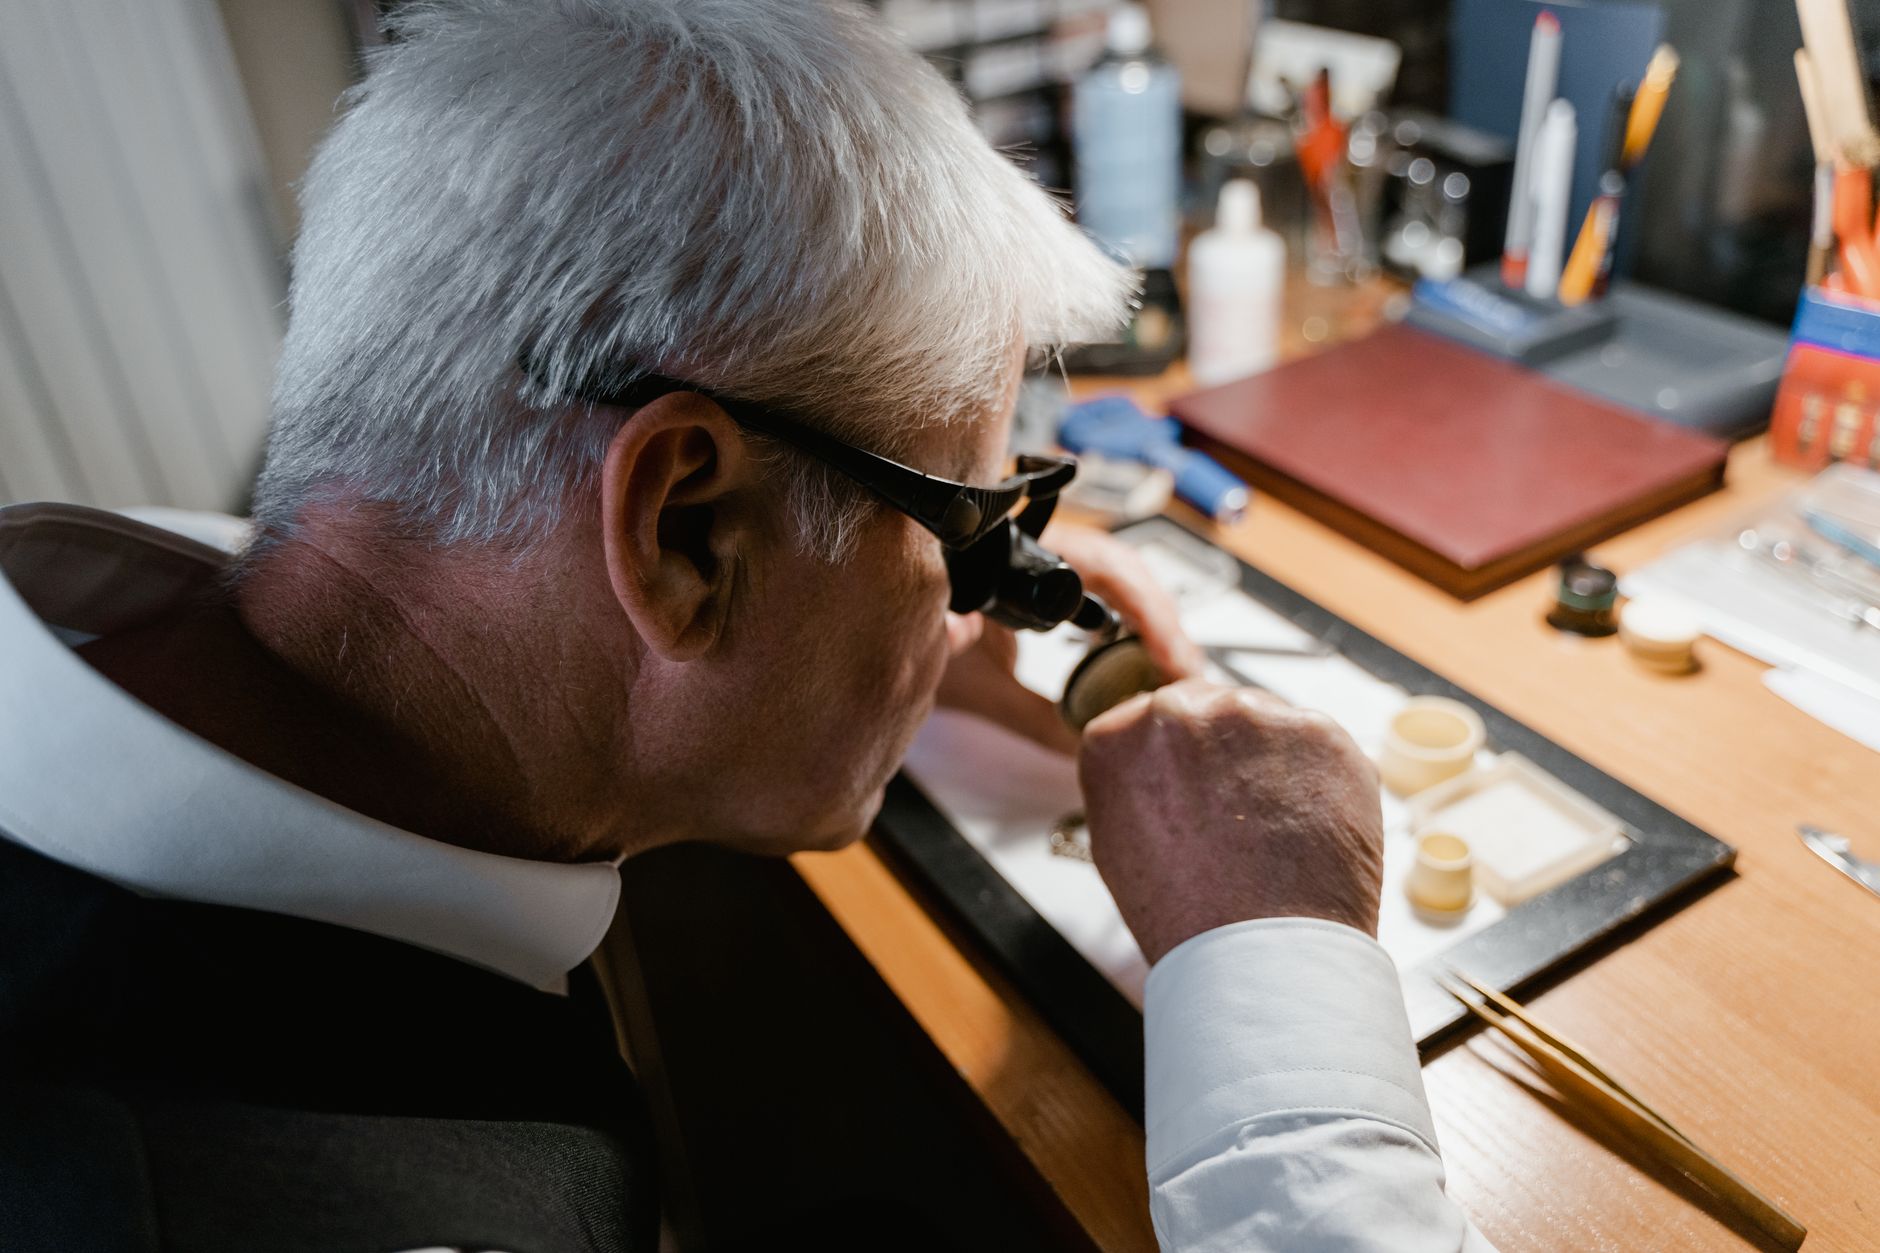
A 10x loupe is not optional for Montana sapphire hunting. Most rough is small. You need magnification to check color, clarity, and crystal shape. A good 10x triplet loupe shows sharp detail without distorting edges. Keep it on a lanyard. Your phone camera can help record finds, but it will not replace a loupe. We review best magnifying loupes for rockhounds if you need a reliable one.
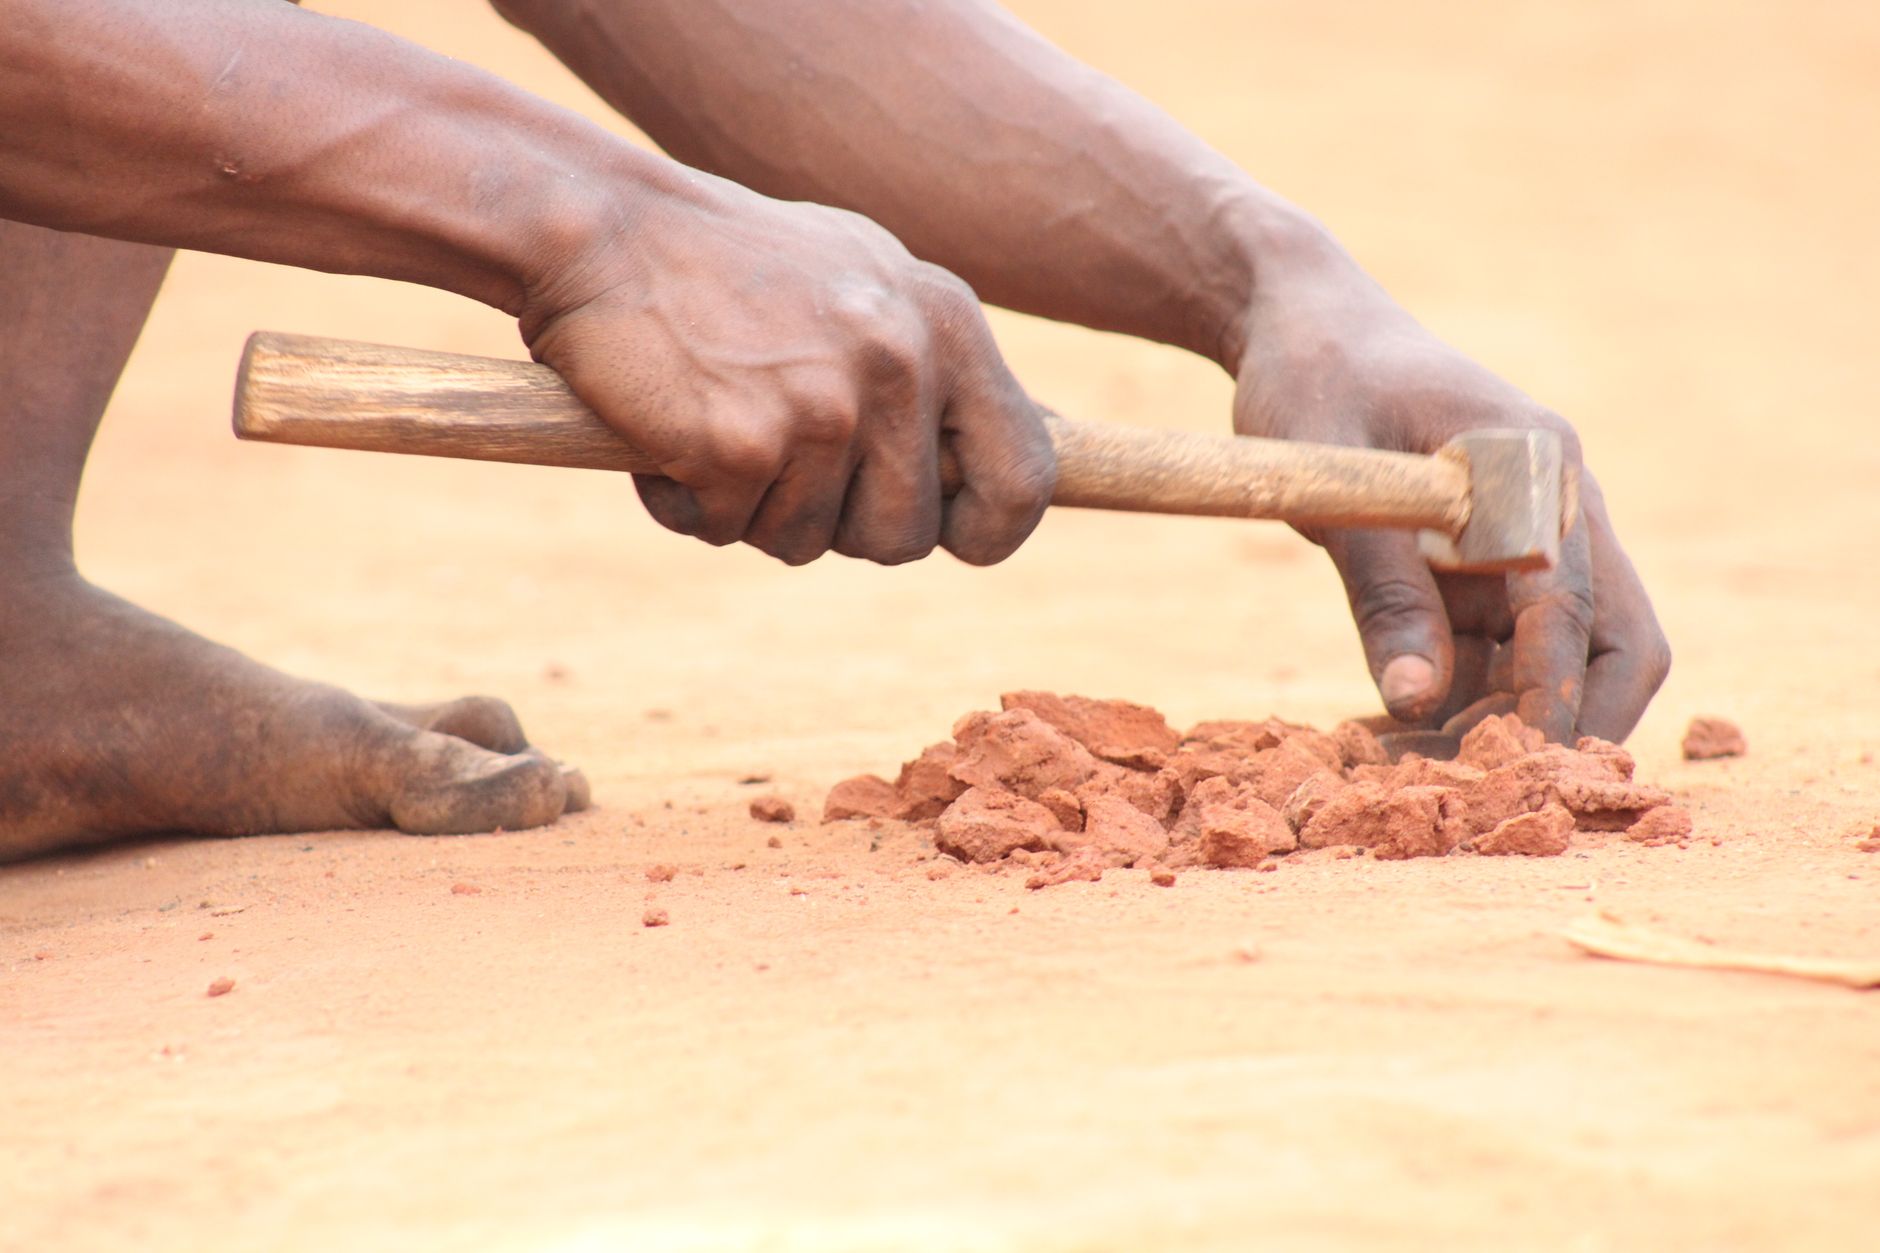
For dry sites, bring a heavy-duty bucket, a small shovel, and bags for specimens. Some fee digs provide screens and buckets. Others expect you to bring your own. A rock hammer is useful for breaking hard rock if you are in areas where rock breaking is allowed. We have used an Estwing rock hammer for years. Check the Estwing rock hammer on Amazon. Check that the handle length matches your hand. For more hammer options, see best rock hammers for 2026.
A classifier screen set makes the job much faster. It separates gravel into coarse, medium, and fine fractions. Check the classifier screens on Amazon. For final inspection, use a 10x loupe. Check the 10x loupe on Amazon. Do not overbuy. Three good tools beat a heavy bag of cheap gear.
- Identify sapphire and common lookalikes in the field
Rough sapphire is corundum. It has a hardness of 9 on the Mohs scale. That is one specific property you can test. A steel knife blade won’t scratch it. Quartz, with a hardness of 7, also won’t scratch it easily. But many people confuse sapphire with glass, garnet, or cordierite. Use the Mohs hardness scale guide to understand what a scratch test tells you.
Color is not a reliable field test. Montana sapphires can be blue, green, pink, yellow, or colorless. The best clue is crystal shape. Corundum often forms six-sided barrel or tabular crystals. In stream-worn gravel, those faces may be rounded. Still, a flat, glassy surface with fine parallel striations can hint at corundum. Use your loupe to look for smooth, reflective surfaces and tiny included mineral films.
Heavy mineral behavior is another clue. When you swirl water in a gold pan, sapphire tends to stay with black sand and other high-gravity minerals. Garnet also stays heavy. But garnet has lower hardness, often around 6.5 to 7.5. It may look dark red or green. Use a scratch test only on a small, inconspicuous spot. Do not damage a potential gemstone by grinding it against a nail.
If you find a clean, transparent stone, bag it separately. Do not count on cleaning at home to reveal color. Wet stones can look great and then dry dull. A gem identification guide can help you separate natural corundum from man-made stones. For a full field approach, read how to identify rocks and minerals in the field. Consistent habits will improve your success.
- Work sapphire gravels with the right screening method
At a fee dig, the staff often pre-wash buckets of gravel. Your job is to screen and sort. Fill a screen about one-third full. Dip it in water and shake side to side. Do not swirl too hard at first. You want to remove clay and float small organic matter. Heavy minerals and sapphires settle to the bottom. Use short, firm shakes.
After the water runs mostly clear, flip the screen onto a sorting table or burlap. Smooth the pile flat. Use tweezers or a damp fingertip to pick through the heaviest material. Look for small, glassy chips. Sapphires often show a bright glint under sunlight. A headlamp or strong sunlight from the side can help you spot them. Many commercial sites have shaded sorting areas with good light.
If you are working a natural gravel bar on public land, dig where the river slows or where boulders create eddies. Take sediment from below the top sand. Screen it to remove cobbles. Pan the finer fraction. The black sand line is your target. When you see bright grains that do not crush easily, collect them. Keep a small vial with water to store stones. This same method applies to gold panning. We have a separate guide on how to pan for gold that covers the basics.
Common mistakes include overloading the screen, sorting too quickly, and washing with too much turbulence. You lose small stones that way. Another mistake is ignoring fine gravel below one millimeter. Montana sapphires can be tiny. A 1-2 mm clean stone may still be cuttable. Let the heavy minerals concentrate first. Then inspect every chip. This step connects to cleaning and evaluation.

- Clean, evaluate, and document your finds
Field cleaning is fine, but final cleaning matters. Rinse stones in clean water. Use a soft brush to remove clay. Do not use harsh acids unless you know the mineral. Sapphire is durable, but iron staining can be removed with oxalic acid only if you have proper safety gear. Most new collectors should use water, dish soap, and a brush. Read our guide on how to clean rocks and minerals before using chemicals.
After cleaning, dry stones on a white paper towel. Use your 10x loupe to check for cracks, chips, and inclusions. A bright fiber optic or LED light helps. Note the color under daylight, not indoor warm light. Sapphires can shift color between light sources. If you plan to cut or sell, a gemologist can test for synthetic origin or heat treatment. GIA educational articles explain these treatments, and Mindat can help with locality history.
Record where and when you found each stone. A simple notebook works. Note GPS coordinates, date, land status, and weight. If you collected from a fee dig, write the mine name and any lot number. That information adds value if you later sell or trade. It also helps you learn which sites produce the best color. Never rely on memory after a long trip.
Store stones separately in small gem jars or paper envelopes. Harder stones like sapphire can scratch softer minerals, so keep them away from fluorite or calcite. Label each container with the locality. For larger specimens, wrap them in newspaper or bubble wrap. Good documentation is part of ethical collecting.
- Practice safe and ethical collecting in bear country and beyond
Montana rockhounding often means remote terrain. Carry bear spray, water, and a first aid kit. Tell someone your route and return time. Cell service is spotty. A satellite communicator is useful for long trips. In grizzly country, make noise near brush and do not leave food in your tent. Store food in a vehicle or bear-proof container.
Follow pack-in, pack-out rules. If you dig, fill small holes. Do not undercut stream banks. Do not take more than personal-use limits. Common BLM guidance allows reasonable amounts for personal collecting, but commercial sale may require permits. If you are on a mining claim, get the claim holder’s permission. If you are unsure, treat it as closed. That mindset protects you and keeps access open.
Respect claims and private property. A posted sign means stay out unless you have written permission. Do not cross a fence just to dip a pan. Many Montana ranchers are friendly, but entering without asking is illegal. Use mapping apps with land ownership layers. The BLM’s online mapping tool can show federal land boundaries. A little research avoids conflict.
Expect weather changes. Montana storms can bring snow to high elevations even in summer. Carry layers and rain gear. A rockhound who is prepared stays longer and collects more. For novice collectors, start with a fee dig. That controlled site teaches you the basics before you hike into remote gravel bars. This step wraps up the entire plan: legal access, target sites, gear, field identification, screening, and ethics. See best beginner rockhounding sites for more entry-level options.
Red Flags & Warnings
- 🚨 Do not collect on mining claims without written permission. Active claims are private property, and taking minerals from them is mineral theft.
- 🚨 Check fire restrictions and seasonal road closures before heading out. Many Montana back roads close during wet or fire-prone months.
- 🚨 Never rely on color alone to identify sapphire. Many people take home blue glass, cordierite, or polished pebbles. Use hardness and specific gravity clues.
- 🚨 Do not use acid to clean stones unless you understand chemical safety. Oxalic acid and similar treatments can cause burns and release harmful fumes.
- 🚨 Beware of high water in spring and early summer. Stream gravel work can be dangerous during runoff. Wait until water levels drop and flows are clear.
- 🚨 Respect tribal land and archaeological sites. Do not collect pottery, arrowheads, or vertebrate fossils on public land without specific permission.
Frequently Asked Questions
Do I need a permit to rockhound on BLM land in Montana?
Casual personal collection of common rocks and minerals is often allowed without a permit on BLM land. Limit amounts to reasonable personal use. Petrified wood, fossils, and commercial collecting have stricter rules. Always check the local field office first.
Where can I find sapphires in Montana without a mining claim?
Fee dig sapphire mines near Philipsburg and Helena sell access to gravel. Rock Creek and Gem Mountain are popular. Some public gravel bars on the Missouri River may also produce small sapphires if collection is legal and not on a claim.
What does a raw Montana sapphire look like?
Raw corundum often appears as a six-sided crystal or a rounded glassy chip in gravel. It can be blue, green, pink, yellow, or colorless. It has a hardness of 9 and feels heavy in the pan.
Is Yogo Gulch open to the public?
No, most of Yogo Gulch is privately held or under mining claim. There is no public fee dig there. You can visit the area and learn about its history, but collecting requires permission from the claim owner.
Can I sell sapphires I find in Montana?
Selling from fee-dig mines is generally allowed because you own the gravel you bought. Selling from public land collected for personal use may have limits. Commercial collection on BLM land typically requires a permit or claim.
What time of year is best for rockhounding in Montana?
Late May through early October is the main season. Snow limits high elevation access early and late. Spring runoff makes streams dangerous. Fall often brings good water clarity and fewer crowds.
What Should You Remember?
- Legal access: Always verify ownership and collect only on public land or with written permission.
- Sapphire districts: Focus on Yogo Gulch, Rock Creek, Missouri River gravels, and Dry Cottonwood Creek.
- Field gear: Carry a classifier screen, 10x loupe, rock hammer, and safety glasses.
- Corundum hardness: Sapphire is 9 on the Mohs scale, which rules out many lookalikes.
- Heavy mineral clues: Sapphires concentrate in black sand and behind boulders in streams.
- Fee digs are best for beginners: They offer legal access, prepared gravel, and reliable finds.
- Document everything: Record GPS, date, land status, and a photo to build provenance.
This article is for general information only. Rockhounding and collecting carry land-access, safety, and legal obligations , always verify claim status, land ownership, and collecting rules before removing material, and get landowner or land-agency permission where required. Field collecting involves physical hazards; use proper safety gear and never enter mines or unstable terrain.