Many rockhounds assume lapidary work requires a $1,500 slab saw and a dedicated shop. That is not true for beginners. You can cut rocks with a standard wet tile saw and get real slabs, preforms, and display pieces. The process works for agate, jasper, petrified wood, quartz, and similar material. You trade some feed control and slab thickness for a much lower price. The RockhoundGuide method focuses on safe, budget gear and repeatable technique. That means most collectors can start for under $150.
A wet tile saw spins a diamond-coated blade through a shallow water tray. The water cools the blade and captures rock dust. A 7-inch tile saw with a sliding table can cut slabs up to about 1.5 inches thick. That is enough for cabbing preforms, tumbling rough, and display slices. If you already own a tile saw, you can start after buying a proper blade. The saw must be wet, not dry. For a broader look at entry-level gear, see best lapidary equipment 2026.
Mineral hardness matters more than saw brand. On the Mohs hardness scale, quartz and agate rate 7, while diamond rates 10. That means diamond cuts quartz easily when you go slow. Soft, crumbly rocks such as shale are a different problem. They can clog the blade or fall apart in the water bath. Before you collect or cut, verify land ownership and collecting rules. BLM and Forest Service land often allow small personal collecting, but claims, state parks, and private land may not.
The budget route has limits. Tile saw blades are thin and can wander under heavy hand pressure. The water tray is small, so you stop often to refill and clean. You also need to wear protection because wet rock dust becomes a fine slurry. Still, for $100 to $200 in used gear, you can produce a clean slab of Montana moss agate or Arizona petrified wood on a weekend. This guide covers the full process from saw setup to final clean up.
What You’ll Need
- 7-inch wet tile saw with sliding table
- Continuous rim diamond blade
- Safety goggles or face shield
- N95 respirator
- Nitrile gloves
- Push stick or wooden block
- Aluminum pencil or marker
- Plastic bucket for slurry
- GFCI outlet or adapter
How Do You Cut Rocks with a Tile Saw?
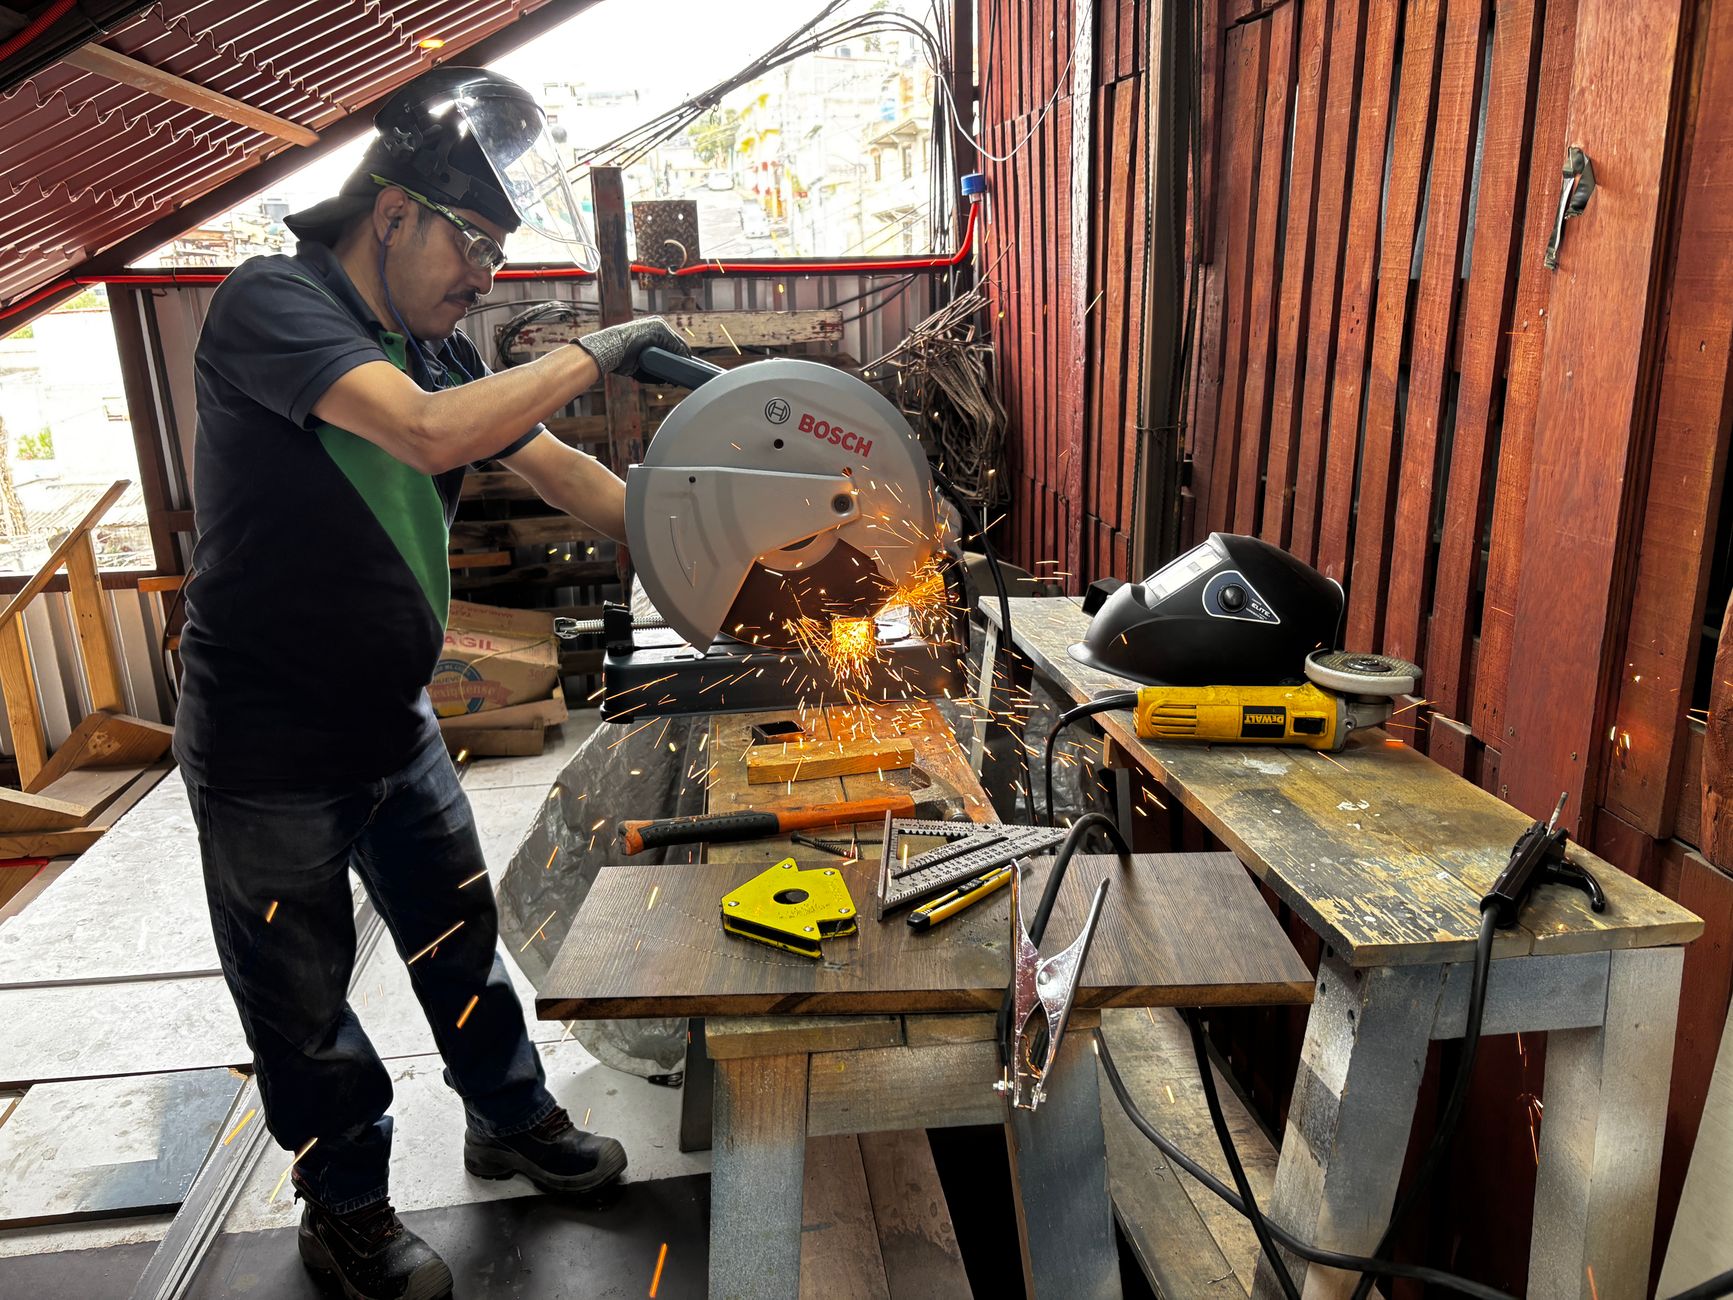
- Gather a wet tile saw and safety gear
A 7-inch wet tile saw with a sliding table is the practical choice for beginners. Look for a motor of at least 1/2 horsepower and a blade guard that stays in place. A used saw in good condition works fine if the arbor runs true. I have seen clean slabs come off a humble SKIL 7-inch wet tile saw that costs a fraction of a lapidary slab saw. Check the SKIL 7-inch wet tile saw on Amazon.
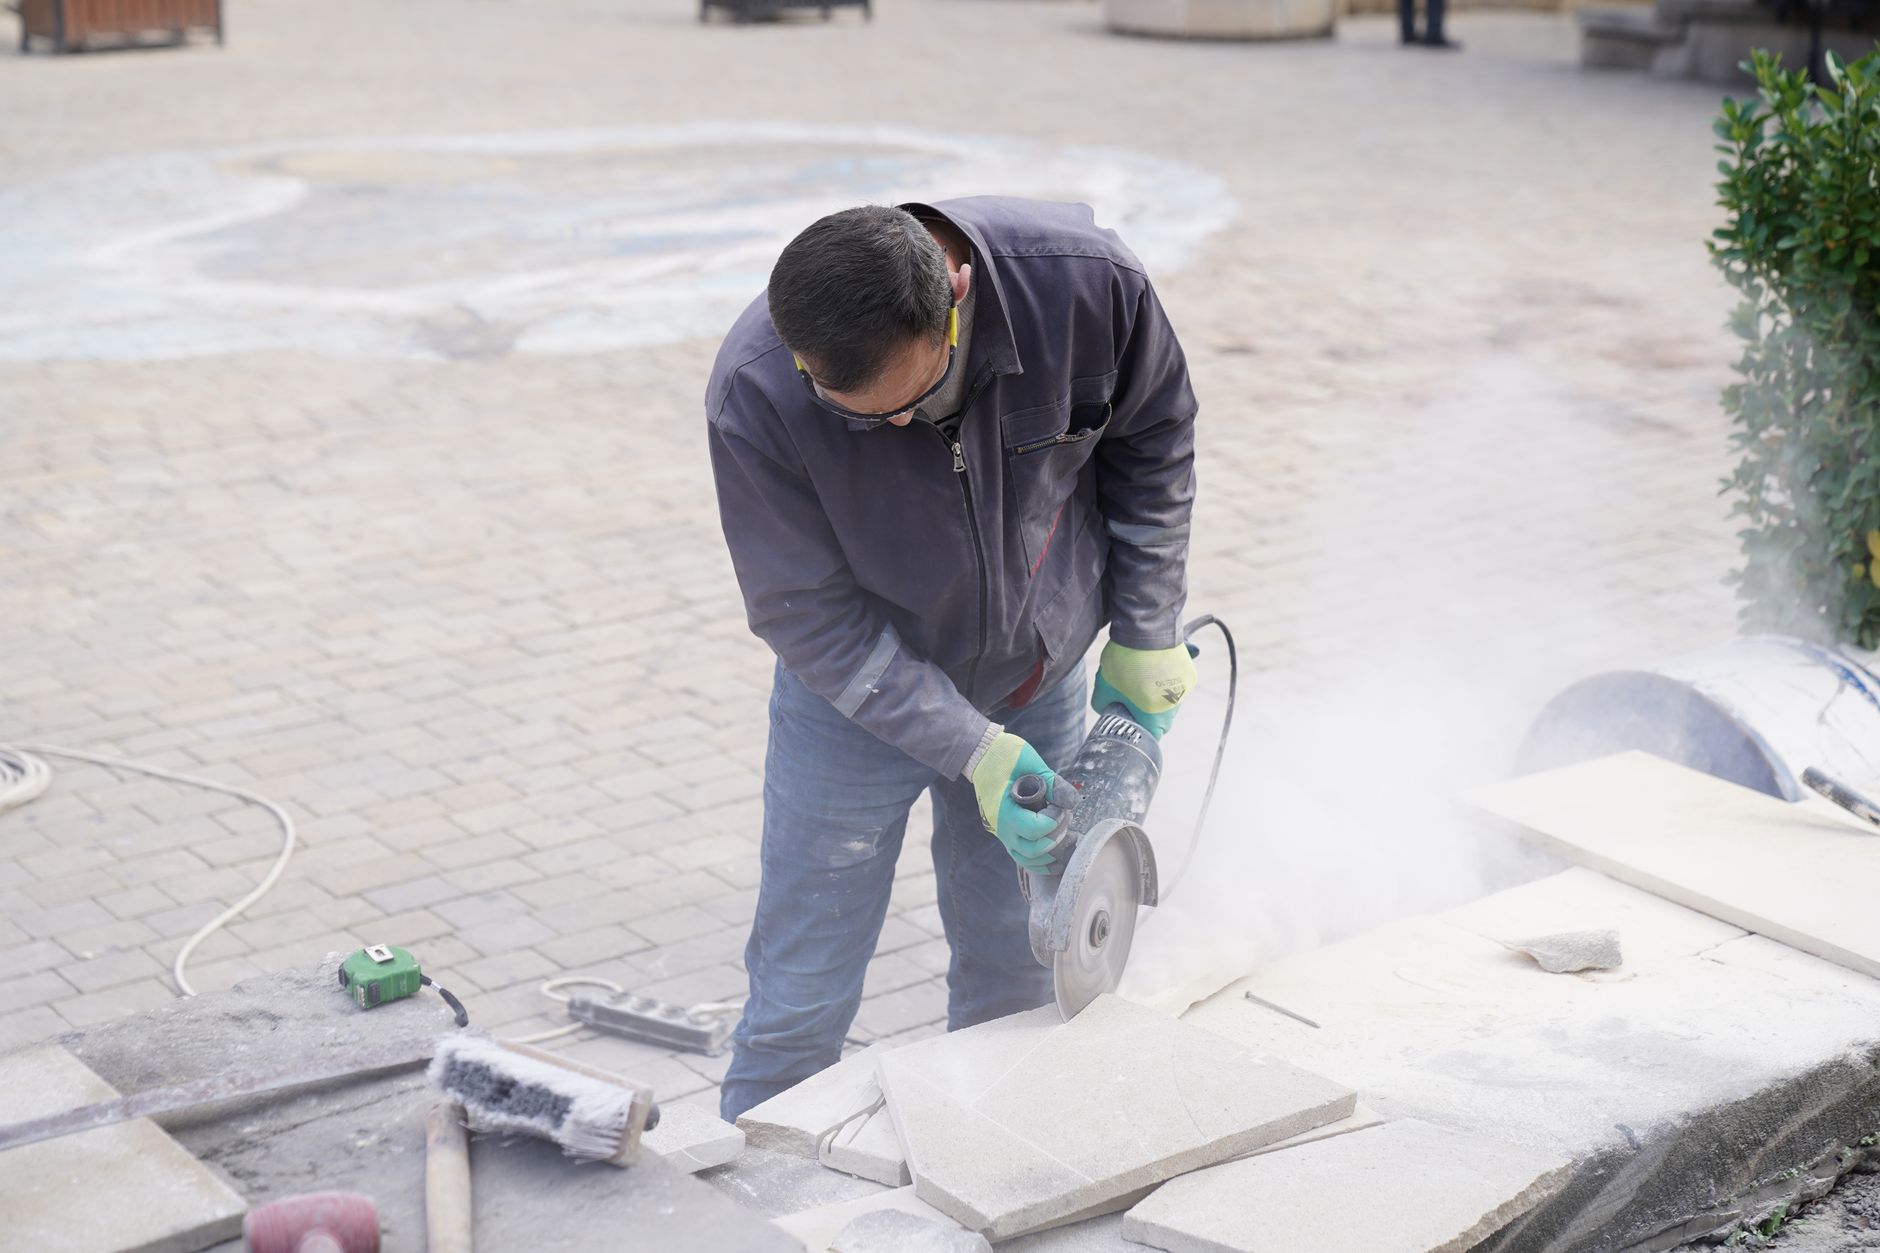
Safety gear is not optional. Wear splash-proof goggles, not just shop glasses, because water and grit can spray sideways. Use a respirator rated for silica dust, such as an N95, even when cutting wet. Add nitrile gloves and a waterproof apron. A face shield adds another layer when you lean close to see the cut line. For more on selecting field and bench gear, see best rockhounding gear guide.
Do not buy a dry tile saw or a handheld angle grinder setup for this first step. Dry saws create dust and heat, and they can shatter stone. A masonry saw with a segmented blade is also wrong because it chips the cut face. The wet saw must have an adjustable blade height and a water reservoir. The water pump keeps the blade cool and carries away rock powder.
Set the saw on a low table or bench before adding water. Make sure it sits level and cannot tip while you slide the table. You will be close to the blade, so stable footing matters. Once the saw and safety kit are ready, the next step is choosing the correct diamond blade.
- Choose a continuous rim diamond blade
A tile saw blade is not just a blade. The rim style controls how the cut face looks. Segmented rims have deep notches and are made for fast cuts through concrete. Turbo rims cut faster but leave rough edges. For rocks, use a continuous rim diamond blade. It leaves a smooth surface and reduces chipping on brittle material. A 7-inch continuous rim blade with a thin kerf is ideal for beginner lapidary cuts.
Diamond is the only common abrasive that easily cuts quartz. On the Mohs hardness scale, diamond is a 10, while quartz and agate sit at 7. That is only a three-point spread, but hardness is not linear. The diamond still needs light feed pressure, especially through dense jasper. For a full breakdown of mineral hardness, see Mohs hardness scale guide.
Buy a blade labeled for wet tile or stone cutting. I like the QEP 7-inch continuous rim diamond blade because it is cheap, widely available, and has a thin kerf. Check the QEP 7-inch continuous rim diamond blade on Amazon. Make sure the arbor size matches your saw, usually 5/8 inch or 7/8 inch. You can use an arbor adapter if the hole is too large, but avoid sloppy fit.
Do not run a segmented or dry masonry blade in a water tray unless the manufacturer approves it. Some dry blades have a bond that breaks down in water. After several cuts, dress the blade with a dressing stone to expose new diamond grit. A dull blade makes the motor work harder and increases the chance of chipping.
- Set up a wet cutting station outdoors
Run the tile saw outdoors or in a well-ventilated garage. The water tray will throw a fine spray that carries rock slurry. If you cut inside without ventilation, that slurry dries into a fine silica dust hazard. Place the saw on a level workbench with the drain plug accessible. Use a plastic tray or tarp under the saw to catch drips.
Fill the reservoir with clean water, not water from a muddy bucket. The pump pulls water from the tray, so the intake must stay clear. Check the blade depth before starting. The blade should clear the table by about 1/8 inch more than the thickest rock you plan to cut. Too much exposed blade increases wobble and spray.
Plug the saw into a GFCI outlet. Water and electricity are a dangerous pair, and a ground fault circuit interrupter is the cheapest insurance you can get. Keep the cord behind the saw, never in front where you slide the table. Position a bright work light over the cutting line. When you clean slurry later, this setup will be easier to manage. See how to clean rocks and minerals for post-cut cleanup methods.
Before adding rock, run the saw for a few seconds and watch the water flow. The blade should be evenly wet along both sides. If the pump sputters, clean the intake or add water. A dry blade section overheats fast and can crack. Now you are ready to choose which rocks make good candidates.
- Select and mark the right rocks
Beginners should start with rocks that cut predictably. Agate, jasper, petrified wood, and common opal are good choices. These materials range from Mohs 6.5 to 7, so they are hard enough to hold a clean cut but not so hard that a tile saw stalls. Avoid sandstone, shale, and heavily weathered granite for early projects. Soft, grainy rocks can crumble in water or clog the blade with clay.
Before cutting, check the mineral identity if you are not sure. Mindat.org is the best free mineral database for hardness, locality data, and photos. Mindat.org lets you search by name or location. If your rock is a local find from a known site, the page often tells you exactly what minerals are present and how hard they are.
Look for fractures and voids. A rock with a visible crack can split mid-cut and bind the blade. Montana moss agate from the Yellowstone River is gorgeous, but some pieces are laced with hidden fractures. Solid pieces cut fine. Oregon thundereggs from places like Richardson’s Rock Ranch often have solid rhyolite shells that make good beginner saw material. For more on recognizing agate and jasper, see how to identify agates.
Mark your cut line with an aluminum pencil or a fine-point permanent marker. A dark line shows through the water spray. Wash the rock with a brush and plain water before it goes on the saw table. Grit and sand on the outside act like sandpaper on the blade. Marking a center line on a nodule is better than guessing, because the saw will reveal the best pattern if you cut through the middle.
- Make the first cut with slow, steady feed
Place the rock on the sliding table with the marked line parallel to the blade. If the rock has a flat side, put that side against the fence or table. Turn on the saw and wait for the blade to reach full speed. Let the water sheet across the blade before you touch rock to diamond. A dry contact at start can crack thin material.
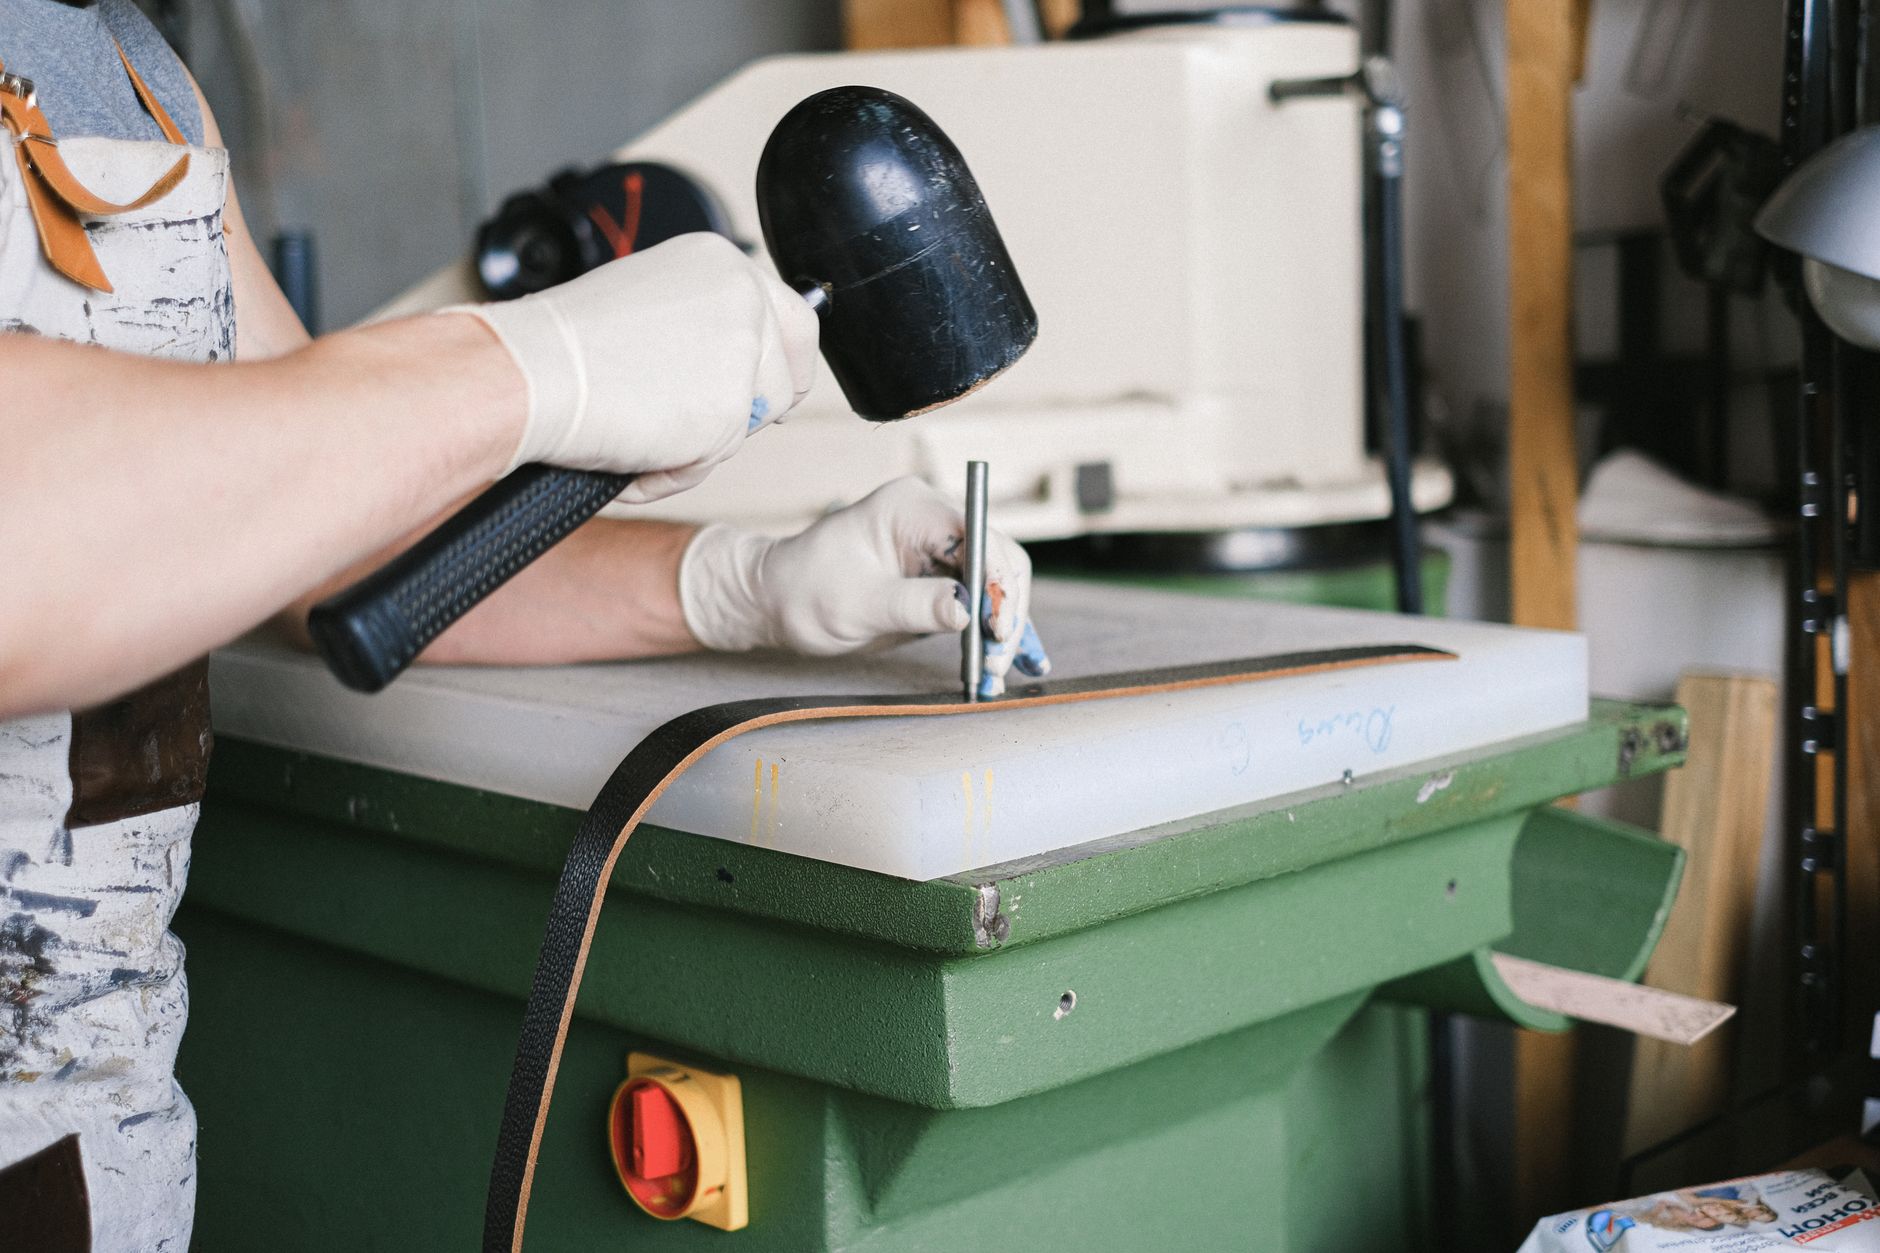
Feed the rock into the blade using light, even pressure. The saw should not slow down or bog. For a 1-inch thick agate, a full cut may take 30 to 60 seconds. That feels slow, but forcing it is how you chip edges and overheat the diamond bond. Use a push stick or a small wooden block when your fingers get within 3 inches of the blade.
Do not twist or lift the rock while the blade is in the cut. Twisting can bind the thin blade and send the rock sideways. If the blade starts to bind, stop sliding and let the saw clear the kerf. You can back the table out slightly and restart with less pressure. Keep checking the water level because it drops fast on longer cuts.
When the cut finishes, turn off the saw before removing the two pieces. Let the blade stop completely. Inspect the cut face. If the line wandered, your feed was too fast or the rock wasn’t flat on the table. Cut slabs can be fed into tumbling later. See rock tumbling step by step to turn small cut preforms into polished stones.
- Trim, slab, and support the work
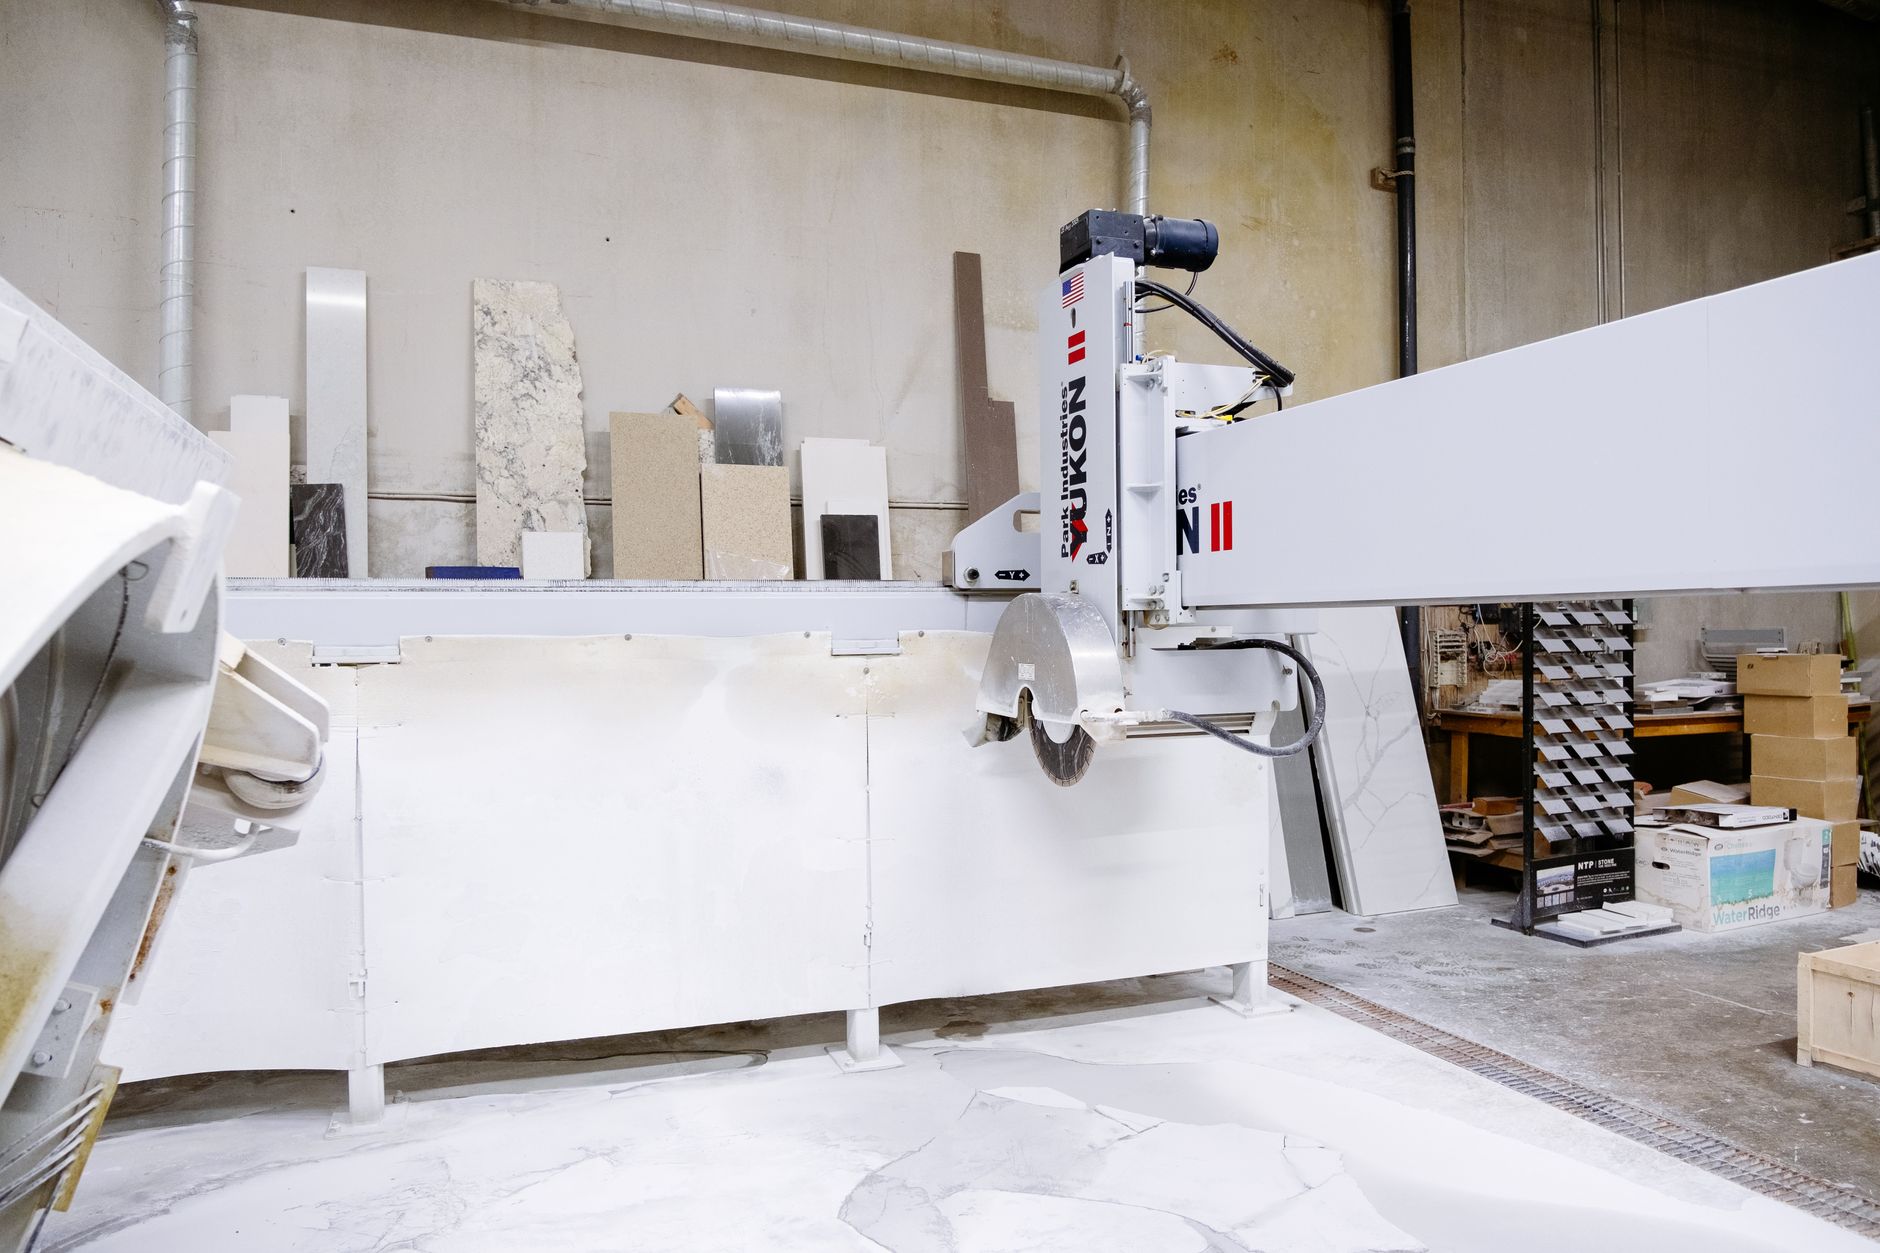
The first cut usually creates a slab or opens a nodule. From here, decide how thick you want the final pieces. For cabbing, a slab between 1/4 inch and 3/8 inch works well. For tumbling preforms, cut the rock into rough chunks between 1/2 inch and 1 inch. For display slices, a steady hand can take a 1/8 inch slice, but support the rock well.
Use the fence to keep cuts parallel. If your saw does not have a fence, clamp a straight piece of wood to the table. Do not hold a thin slab on edge without support. A backing board of scrap wood reduces exit chipping. Cut into the backing board slightly at the end of the pass so the rock does not blow out.
If you open a thunderegg or geode, make a small starting notch first. Then deepen the notch with a second pass. This gives better control than trying to cut through in one deep pass. Some lapidary beginners also use the saw to trim the rough edge off a slab before moving to a flat lap. A flat lap is a later upgrade, not a starting requirement.
Clean the water tray between rocks when the slurry gets thick. The slurry is abrasive and will reduce cooling. Lift the pump and check the intake. The time you spend on this step prevents the saw from overheating on the next cut. Keeping your cuts square and consistent at this stage saves time later.
- Clean, dry, and troubleshoot the saw cuts
After the last cut, unplug the saw before draining the tray. Pour the water into a bucket, not down a sink. Rock slurry settles into a clay-like paste that can clog plumbing. Let the bucket sit overnight. Pour off the clear water outdoors and bag the settled solids for the trash. Rinse the tray, blade guard, and pump with a hose.
Dry the cut slabs on a towel in the shade. Do not use a torch or oven to speed drying. Rapid heat can crack agate and opal. If the slabs are for display, you can wipe them with a damp cloth and let them air dry. For more on cleaning and removing stains, see how to clean rocks and minerals.
Troubleshoot common problems before the next session. If the cut face shows chips at the exit, use a wooden backing board and slow down at the end. If the blade wanders, check the arbor nut and dress the blade. A motor that bogs means the rock is too thick for the saw. Take a shallow scoring pass first, then deepen the cut.
If you plan to identify or sell the stones, keep the cut face clean and label the location. The Gemological Institute of America offers free educational resources on gem identification for hobbyists. GIA can help you learn what makes a stone gem quality. Most important, remember that saw work is only one step. The cut piece still needs sanding and polishing or tumbling to show its best color.
Red Flags & Warnings
- 🚨 Never reach across the blade path, even when the saw is off. Wet blades stay sharp and runoff can hide the edge.
- 🚨 Do not cut rocks dry with a tile saw. The dust contains silica, and dry cutting also overheats the blade and rock.
- 🚨 Watch for hidden fractures. A cracked rock can split without warning and pinch the blade.
- 🚨 Keep the GFCI between the outlet and the saw. Water spray can turn a small electrical fault into a shock.
- 🚨 Do not dump slurry down a sink or storm drain. It settles like concrete and can block pipes.
- 🚨 Verify land ownership and collecting rules before you remove any rock. BLM and Forest Service land often allow small personal collecting, but mining claims, state parks, and private land do not.
Frequently Asked Questions
Can any tile saw cut rocks?
Yes, most wet tile saws with a sliding table and a diamond blade can cut agate, jasper, quartz, and similar material. A 7-inch saw with at least 1/2 horsepower works best for slabs up to about 1.5 inches thick. Small handheld wet saws lack the stability for clean lapidary cuts.
Do I need a special blade for rocks?
Use a continuous rim diamond blade. Segmented and turbo blades are made for concrete and grout, not clean mineral cuts. A 7-inch thin kerf continuous rim blade gives the smoothest result on agate and jasper.
Can I cut rock dry outside?
Dry cutting creates fine silica dust that can damage lungs. It also overheats the blade and can crack the rock. Always use water with a wet tile saw or a dedicated lapidary saw.
What rock hardness is safe for a tile saw?
Stick with minerals in the Mohs 5 to 7 range, such as agate, jasper, petrified wood, and common opal. Softer rocks can crumble, and very hard rocks will make the saw work too hard. The blade cuts with diamond, but the rock must hold together during the pass.
How thin can I cut a slab with a tile saw?
A patient beginner can cut display slices about 1/8 inch thick, but 1/4 inch is safer. Use a backing board and go very slowly on thin slices. The blade is thin, but any wobble or twist will ruin the slab.
What is the biggest beginner mistake?
Forcing the rock through the blade too fast. This causes chipping, wandering cuts, and motor strain. Slow feed, steady water flow, and a flat table are more important than saw power.
What Should You Remember?
- Safety first: Wear splash goggles, a respirator, and gloves whenever the tile saw runs.
- Wet only: Always cut with water to control dust and heat.
- Blade choice: Use a continuous rim diamond blade, not a segmented masonry blade.
- Hardness matters: Stay in the Mohs 5 to 7 range for beginner-friendly results.
- Feed slow: Let the diamond do the work and avoid forcing the rock.
- Check land rules: Confirm collecting is legal on public land before you take material home.
This article is for general information only. Rockhounding and collecting carry land-access, safety, and legal obligations , always verify claim status, land ownership, and collecting rules before removing material, and get landowner or land-agency permission where required. Field collecting involves physical hazards; use proper safety gear and never enter mines or unstable terrain.